External Application Data Recorder
Overview
The External Application Data Recorder enables you to record, save, and synchronize eye and sensor data while running external VR applications, including SteamVR games, Unity or Unreal applications, Oculus apps, web-based VR experiences, or stand-alone/Android based applications (Note: stand alone doesn't include eye tracking). After a session you can run the replay and view the gaze point synchronized with the data. There is a beta feature that enables gaze and dwell information recording via AI object detection.
At‑a‑Glance
- Platforms: Unreal, Unity, SteamVR/OpenXR PC apps; desktop apps; web; standalone/Android via casting (head pose only).
- Headsets: Vive Focus Vision, Vive Focus 3, Vive Pro Eye (use Vive Focus Vision Recorder), Meta Quest Pro / 3 / 3S / 2 (no ET on 2/3/3S), Varjo XR‑3/XR‑4, HP Omnicept, plus generic SteamVR/OpenXR (results may vary), Quest 3 w/Pupil Labs
- Screen‑based Eyetrackers: Tobii, EyeLogic.
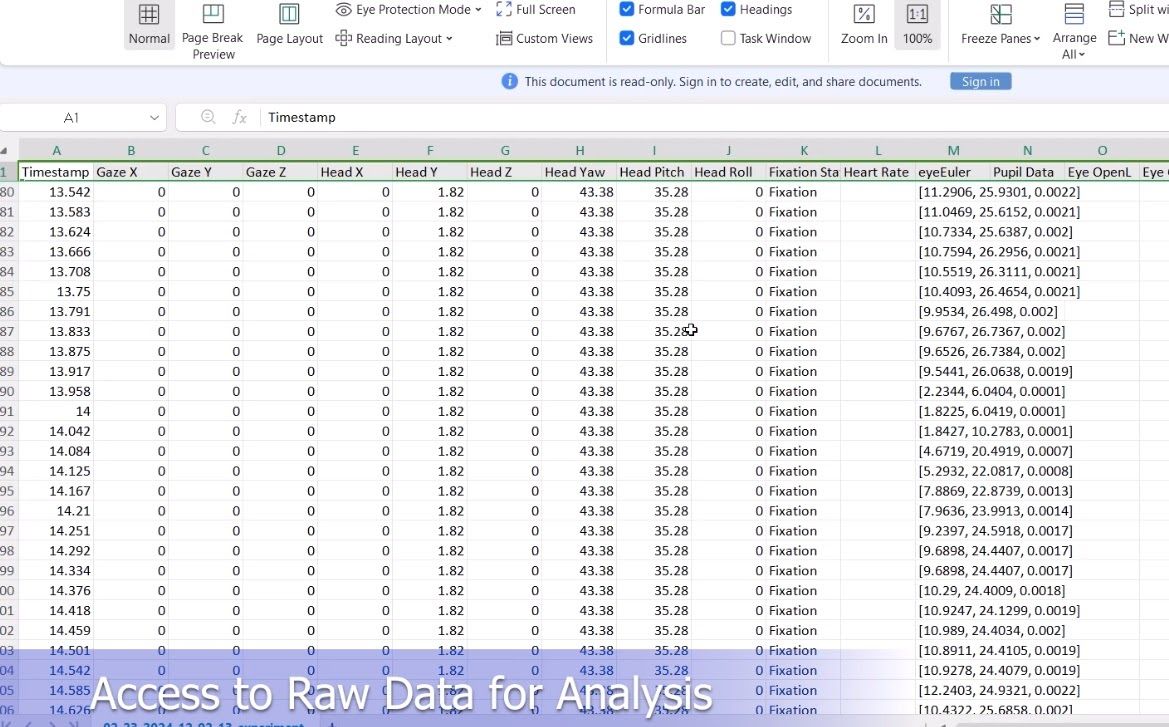
- Outputs: CSV logs (gaze, fixations/saccades, events, custom markers, face tracking and much more), video with gaze overlay, Biopac AcqKnowledge markers. Replay with scan paths, fixation spheres, heatmaps. See here for full list.
Setup
Install prerequisites
- Vizard Package Manager → CMD:
install pyautogui pygetwindow mss opencv-python - K‑Lite Codec Pack (for playback/record): https://codecguide.com/download_kl.htm
- SRanipal/SteamVR for Vive Focus Vision / Focus 3 / Pro Eye: install Vive Console for SteamVR.
- For FFMPEG open a CMD window and enter
winget install ffmpeg
How to Run
 |
Setup Hardware and Launch External Application: Make sure your hardware/headset are connected and running and launch External Application you want to record data with (i.e. Unreal, Unity, SteamVR, etc.) |
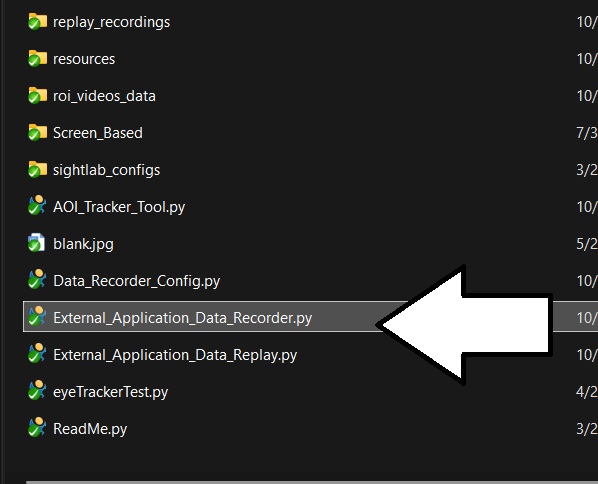 |
Launch the External_Application_Data_Recorder.py file to get the recorder ready. You can find this under SightLab2\ExampleScripts\External_Application_Data_Recorder |
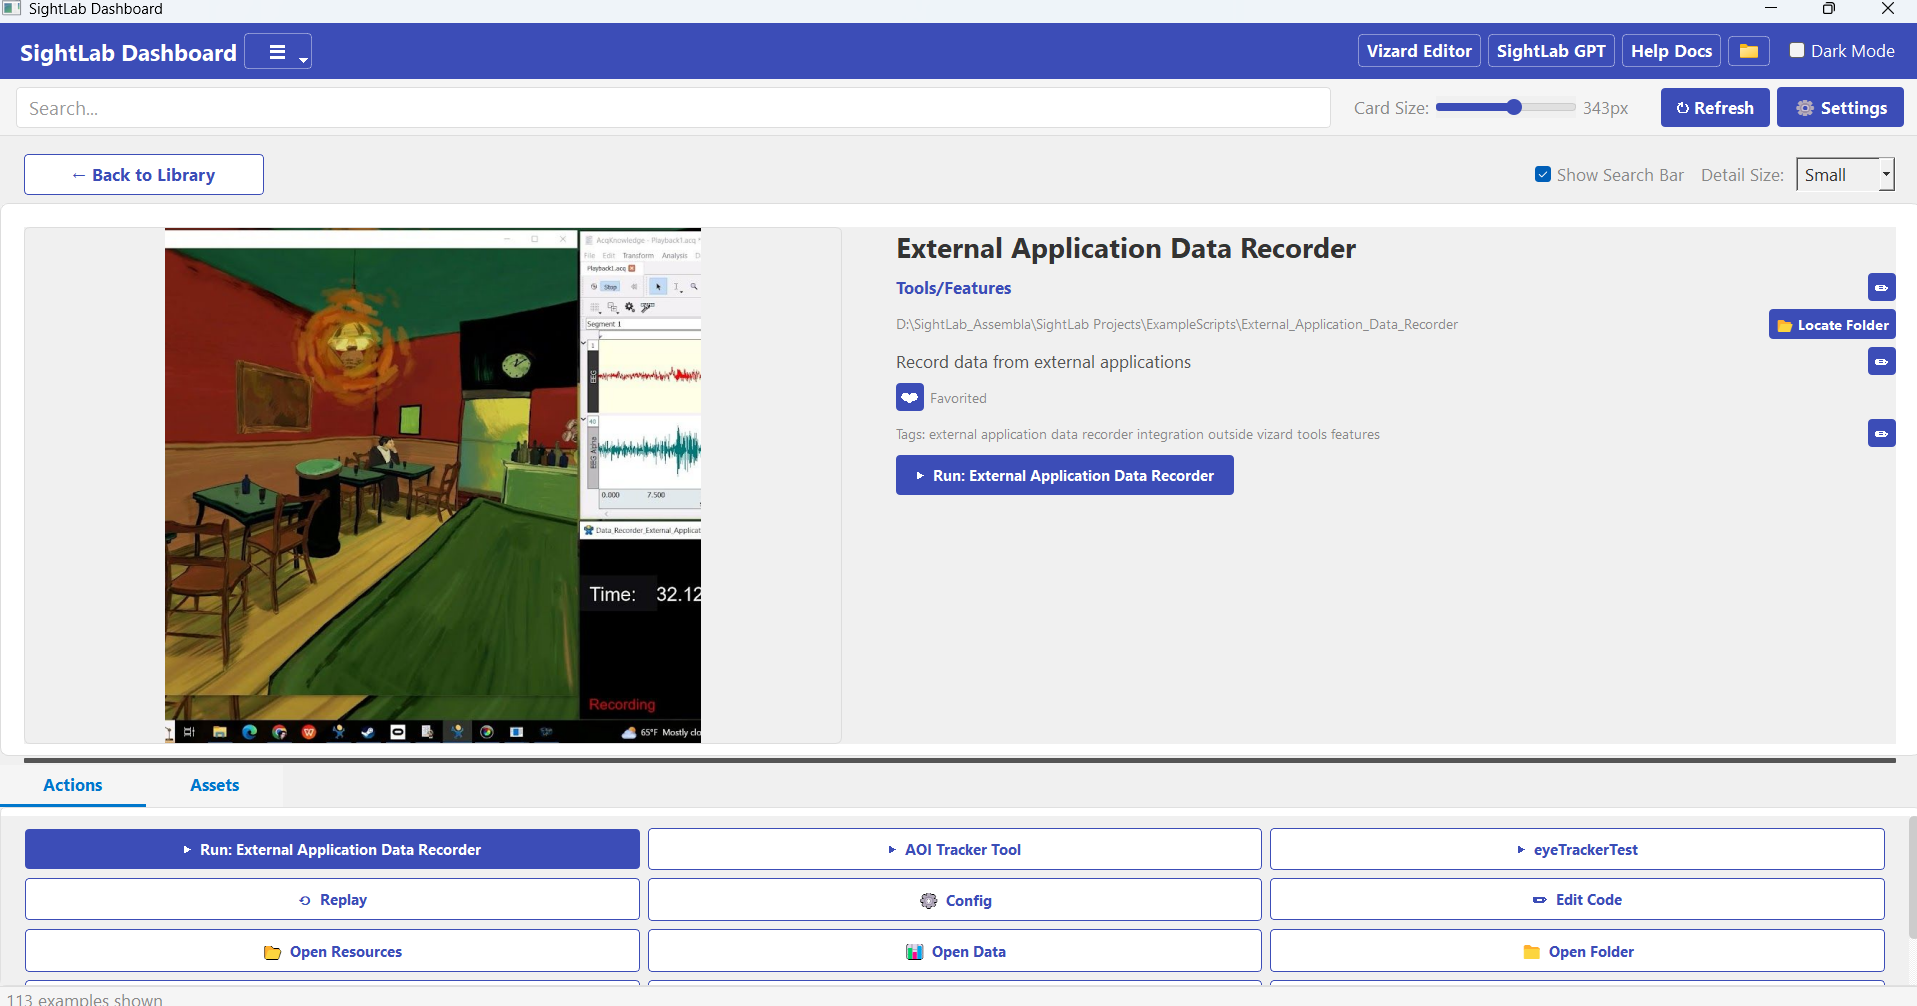 |
Or if using the Dashboard, go to Tools\Features - External Application Data Recorder - then Run: External Application Data Recorder |
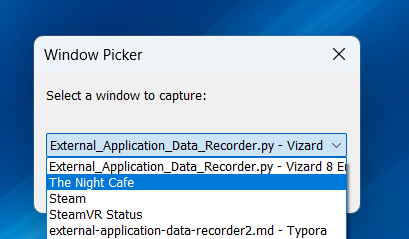 |
Choose the Window Title to capture. |
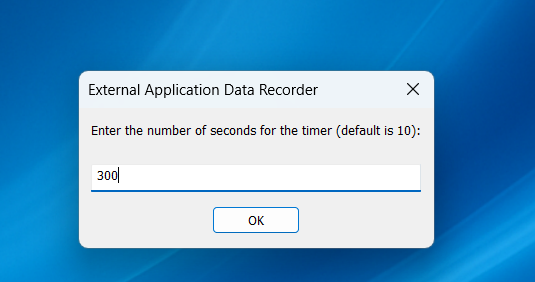 |
Select recording length (seconds). You can end early by closing the window or pressing Space. |
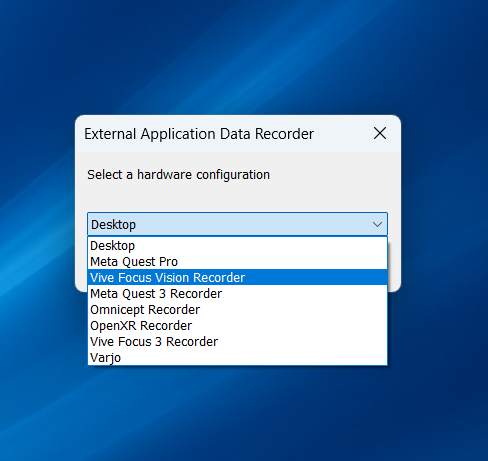 |
Choose your hardware |
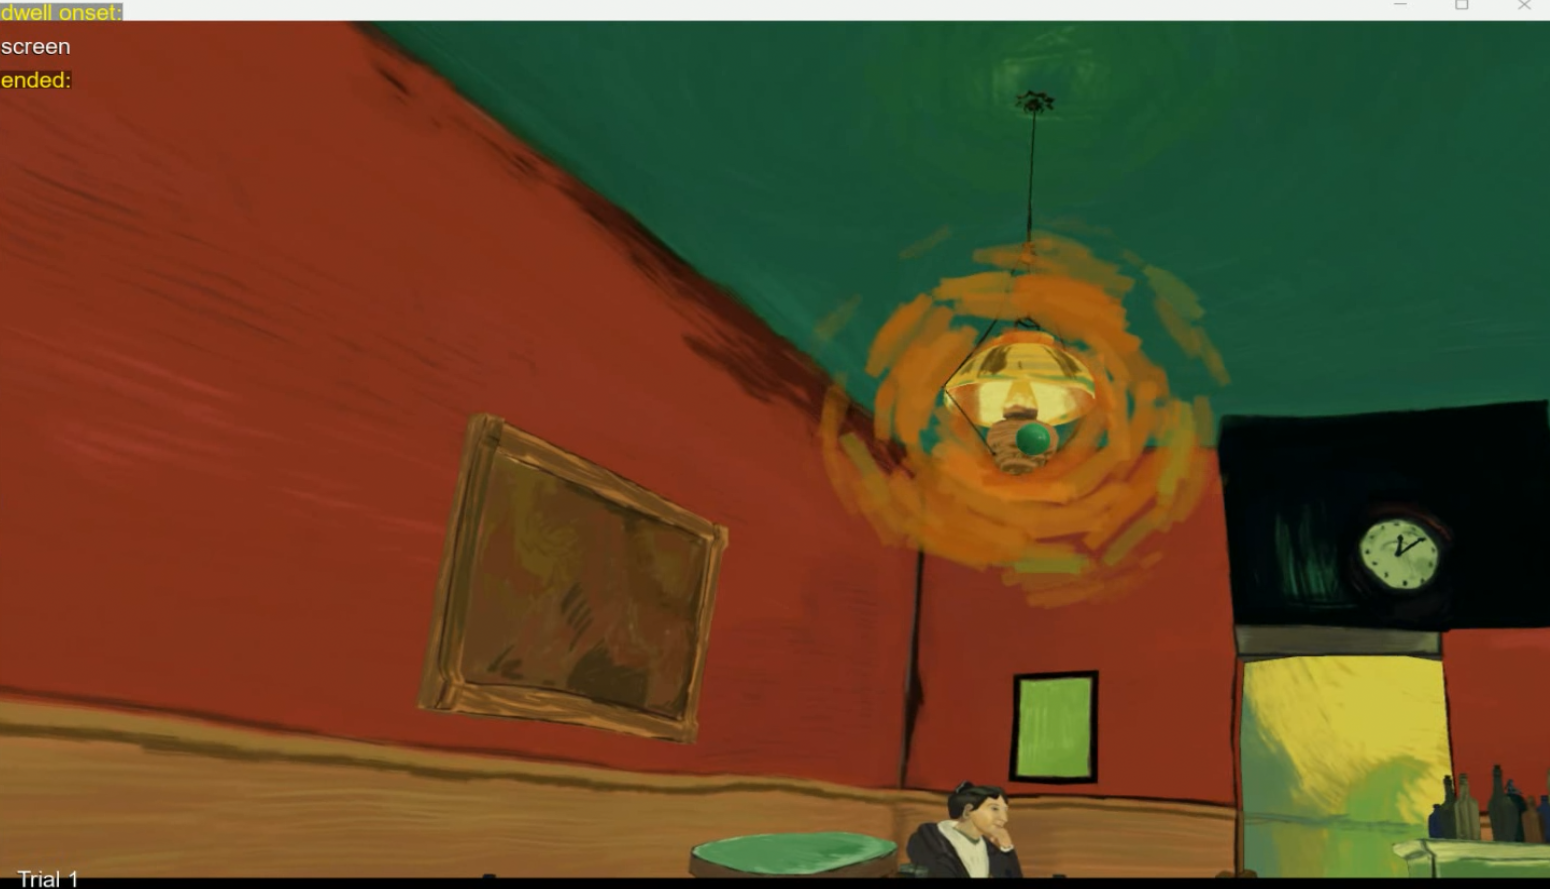 |
Put on the headset and press Spacebar (default; configurable). If connected to Biopac, AcqKnowledge transport starts. On supported HMDs you’ll see a live gaze point on the mirrored window. |
 |
Finish & save: When the timer ends you’ll hear a beep. Data goes to the /data folder. |
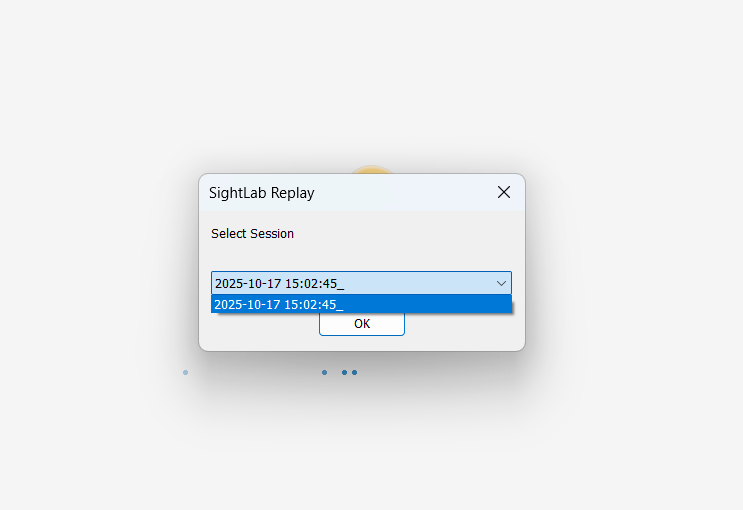 |
View a replay with visualizations by launching the External_Application_Data_Replay.py file (or choosing 'replay' if running from the Dashboard) and choose your session. Note: If the replay crashes, you may need to run the convert_video_to_fix.py and convert the video. |
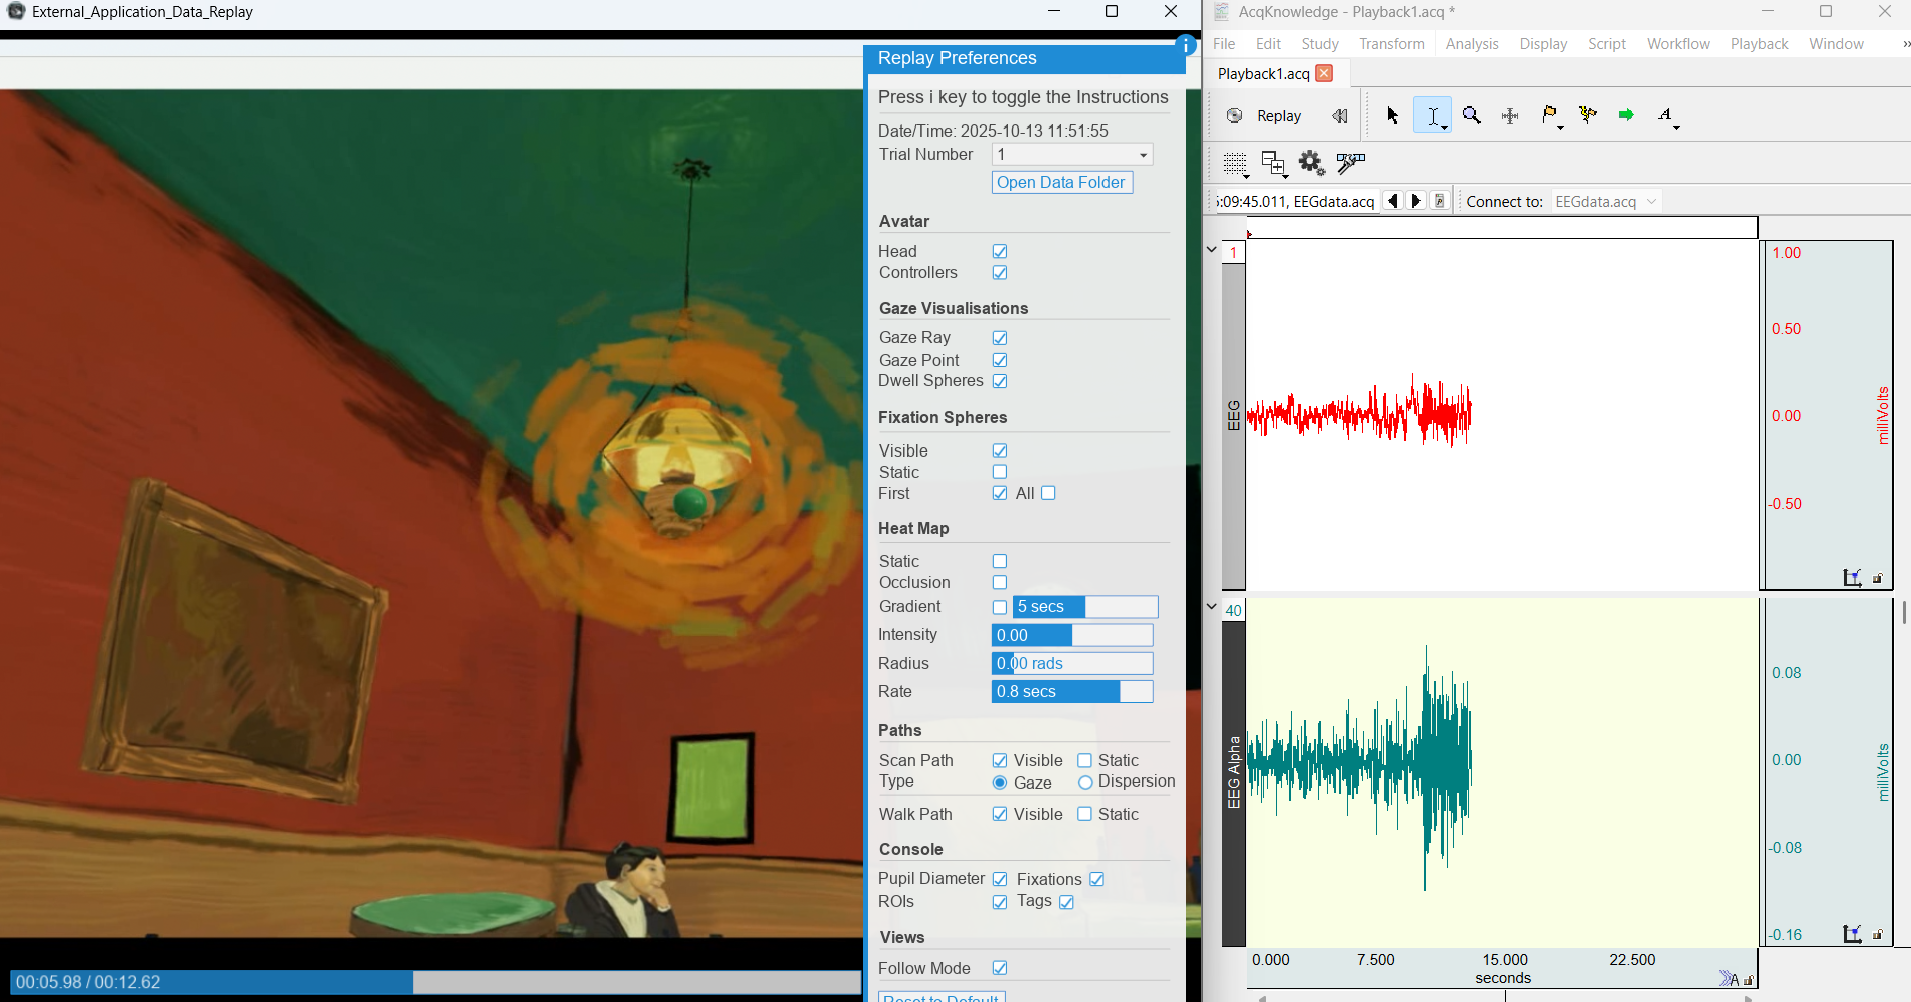 |
Use the scrubber in the replay to scrub through the playback. Press the 1 and 2 keys to synchronize moving the scrubber in Acqknowledge if using version 6.02 or higher. See this page for more information and controls for the Replay. |
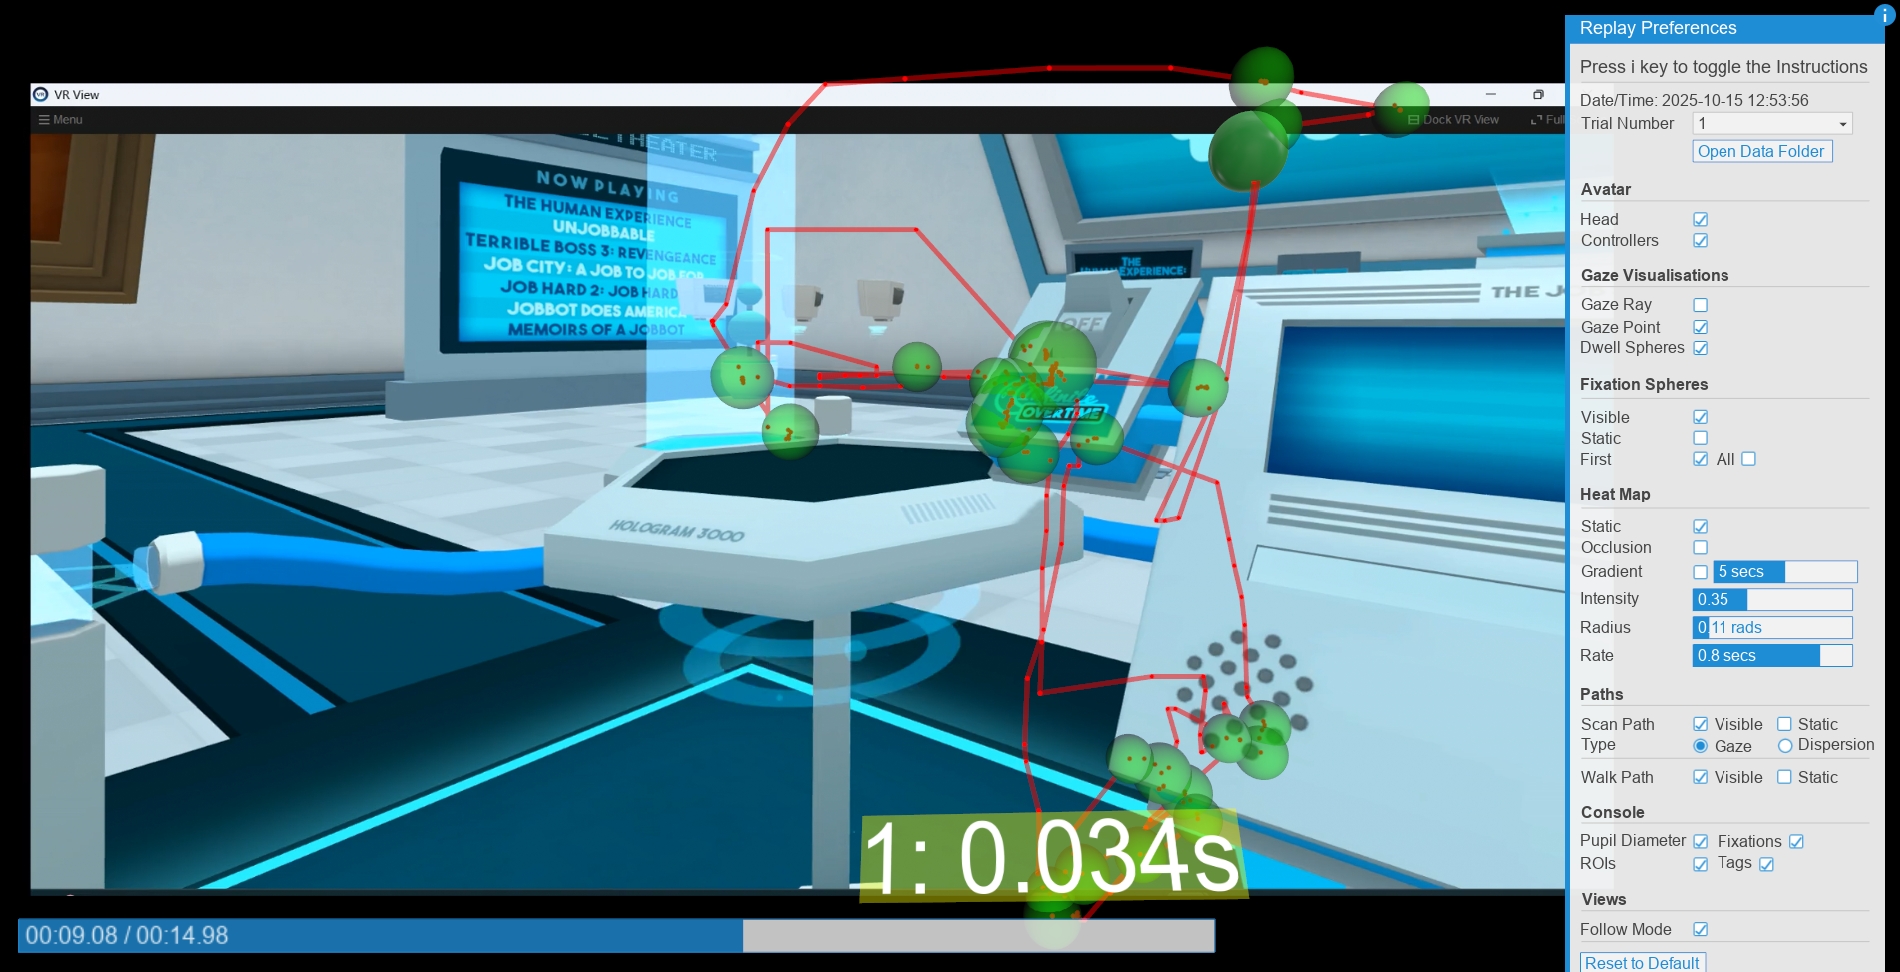 |
Toggle visualizations such as scan path, fixation spheres and the heatmap in the replay. Note: You may need to toggle the items first to see the visualizations. Visualizations other than gaze point not available for Stand Alone Android Based Applications. |
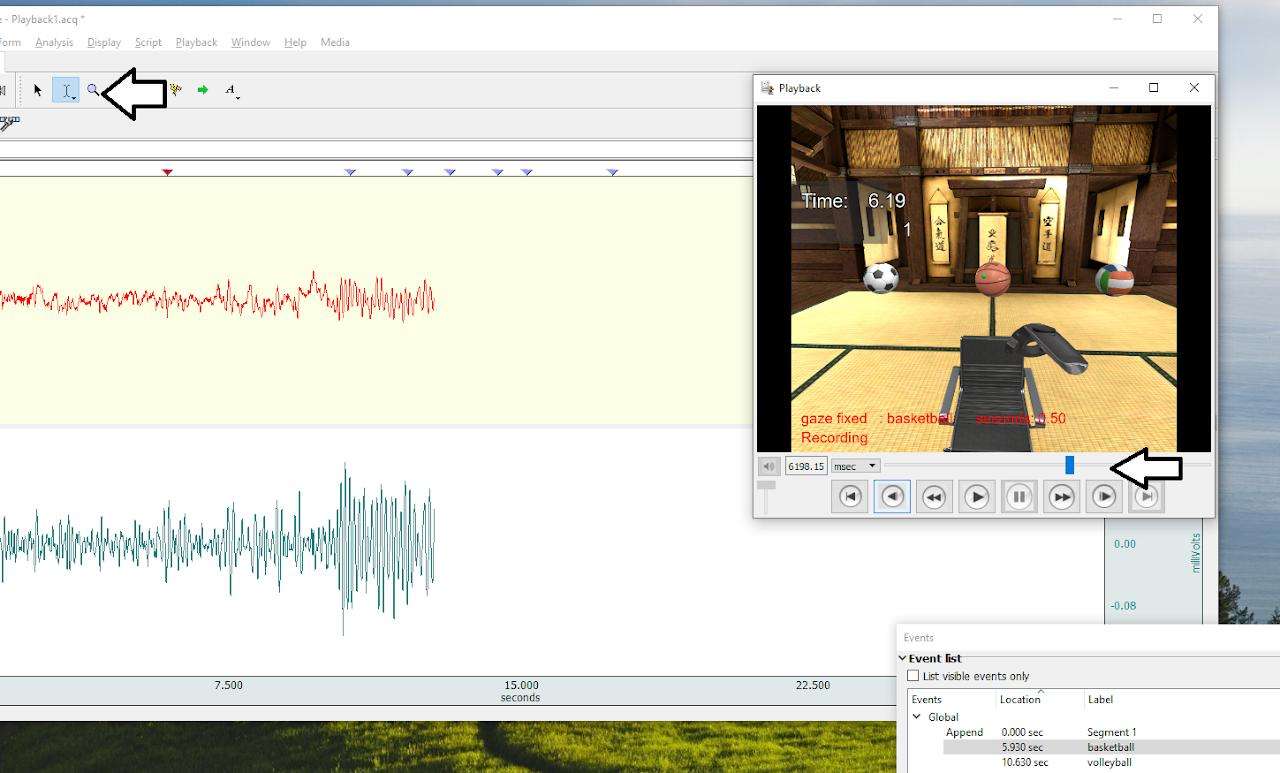 |
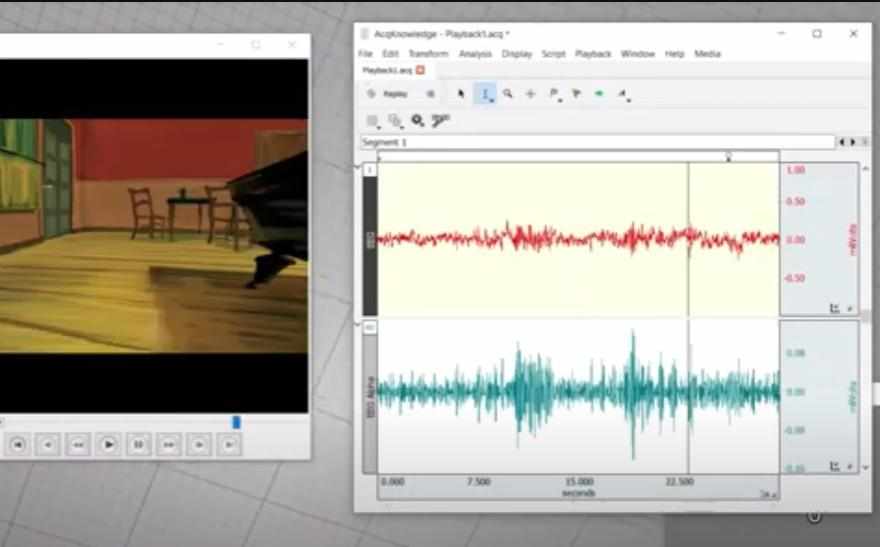
Press the "4" key in the replay to record a video with the gaze point (will need to let this play through in real time). Press "5" to stop. This will save in the "replay_recordings" folder. Open the recorded video in AcqKnowledge to see the synchronization with physiological data (not necessary if using Acqknowlege 6.02 or higher as the replay is synchronized with Acqknowledge). See here for how to do that. |
What Gets Recorded
See here for full list.
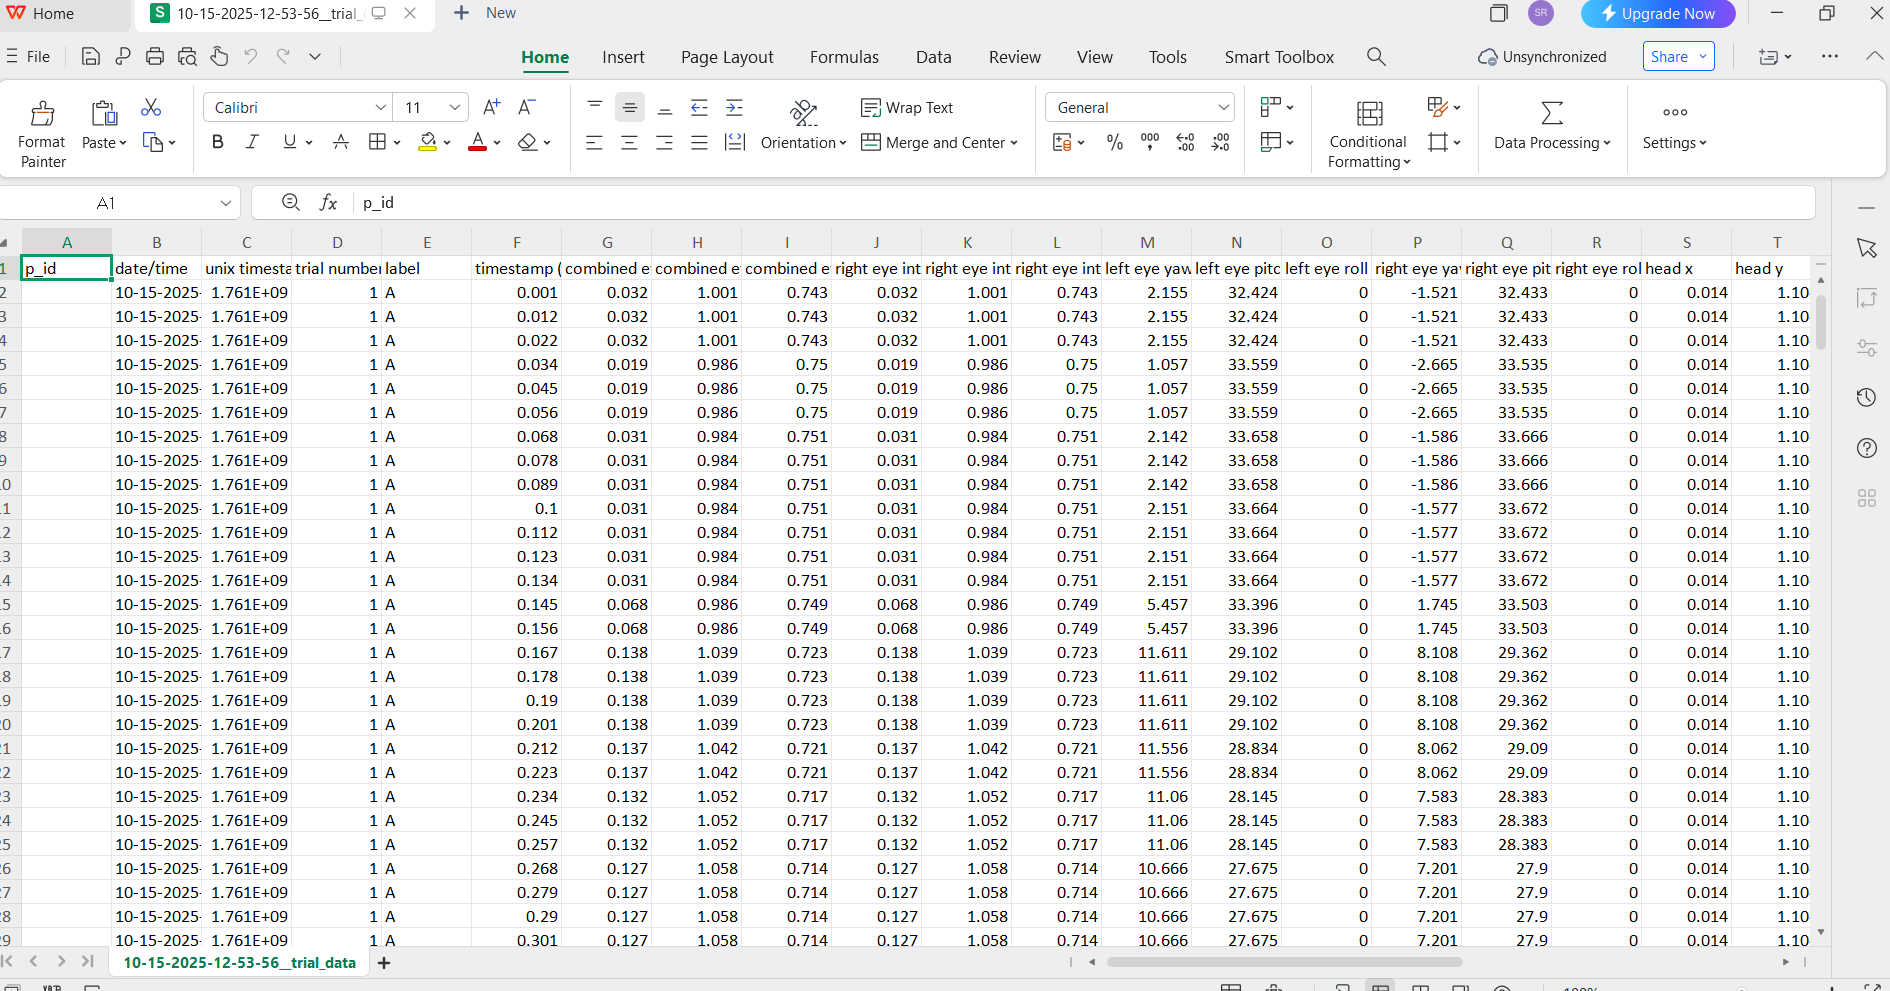
Eye/Gaze
- Combined & per‑eye gaze origin/rotation; gaze point overlay
- Fixations & counts
- Saccades (state, amplitude, velocity, peak/avg stats)
- (Experimental) AI‑derived View Counts & Dwell
Physiology (when available)
- Biopac AcqKnowledge Physiological Data (when connected to Biopac) (i.e. heart rate, EDA, ECG, EEG, FNIRs, Respiration)
- Pupil diameter (Varjo, Omnicept, Vive Pro Eye, Pupil Labs)
- Eye openness (Varjo, Omnicept, Vive Pro Eye, Vive Focus 3, Focus Vision)
- Heart rate & cognitive load (HP Omnicept)
- Facial expressions (Quest Pro)
Events & Timing
- Custom flags, interaction triggers, timestamps (trial‑relative & UNIX).
Video & Sync
- Optional screen recording (configurable method & quality)
- Biopac AcqKnowledge markers & sync; AcqKnowledge playback can be driven by the SightLab Replay slider (6.02+)
Note: Standalone/Android via casting records head pose only; no eye vector or object intersections.
Running Standalone/Android via Casting (Meta)
- On the headset: Settings → Camera → Cast.
- On PC: open https://www.oculus.com/casting/, press F11 for fullscreen.
- In the Recorder, choose Stand-Alone ("Desktop" if running an older version without that option) as the hardware mode and select the browser cast window.
- Replay will show a virtual screen; data syncs with AcqKnowledge if connected.
Configuration Settings
#Save Participant ID and Optional Name to Data
PID = True

# ----- Biopac & Network Sync -----
BIOPAC_ON = True                    # Communicate with Biopac Acqknowledge
LOCK_TRANSPORT = True                # Lock the transport
NETWORK_SYNC_KEY = 't'               # Key to send event marker to Acqknowledge
NETWORK_SYNC_EVENT = 'triggerPress'  # Event trigger for marker
USE_NETWORK_EVENT = False            # Send network event to external app
NETWORK_START = False      # if True, use a network event to start (instead of START_END_SESSION_KEY)
# Network host/port and JSON event names (must match Unity/Unreal sender)
NETWORK_HOST = 'localhost'
NETWORK_PORT = 4950
NETWORK_START_EVENT_NAME = 'start_trial'

# ----- Data Recording -----
RECORD_VIDEO = True                  # Enable video recording
RECORD_VIDEO_OF_PLAYBACK = True      # Record during replay
RECORD_GAZE_MAT = True               # Save gaze matrix data
RECORD_FACE_TRACKER_DATA = False     # Save facial expression data
OLDER_SIGHTLAB_PID = False           # Use older participant ID format

# ----- Video Recording Method -----
# "OPENCV"           = Compressed videos (~50MB/min), may crash after ~10min
# "VIZARD_BUILT_IN"  = Uncompressed (~400MB/min), stable for hours, records Vizard window only
# "SIGHTLAB_BUILT_IN" = Vizard built in with compression - Can take some time to compress
# "IMAGEIO_FFMPEG"   = External window capture via imageio-ffmpeg, may crash after ~10min
# "FFMPEG"           = Direct FFmpeg subprocess, most stable for very long recordings. Requires FFMPEG
SCREEN_RECORDER_TYPE = "IMAGEIO_FFMPEG"

# ----- Video Quality Settings -----
VIDEO_RECORDING_WINDOW_HEIGHT_NEW = '1920'
VIDEO_RECORDING_WINDOW_WIDTH_NEW = '1080'

# ----- Timer & Session Control -----
USE_TIMER = True                     # Use timer instead of keypress to end trial
USE_TIMER_DROPDOWN = True            # Show dropdown to select timer length
DEFAULT_TIMER_LENGTH = 10            # Default timer length (seconds)
START_END_SESSION_KEY = ' '          # Spacebar to start/stop trial
PLAY_END_SOUND = True                # Play sound at end of trial
TRIAL_CONDITION = 'A'                # Default trial condition label
SET_NUMBER_OF_TRIALS = 1

# ============================================================================
# REAL-TIME STREAMING SETTINGS (During Recording)
# ============================================================================

REAL_TIME_STREAMING = True           # Show live window capture in VR during recording

# ----- Texture Alignment (if video appears offset) -----
# Use keyboard controls to adjust, then copy values here:
#   Arrow Keys: Move texture   |   Numpad 4/6/8/2: Scale texture
#   P: Print values  |  R: Reset to defaults
TEXTURE_OFFSET_X = 0.0               # Horizontal offset
TEXTURE_OFFSET_Y = 0.0               # Vertical offset
TEXTURE_SCALE_X = 1.0                # Horizontal scale
TEXTURE_SCALE_Y = 1.0                # Vertical scale
TEXTURE_ADJUSTMENT_STEP = 0.05       # Adjustment increment per keypress

# ============================================================================
# REPLAY SETTINGS (During Playback)
# ============================================================================

HIDE_REPLAY_GUI = False              # Hide SightLab's replay GUI
FOLLOW_ON = True                     # Enable first-person view in replay
REPLAY_SECOND_GAZE_POINT_OFF = True  # Default True
override_screen_position = True      # Flag to control whether we override replay position
override_real_time_position = False  # Default False

# ----- Screen Position & Size -----
# Adjust these if the replay video appears misaligned or wrong size
# Use keyboard controls during replay to find perfect values:
#   Arrow Keys: Move  |  PgUp/PgDn: Depth  |  +/-: Width  |  [/]: Height
#   K: Print values  |  L: Reset  |  O: Toggle override

# ----- Viewpoint Adjustment -----
# Fine-tune camera position/rotation for optimal replay viewing

# ============================================================================
# PROFILE MAPPING AND PRESET CONFIGURATIONS
# ============================================================================
See the Config file for the full profile mapping list you can adjust
When to switch recorder type
• VIZARD_BUILT_IN: rock‑solid for long runs (uncompressed, big files).
• IMAGEIO_FFMPEG/OPENCV: smaller files, may be less stable after ~10 min.
• SIGHTLAB_BUILT_IN: Vizard built‑in with compression.
Replay Controls (Highlights)
- Toggle overlays: scan path, fixations, dwell spheres, heatmap
- Follow camera: on by default for 360 media
- Scrub: hotkeys B/N or C/V to step; drag slider to set time (video frame jumps follow hotkeys)
- Record gaze video: 4 start / 5 stop → saves to
/replay_recordings
Auto AI Object Detection (Beta)
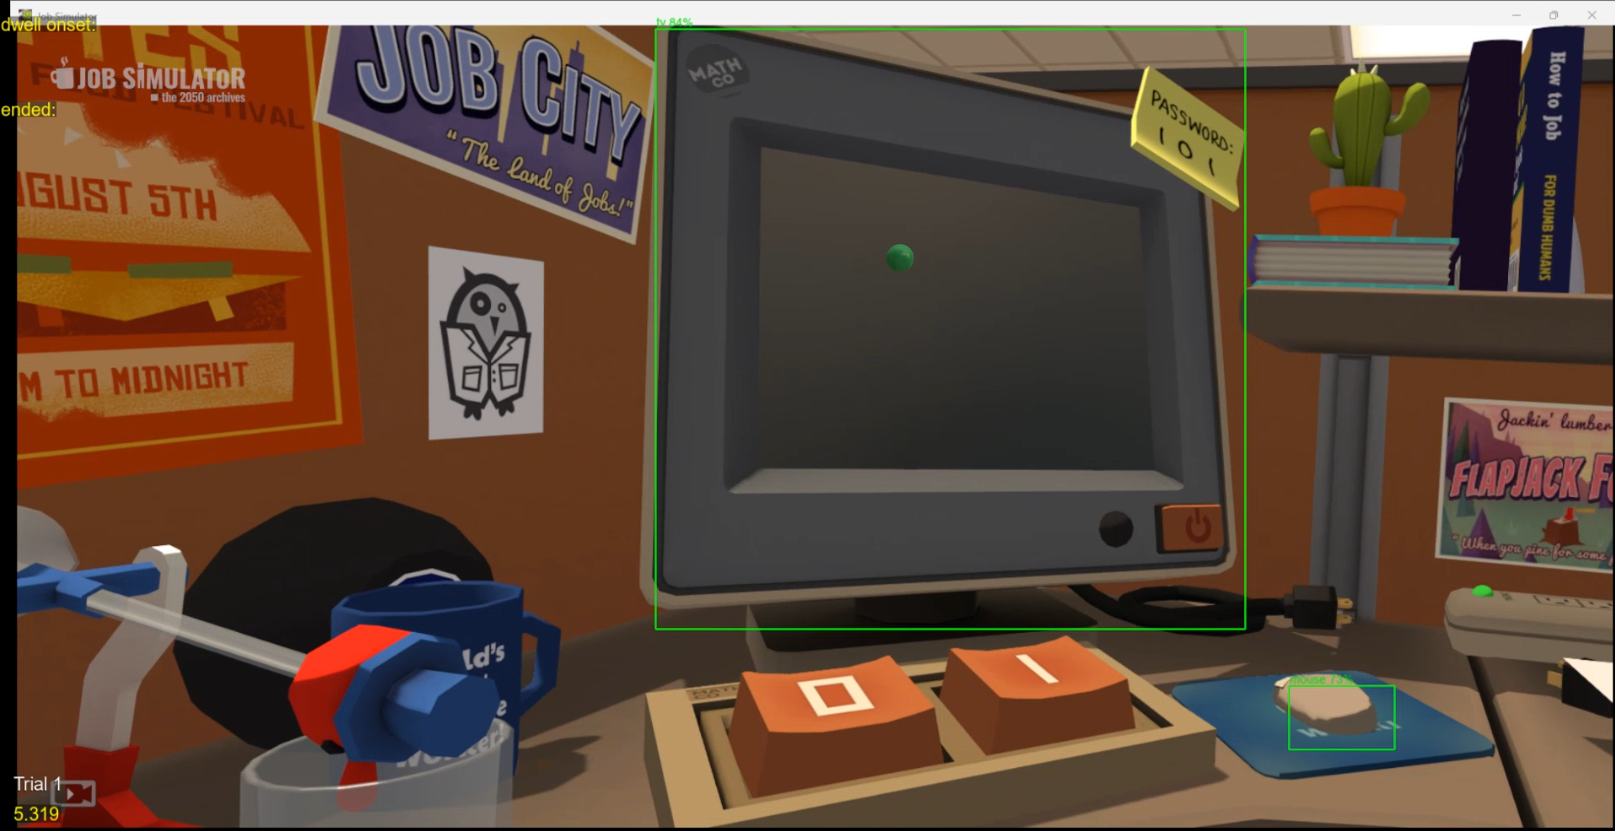
The Auto AI Object Detection feature uses Ultralytic's YOLO models to run real-time inference on the mirrored HMD view window. Gaze point intersections with detected objects and dwell time information is recorded in real time through SightLab, all without any manual setup. Detected objects can only be visualized on the mirrored HMD view window.
Quick Setup
To use the AI Object Detection feature, ensure the following config variables found in the configuration file are set to the following values:
| Setting | Value | Description |
|---|---|---|
USE_YOLO_DETECTION |
True |
Whether or not to use AI Object Detection feature |
USE_BOUNDING_BOXES |
True |
Whether or not to create bounding box overlays on the mirrored window |
SHOW_BOUNDING_BOXES |
True |
Whether or not to show YOLO detected bounding boxes on the mirrored window |
SHOW_LABELS |
True |
Whether or not to show class labels of the YOLO detected bounding boxes on the mirrored window |
ENABLE_GAZE_DAEMON |
True |
If True, uses bounding boxes as the gaze/dwell data collection method. |
This ensures you can see the detected bounding boxes on your mirrored screen, and that gaze/dwell data is being collected.
Output Data
SightLab saves standard experiment data to the data/ folder, including for each detection:
- Dwell time — total time gaze rested on each detected object
- Gaze count — number of times gaze entered each object
- Average dwell time — mean gaze duration per view
- First view time — when the user first looked at each object
- Gaze/Dwell timeline — temporal sequence of gaze events
Each YOLO-detected object appears in the data with its key (e.g. yolo_chair_3, yolo_laptop_7) if the experimental DetectedObjectManager class is used, otherwise they are labeled by class.
Architecture
flowchart TD
    A["`Open an external VR application`"] --> B["`Mirror the HMD view as a desktop window
    (Actual application window (recommended) or SteamVR View)`"]
    B --> C["`**YOLOScreenDetector** class
    (two daemon threads, ultralytics YOLOv8)`"]
    C --> C1["`WindowCapture
    - finds window by title from config
    - converts captured window into NumPy rgb frame to run inference on`"]
    C1 --> D["`**YOLO inference loop** (daemon thread)
    - Detections set every YOLO_DETECTION_INTERVAL seconds
    - Posts async INFERENCE_EVENT to main thread to overlay detections on mirrored window
    - Detections gazed >= 0.5s (default SightLab dwell time) are logged as dwelled.
    Detections are represented using the two methods below.`"]
    D --> Branch{"ONE/BOTH of"}
    Branch --> E["`**Gaze intersection loop** (daemon thread)
    - Checks if gaze point (x,y) falls in any detected bounding boxes
    - Sets currently gazed class every GAZE_INTERSECTION_INTERVAL seconds
    - Compares to last gazed class to detect change`"]
    Branch --> F["`**CollisionVolumeManager** (separate class)
    - 3D collision volumes registered as SightLab scene objects for each detection
    - Volumes persist across frames as unique scene objects, differentiating same-class objects (e.g. cup_1, cup_2)`"]
    E --> G["`**YOLOScreenDetector** collects gaze/dwell data on each detected class`"]
    F --> H["`SightLab collects gaze/dwell data on each tracked object`"]
How Dwell Time Collection Works
The YOLOScreenDetector tracks gaze on detections automatically. For dwell data to accumulate on a detection:
- The object must persist across multiple frames
- The object must survive long enough for the user's gaze to exceed SightLab's dwell threshold (default 500ms)
Gaze Intersection Detection Methods
There are two ways to detect gaze intersection with YOLO detections:
  1. The 2D BoundingBoxOverlay class (two-dimensional flat bounding boxes from YOLO)
  2. The 3D DetectedObjectManager class (three-dimensional collision volumes created in SightLab)
The BoundingBoxOverlay class manages overlaying bounding boxes in the mirrored experiment window using the detections and their coordinates returned by the YOLOScreenDetector class. Since the mirrored HMD view is the captured window for YOLO inference, the bounding boxes are returned in the captured window's coordinate system. The DetectedObjectManager class also uses the detections' coordinates to create 3D collision volumes as gaze-registered SightLab scene objects in the mirrored experiment window.
The BoundingBoxOverlay method is the default object detection method. Since the bounding boxes aren't created as SightLab objects, gaze intersection is implemented in the YOLOScreenDetector class itself in a second daemon thread.
The DetectedObjectManager is an experimental feature that has object persistence capabilities. For example, if a cup is detected in the captured window, a collision volume is created as a SightLab object in the approximate location of the cup with a unique id for that specific instance of the cup class. Other cups detected will have different unique ids, and the SightLab gaze tracking will recognize the difference between the two cups as the two SightLab objects transform along with the HMD POV changes.
Default YOLO bounding boxes are created frame by frame, and the difference between two objects of the same class is not tracked when using the BoundingBoxOverlay class as the detection method.
Configuration Reference
YOLO Detection
| Setting | Default | Description |
|---|---|---|
USE_YOLO_DETECTION |
True |
Whether or not to use AI Object Detection feature |
YOLO_MODEL |
'yolov8n.pt' |
Model size. Options: yolov8n.pt (nano, fastest), yolov8s.pt (small), yolov8m.pt (medium, most accurate) |
YOLO_CONFIDENCE |
0.6 |
Minimum confidence threshold (0.0–1.0). Lower = more detections but more false positives |
YOLO_DETECTION_INTERVAL |
0.1 |
Seconds between YOLO inference runs. Lower = more responsive, higher = less CPU |
YOLO_CLASSES |
None |
COCO class IDs to detect. None = all classes. Example: [56, 62, 63] for chair, tv, laptop |
Visualization
| Setting | Default | Description |
|---|---|---|
SHOW_DEBUG_VOLUMES |
False |
Show green semi-transparent collision volumes over detected objects (only takes effect when USE_OBJECT_MANAGER is True) |
DEBUG_VOLUME_ALPHA |
0.25 |
Opacity of debug collision volumes (0.0–1.0) (only takes effect when USE_OBJECT_MANAGER is True) |
SHOW_LABELS |
True |
Show text labels (class name + confidence) above each object |
SHOW_BOUNDING_BOXES |
True |
Show YOLO bounding boxes for each detected object in mirror overlay window |
Gaze Tracking
| Setting | Default | Description |
|---|---|---|
ENABLE_GAZE_TRACKING |
True |
Register detected objects' collision volumes as SightLab gaze targets (only takes effect when USE_OBJECT_MANAGER is True) |
GAZE_INTERSECTION_DETECTION_INVERAL |
0.0111 |
Seconds between gaze intersection detections. Lower = more precise timing measurement (this should not exceed your HMD's update rate), higher = less CPU |
USE_GAZE_BASED_ID |
True |
Print console messages and show labels when gaze dwells on a collision volume (only takes effect when USE_OBJECT_MANAGER is True) |
Experimental DetectedObjectManager Class Configuration
| Setting | Default | Description |
|---|---|---|
USE_OBJECT_MANAGER |
False |
Enable creation of 3D collision volumes for detected objects |
MAX_TRACKED_VOLUMES |
15 |
Maximum simultaneous tracked objects and their collision volumes |
COLLISION_VOLUME_SIZE |
[0.2, 0.2, 0.15] |
Default size of the collision volume for each detected object (meters) |
DEFAULT_VOLUME_DEPTH |
0.5 |
Default depth (meters) at which to place collision volumes in 3D space |
MATCHING_DISTANCE_THRESHOLD |
0.5 |
How close (normalised 0-1 screen space) a new detection must be to an existing volume of the same class to be considered the SAME object. Higher = more forgiving when the user moves their head. |
VOLUME_PERSISTENCE_TIME |
0.5 |
How long (seconds) an object persists after it's no longer detected. |
Window Capture
| Setting | Default | Description |
|---|---|---|
CAPTURE_WINDOW_TITLE |
"AI_ObjectDetection" |
Window title to capture. Must match the Vizard window title. Set to None to be prompted with a window picker at startup |
CAPTURE_FLIP |
None |
Flip captured frame: 0 = vertical, 1 = horizontal, -1 = both, None = no flip |
Network Events with External Applications
The external application data recorder can be controlled via an external application (such as starting the trial with a signal from the other application), send triggers to external applications or send additional information back and forth. For information on how this works see this page.
Additional Extended Features
- Rating/Likert Scales & Surveys
Easily collect participant feedback. Customize scale labels and capture responses programmatically and in data exports. Ratings must be collected before or after the external session. - Inputs/Demographics
Gather participant data (e.g., age, ID, gender) before starting the external session. - Adding a Label/Condition
Tag sessions with experimental conditions for sorting and analysis. - Flags, Network Events, Button Clicks
Enable logging of custom triggers (e.g., spacebar presses, network signals) during the session for synchronized event tracking. - External apps can send JSON UDP (e.g., {"event":"start_trial"} or {"event":"sync"}) to trigger local actions like syncEvent() or just be logged. Make sure the external app is sending UTF-8 JSON over UDP to the same NETWORK_HOST/NETWORK_PORT
- Speech Recording (optional)
Record microphone input for later analysis or transcription. - Transcriptions
Combine mic recordings with post-session transcription tools to create searchable dialogue data. - Instructions
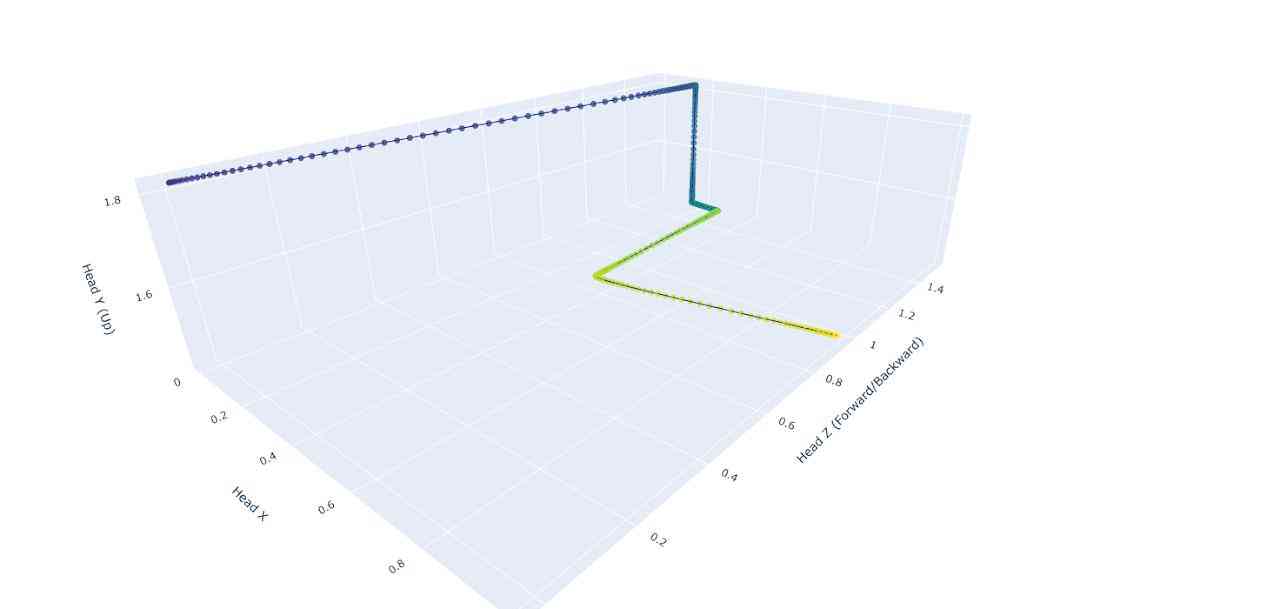
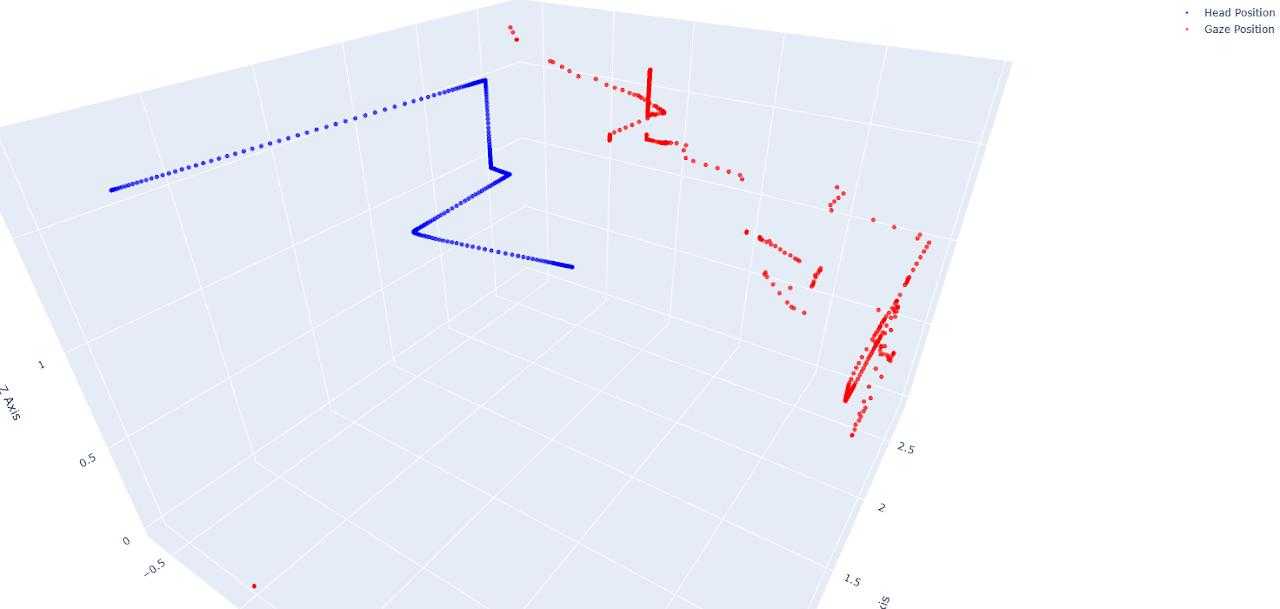
Show instructions or display guidance on the mirrored desktop before launching the external app. - Plotly for Additional Data Analysis
Replay session data with built-in Plotly tools to visualize gaze, movement, and behavioral metrics - Face Tracking and Expression Analysis
Automatically capture facial expressions with supported headsets (e.g., Meta Quest Pro) if enabled in the config. - Average Physiological Data
Biopac integration allows tracking and averaging of heart rate, skin conductance, and cognitive load throughout the session. - Baseline
Record a short “resting” or neutral task before launching the external app to establish baseline physiological readings. - Biofeedback Ball
Display a 3d object that responds to physiological data streams. - Lab Streaming Layer
Connect to additional devices via Lab Streaming Layer.
Limitations and Tips
- Can also use SteamVR to run the application and then use “Display VR View” to mirror the window and use that as the window to run the application on (Note: Don't use VR View for Real Time Streaming as it will override the view). This may be necessary for Meta Quest Pro and SteamVR
- Replay has a screen that is in a weird looking aspect ratio or colors or off: Install K-lite codec pack from https://codecguide.com/download_kl.htm
- May have weird results if headset eye tracking is not calibrated or head direction is off.
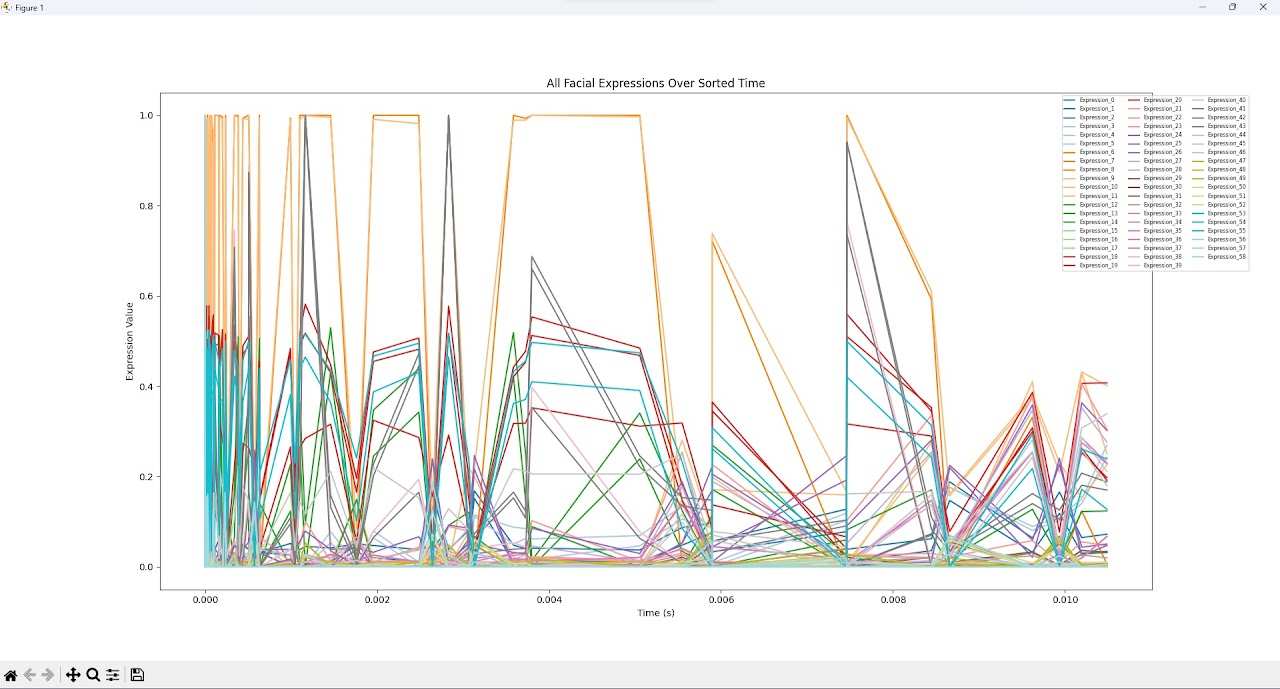
- Face tracking data can be found in the
datafolder and visualized using thefacial_expressions_over_time.pyscript. - Z‑depth caveat: Gaze point in external apps hits a screen‑space collider; Z accuracy is not object‑aware.
- Headsets will not save head orientation (but will show in the replay with the virtual screen)
- Note: For Vive Focus Vision and Vive Focus 3, need to use the SRAnipal driver instead of OpenXR. Download here (You don't need to run the Vive Console, just Vive Streaming, but the Vive Console software has to be installed to have access to the SRAnipal driver)
- To verify that the eye tracker is working, recommend to run SightLab_VR.py first and then press 'p' to see your gaze point moving.
- If running with SteamVR, minimize the SteamVR window first so that doesn't show on top of the video
- The eye tracking may need to be first calibrated on the device, and then can also calibrate the replay screen by focusing on a point in the scene and moving the REPLAY_SCREEN_CALIBRATION using the arrow keys in the replay and pressing 'k' to print the numbers you can paste into the specific hardware profile you are using. You can also manually move the screen object in the
resourcesfolder.
FAQ (Short)
Where are my files?
All sessions go under /data/<date>_<participant>/
Why does the replay look stretched/offset?
Use replay hotkeys (arrows/pgup/pgdn/+/-) to dial in the screen; then copy printed values into the config
Can I start/stop with the network?
Yes—enable NETWORK_START=True and match event names/host/port with your Unity/Unreal sender.
 |
 |
|---|---|
 |
 |
|