GUI Overview
Using the GUI Editor
Note: If the GUI you are using looks different, you may be on SightLab 2.3 or earlier. Download latest version here.
-
Open the SightLab VR Script:
- Click on the Details page to run your primary script or double-click
SightLab_VR.pyin your project folder - This will launch the GUI editor.
Note: If other Python editors are installed on your system, ensure that the file opens in the Vizard Python environment. If the GUI doesn't load, right-click on the script and choose "Open With - Vizard 7" or "Vizard 8" (found at
C:\Program Files\WorldViz\Vizard\<versionNumber>\bin\winviz.exe).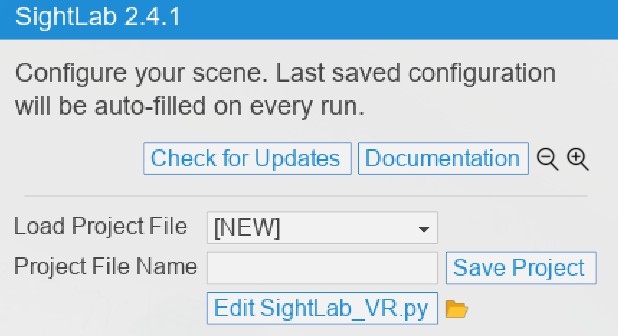
- Click on the Details page to run your primary script or double-click
-
Create a New Project: (note: for project management it is suggested now to just use the SightLab Dashboard)
- Click New.
- Enter a name for your project.
- Click Save Project.
Additional Options:
- Load existing
.stlbfiles (SightLab experiment files). - Edit your Python script by clicking Edit [filename].
- Open your project folder by clicking the folder icon.
Managing 3D Models and Media
-
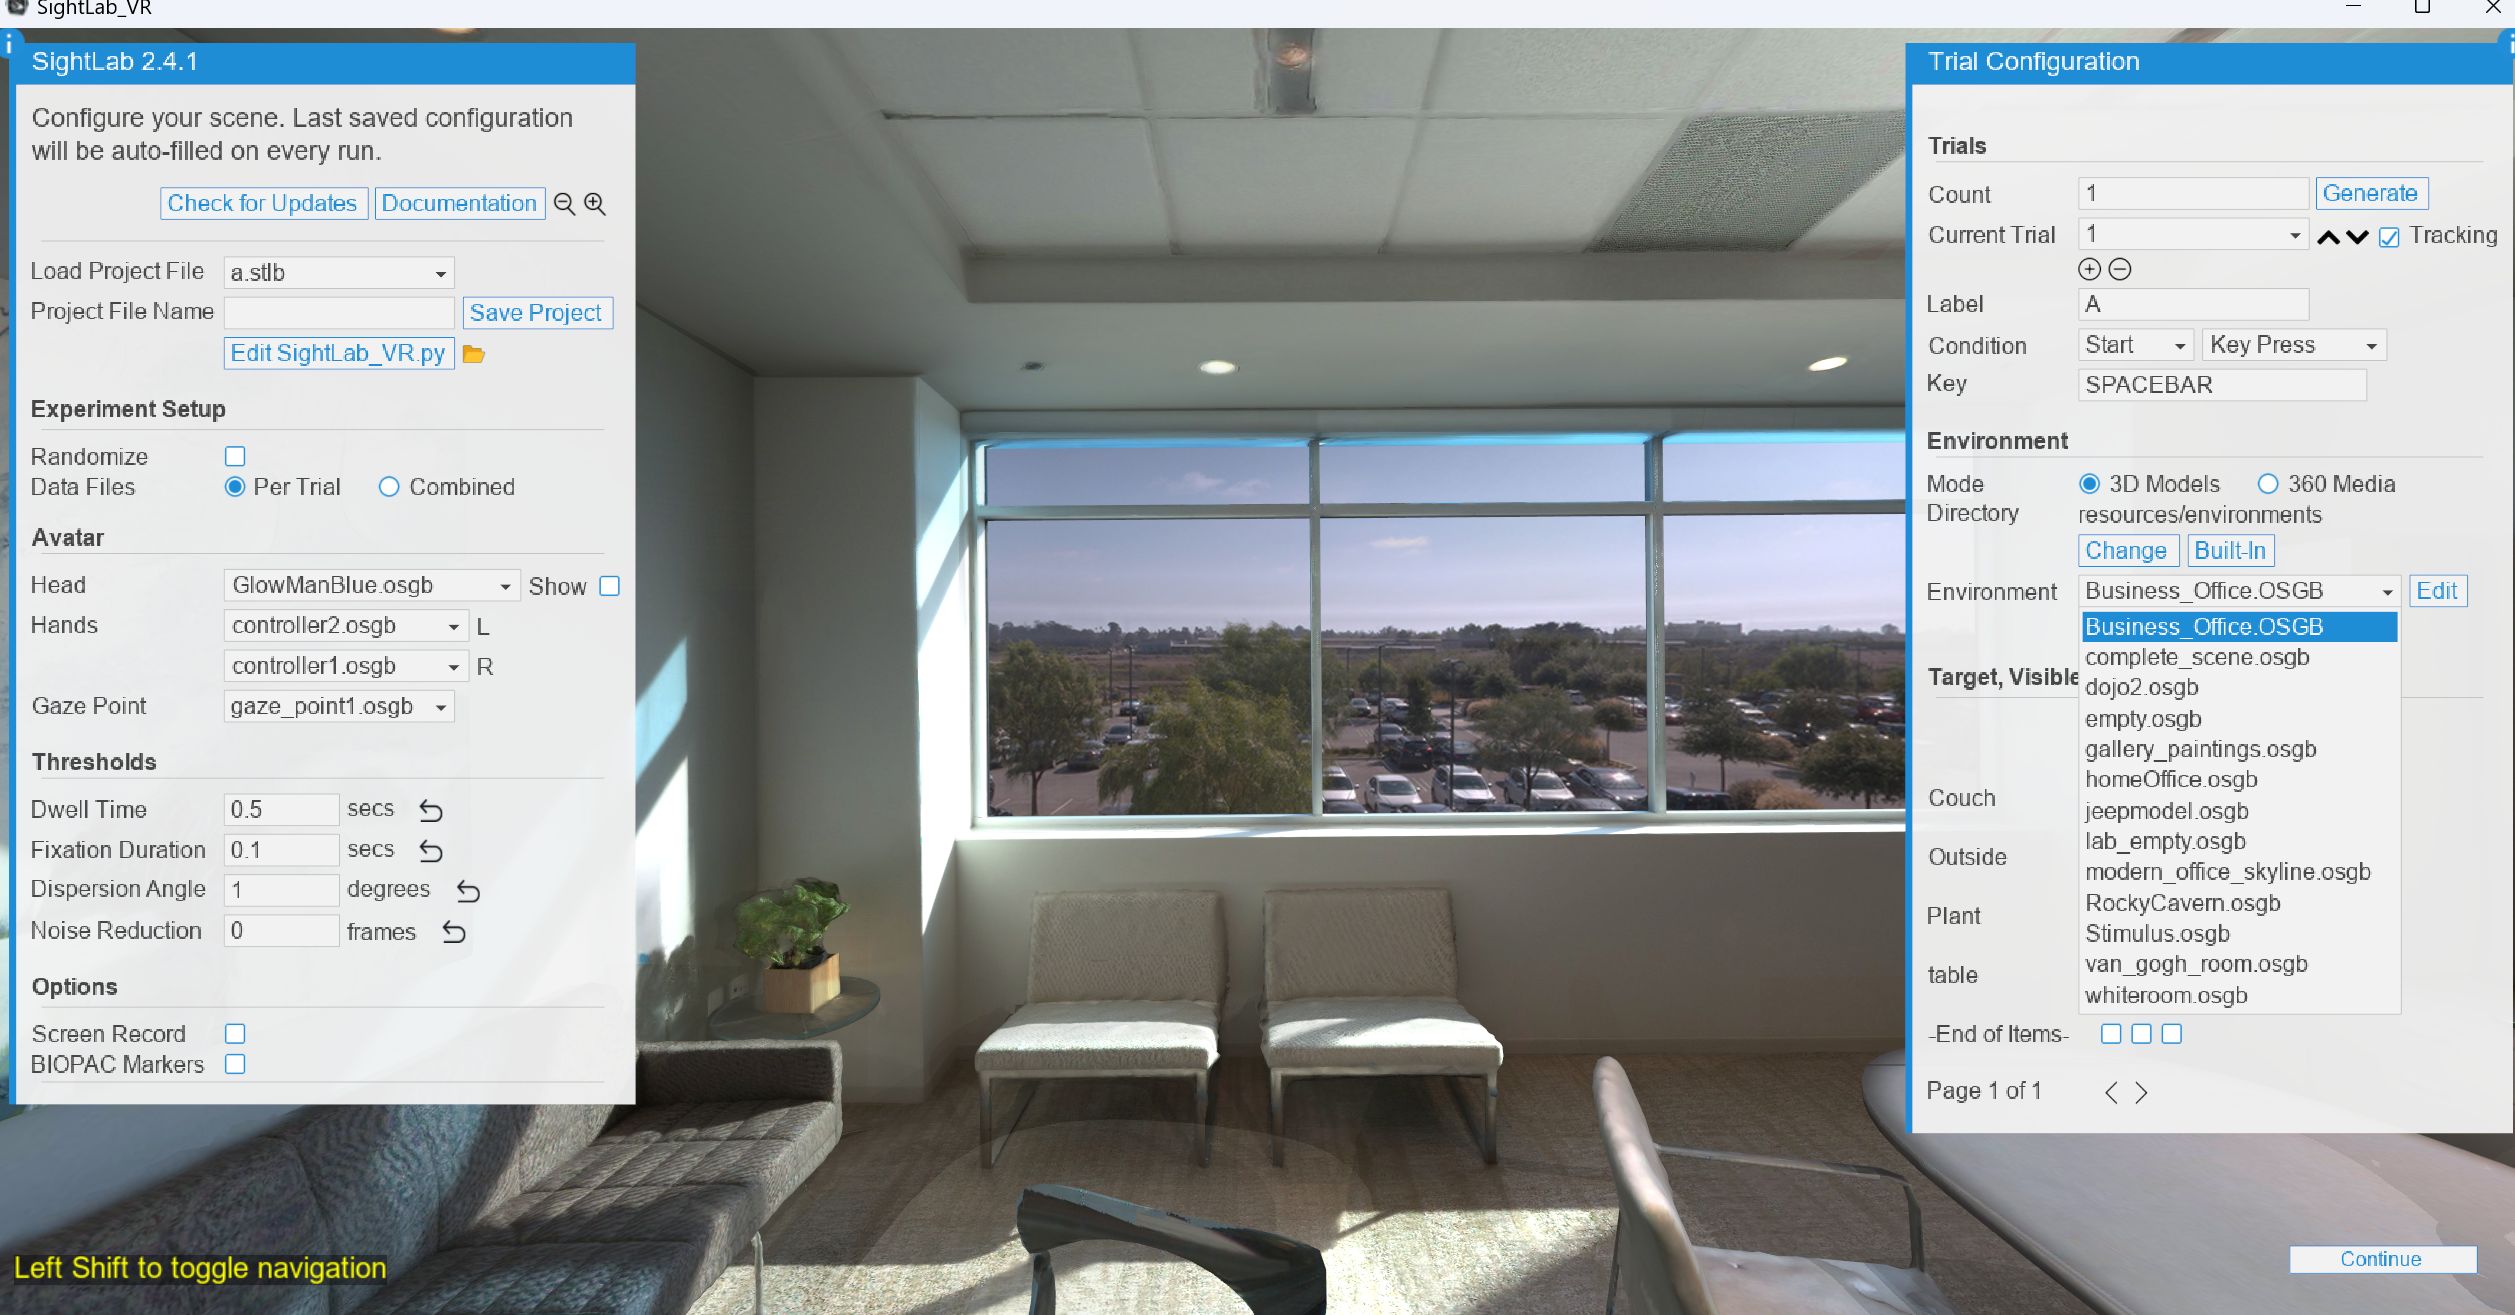
View Available Models and Media:
-
Click the Environment dropdown to see available 3D models.
-
Select 360 Media for 360 media files.
-
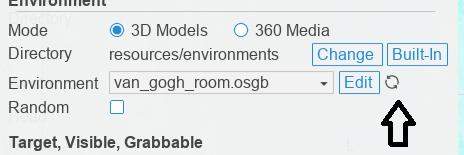
Change Working Environment:
-
Click Change to switch the directory within your project.
- Click Built-In to use SightLab's included assets.
Note: to get to this screen with SightLab 2.3 or earlier need to click the "Modify" button
Editor Controls Overview
- Left Shift: Toggle scene lock/ROI selection mode (360 media).
- . (Period)/F1: Hide/show the menu.
- Mouse: Look around.
- WASD/Arrow Keys: Move (left/right/forward/backward).
- Z/X: Move down/up (or PageUp/PageDown).
- Q/E: Rotate left/right.
- R: Reset viewpoint.
- /: Take screenshot.
- ;: Toggle mouse lock.
- ,: Toggle scene display.
- F2: Toggle fullscreen.
- F3: Toggle rendering/wireframe modes.
- F4: Show frame rate/performance metrics.
- Escape: Exit.
- Ctrl + F6: Dock/undock with code.
- Spacebar: Toggle media playback (360 media).
- 1: Select ROIs (360 media).
- IJKL: Move virtual gaze point (or use mouse).
- Alt + I: Float window and activate Vizard IDE interactive input.
Editing Models
-
Open Models in Inspector:
-
Click Edit in the Experiment Options editor to open a model in Inspector.
- Use Inspector to add objects, tag ROIs, set starting points, adjust lighting, etc.
- For Inspector workflow see this page
Saving Changes
- File > Save your work in Inspector.
- Refresh in SightLab to apply changes.
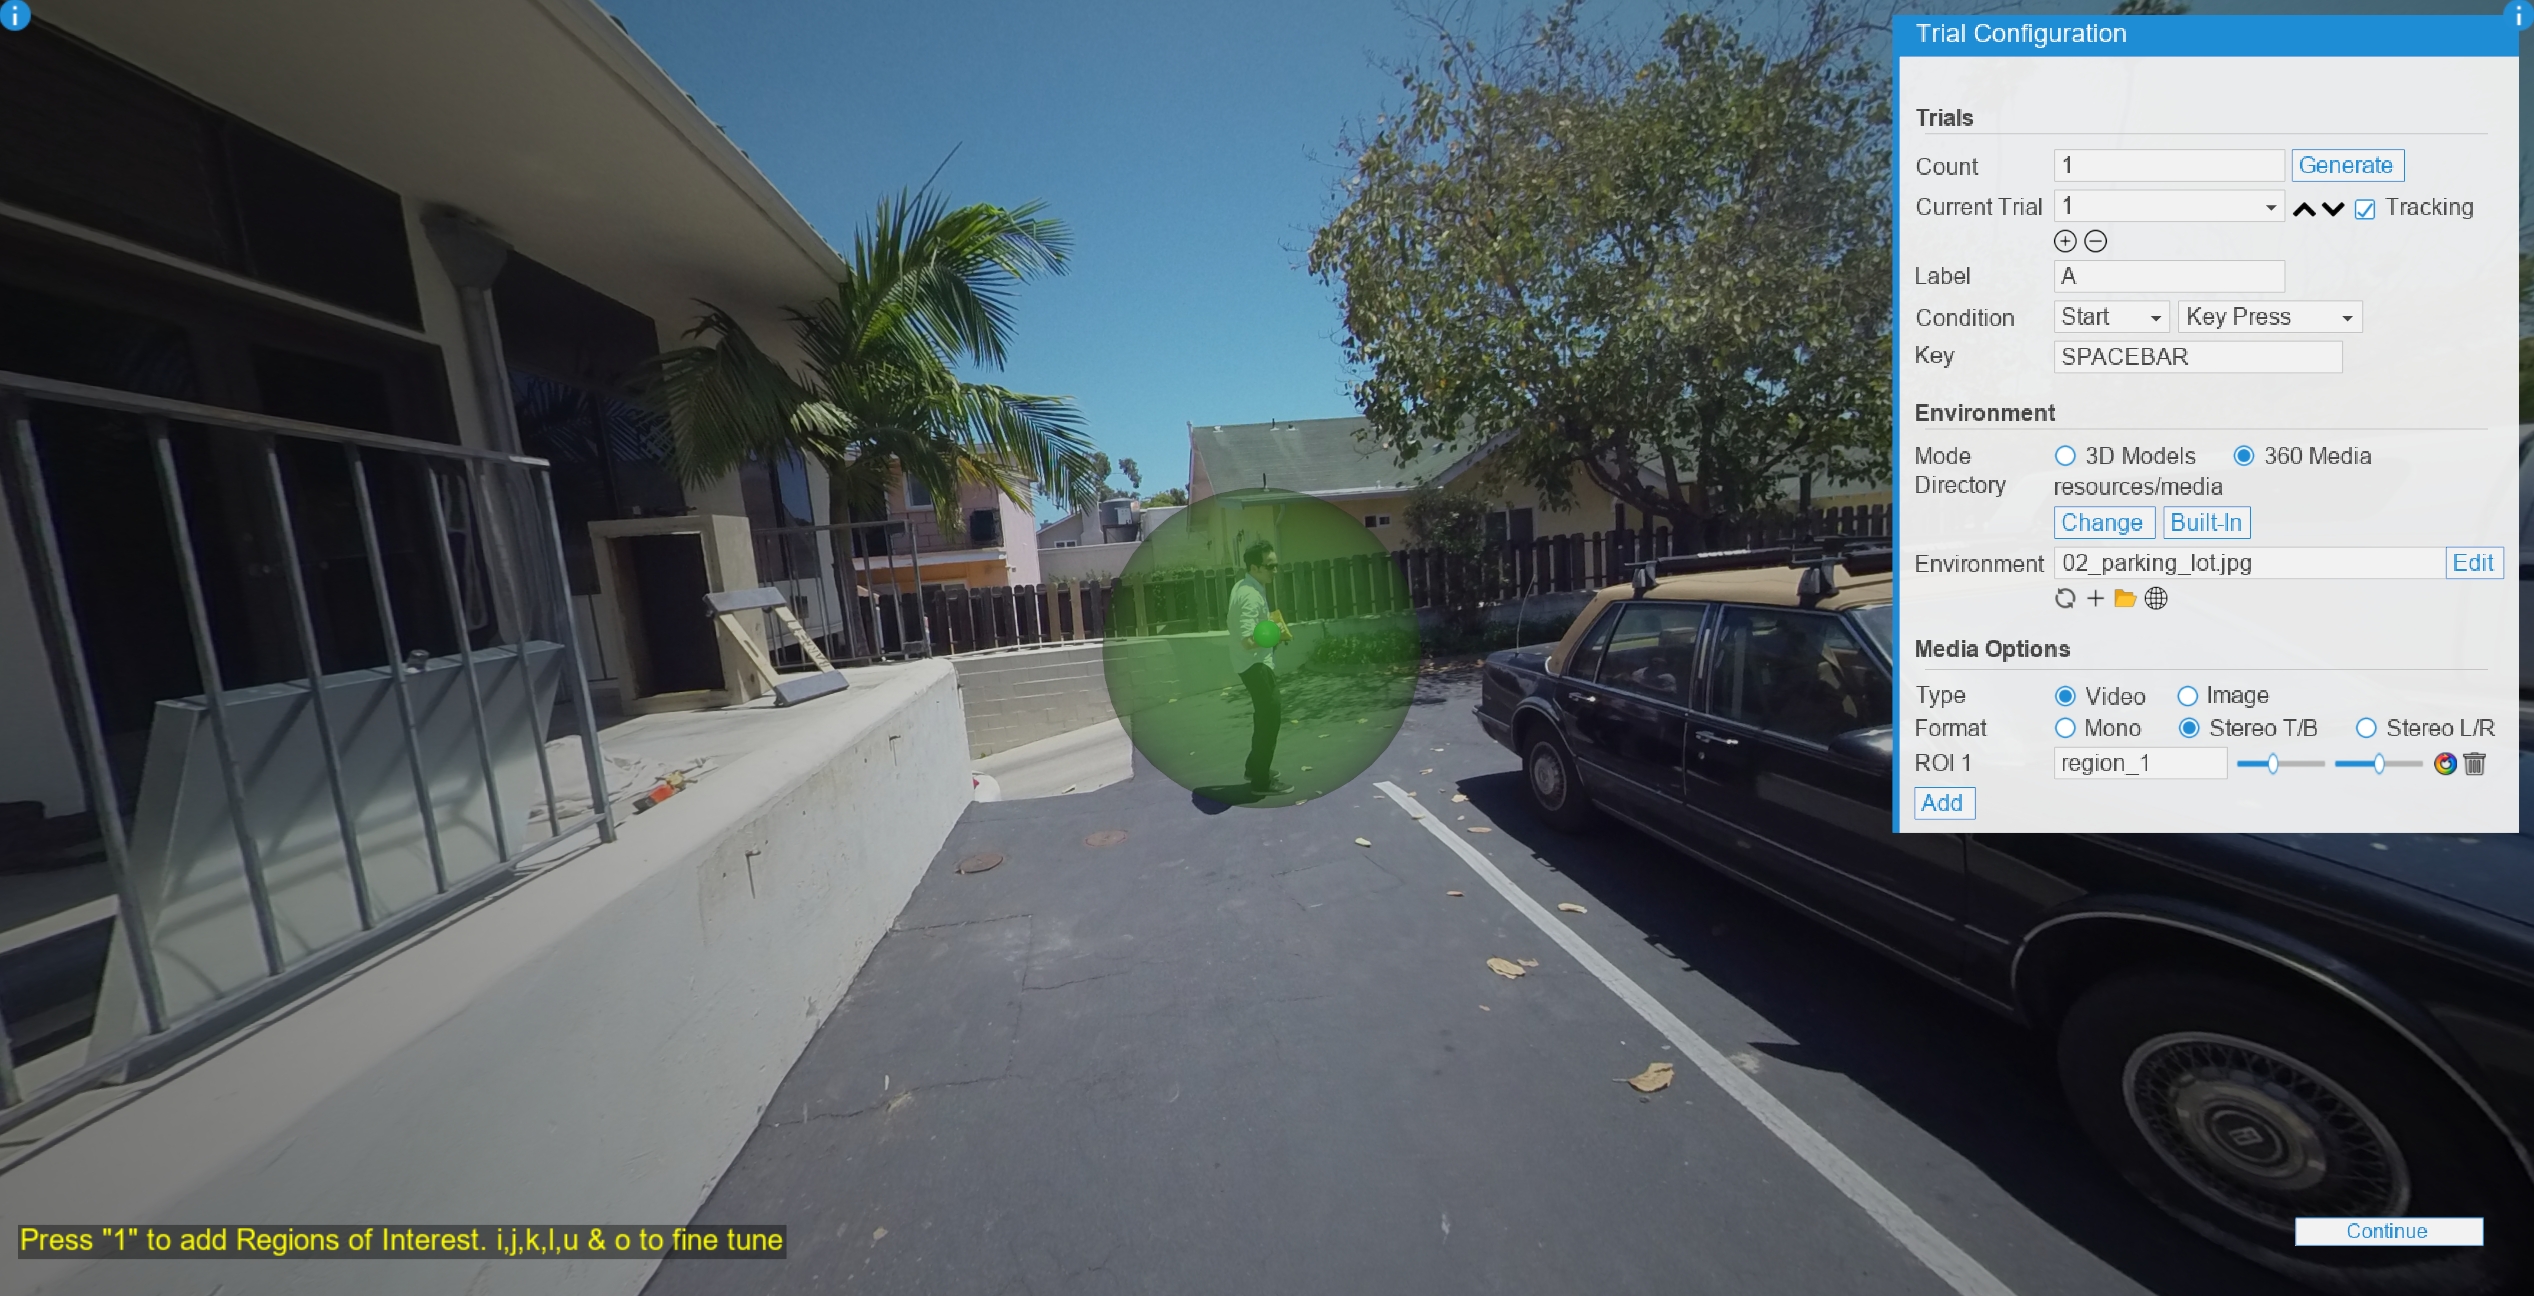
Working with 360 Media
Switching to 360 Media Mode
- Select 360 Media in the Experiment Options editor.
Selecting Media
- View media in the
resources/mediafolder. - Use Change to switch directories.
- Use Built-In for default 360 media.
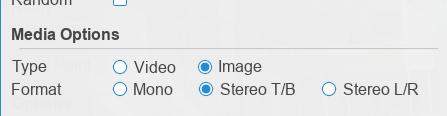
Media Options
- Choose media type (video/image).
- Select stereo or mono format.
Adding ROIs to 360 Media
- Press Add or Left Shift to enter ROI mode.
Tip: Press ; to lock the mouse cursor.
Placing and Customizing ROIs
- Move the virtual gaze point and press 1 to set ROIs.
- Customize region name, scale, opacity, and color.
- Use the i,j,k,l,u & o keys to move the region or fgh and Shift FGH to scale in x,y or z (use the slider to scale in )
Tip: Lower opacity to hide ROIs during the experiment.
Refer to this YouTube Tutorial for more information.
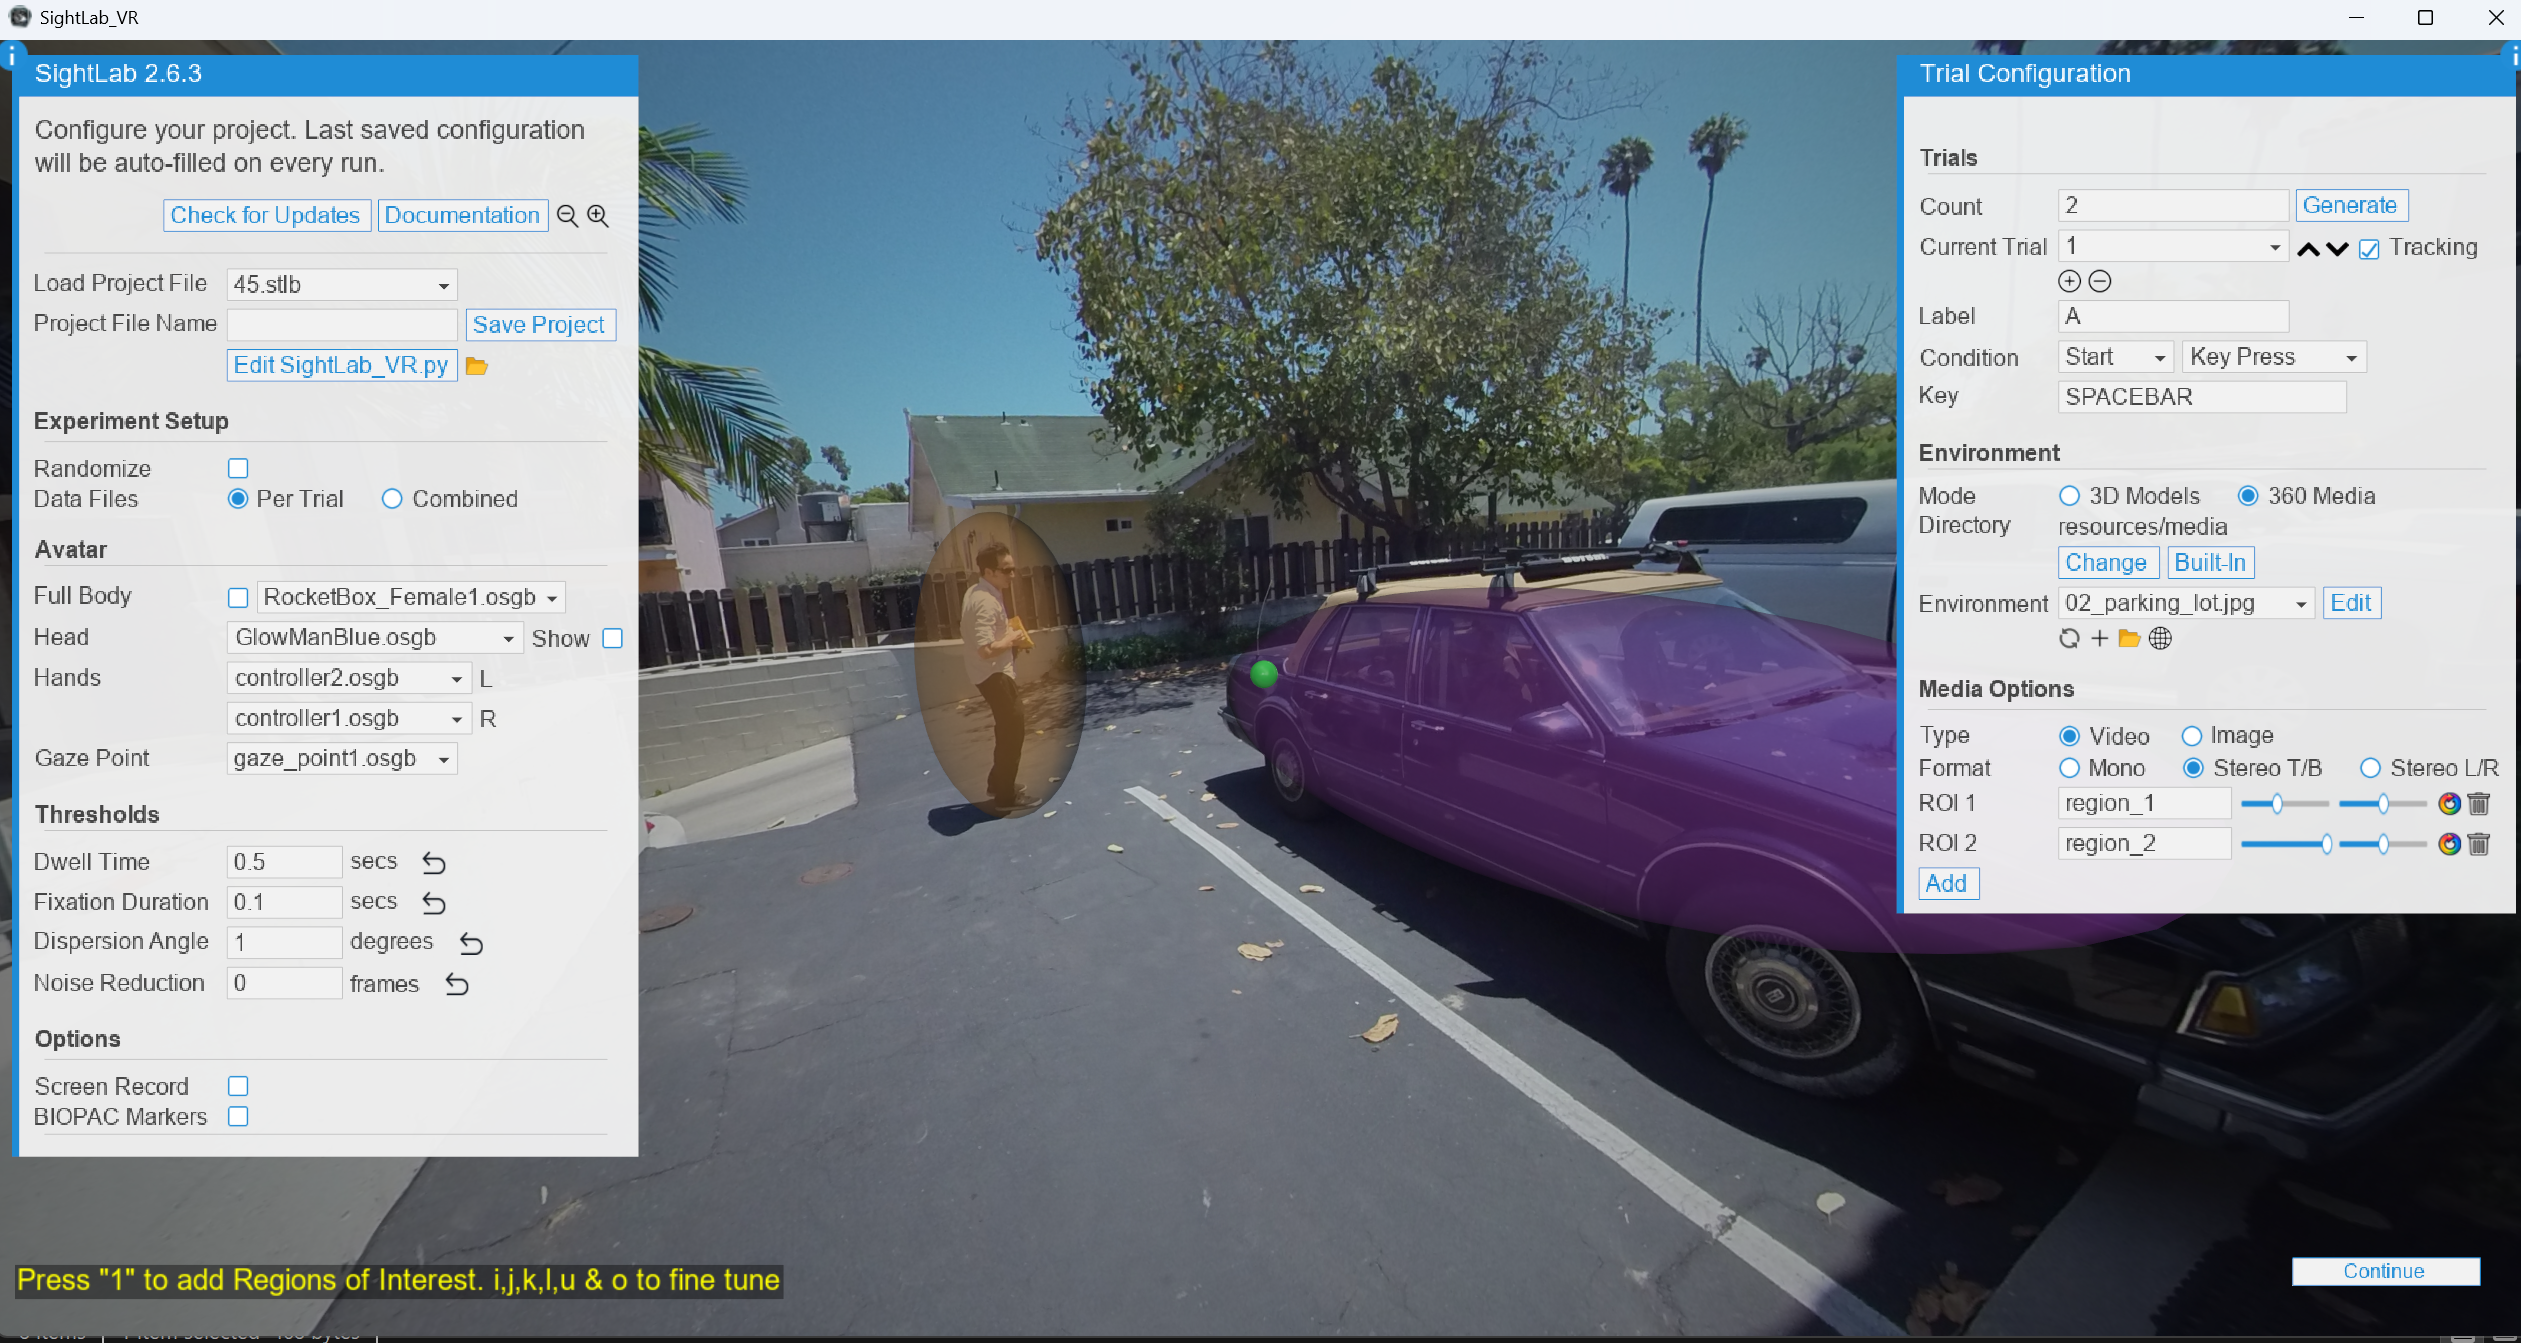
Configuring Trials
- Generate Trials: Enter a count and click Generate.
- Current Trial: Use the dropdown to edit individual trials.
Trial Parameters
- Label: Enter trial-specific labels.
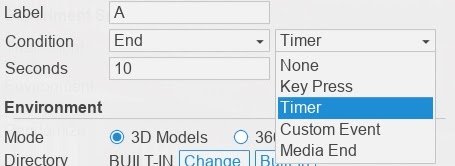
- Start/End Conditions:
- Key/button press
- Timer
- Custom Event
- Media end
- Gaze Event (specify object name)
- None (specified in code)
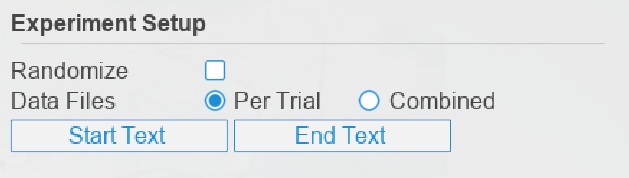
Experiment Options
- Use Randomize to randomize the trial order.
- Choose combined or per-trial data file saving.
- Set Start and End Text (2.8.0 or higher)
Note: For advanced randomization, use the code.
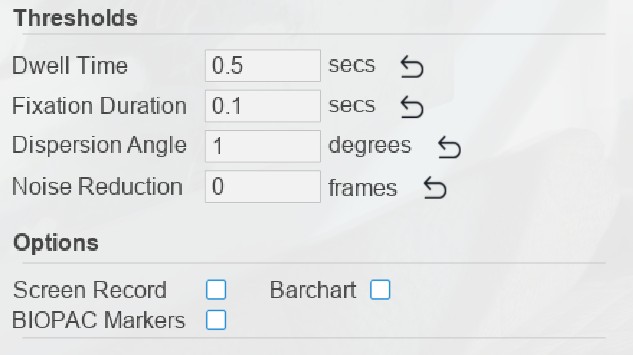
Thresholds and Options
- Dwell Time Threshold: Default 500ms (modifiable).
- Fixation Duration: Default 100ms.
- Dispersion Angle: Default 1 degree.
- Noise Reduction: Adjust frame averaging.
Options
- Screen Record: Records session videos.
- BIOPAC Markers: Synchronize with Biopac's AcqKnowledge.
- Barchart: Save a barchart of objects viewed, average view time and total view time
Running the Project
Click Continue to test your project. See "Running a Session Single User" or "Running a Session Multi-User"
Choose Your Hardware Mode: