SightLab Quick Start
SightLab supports GUI-based, hybrid GUI + Python, and fully code-based experiment development. This Quick Start uses the GUI since it's the fastest way to create and run a first test session and get familiar with the main SightLab concepts. Once you've run through it, continue with whichever workflow best fits your project—see Where to Go Next for the other starting points, including Python, example scripts, or the E-Learning Lab.
SightLab, Inspector, and Vizard work together:
- SightLab = build and run the experiment — choose your environment or media, configure trials and conditions, select hardware, tag objects for data collection and interactions, and run the study.
- Inspector = edit the 3D scene — use it when you need to modify a 3D environment, such as moving objects, adding ROIs, setting starting positions, or adjusting lighting.
- Vizard/ Python = add custom programming — use the Python editor when you need functionality beyond the SightLab GUI.
See Creating Your First SightLab Project for a more detailed walkthrough of these concepts and each step below.
Recommended Workflow
- Create Project — Dashboard → Projects → New Project.
- Add Content — Drag in a 3D model/environment or 360 media.
- Edit the Scene if Needed — For 3D scenes, click Edit to open Inspector.
- Tag Objects/ROIs — Tell SightLab which objects should collect gaze data or support interactions.
- Generate Trials — Choose trial count, conditions, environments/media, and start/end rules.
- Configure Options — Instructions, randomization, recordings, BIOPAC, etc. (optional).
- Continue and Select Hardware — Choose your headset/eye tracker and calibrate if necessary.
- Run the Session — Enter participant information and run your trials.
- Replay and Review Data — Use Replay and the generated data files.
The rest of this page walks through those nine steps.
1. Create a Project
Open the SightLab Dashboard, select the Projects tab, and click New Project. Enter a name for your project.
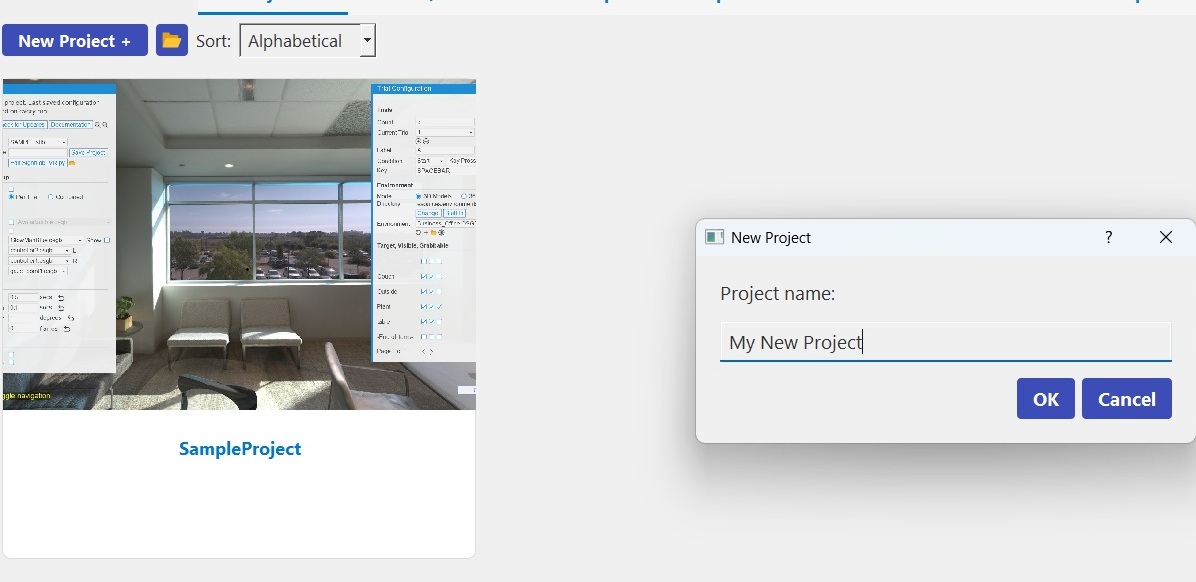
Expected result: Your new project appears in the Projects tab and the SightLab experiment editor opens automatically. If the editor doesn't open, select the project and click Edit and Run.
Project doesn't appear?
If the project folder is created but doesn't appear in the Dashboard, click Refresh first. If it still doesn't appear, check your configured Projects folder under Dashboard > Settings and see Project Troubleshooting.
2. Add Your Content
Add the content participants will see during the experiment. You can use:
- 3D environments and models
- 360° images or video
- Built-in SightLab assets
- Your own imported assets
- Models downloaded through the Asset Browser or Sketchfab
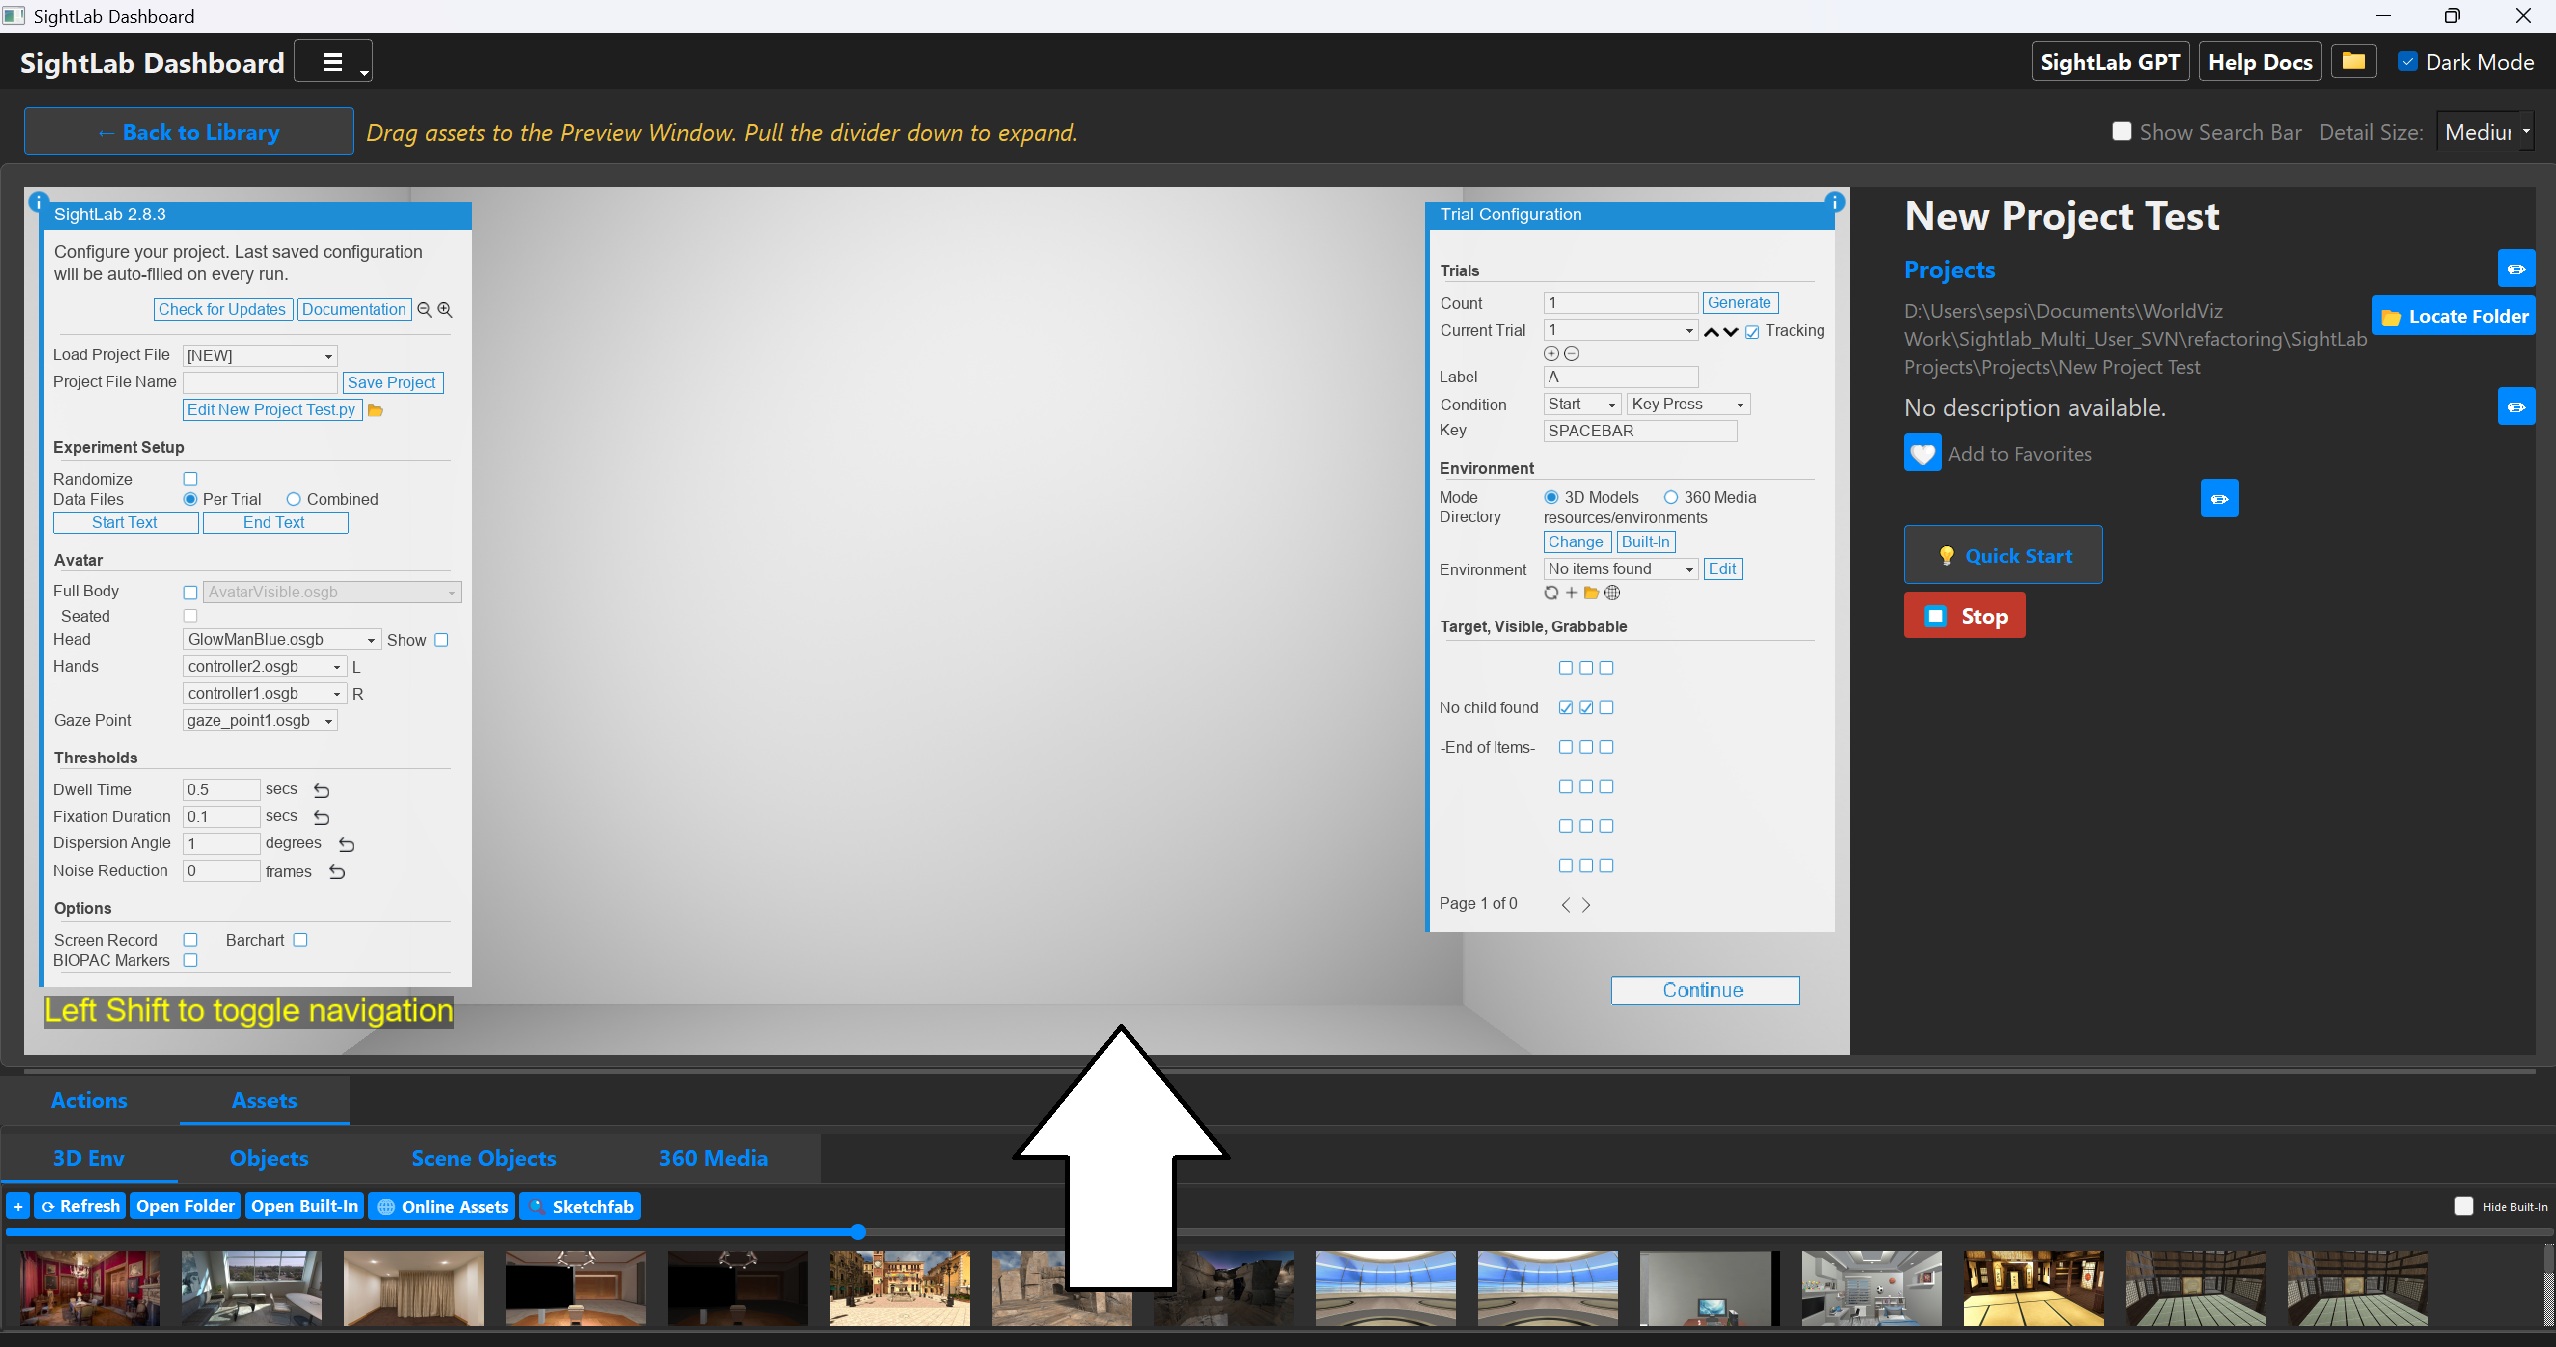
Drag an asset from the Assets library into the preview window. See Getting 3D Models and Assets or the Asset Browser for places to gather assets.
Note: If you don't see the editor window, click "Edit and Run" — it should launch by default.
3. Set Up Your Scene
If you are using a 3D environment
Click Edit to open the scene in Inspector.
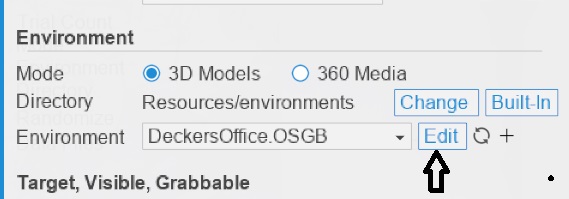
Use Inspector when you need to:
- Move, rotate, or scale objects
- Add objects
- Add Regions of Interest
- Set a participant starting point
- Adjust lighting or materials
- Prepare uniquely named objects for SightLab data collection
Save the model when finished and return to SightLab.
Why am I opening Inspector?
Inspector edits the contents of the 3D scene. Once you save those changes and return to SightLab, SightLab can use the objects and ROIs in that scene for data collection and interactions.
SightLab 2.8.5 and later refreshes these changes automatically. In SightLab 2.8.4 and earlier, click Refresh.
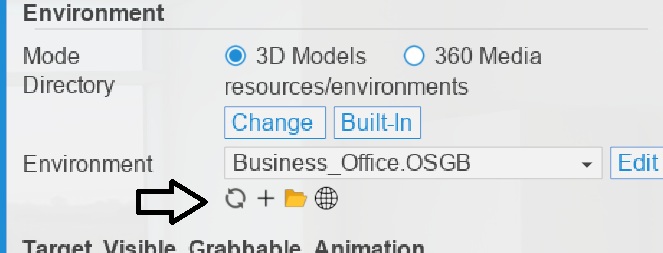
For full Inspector instructions, see Creating Your First SightLab Project or Scene Editor – Inspector.
If you are using 360 media
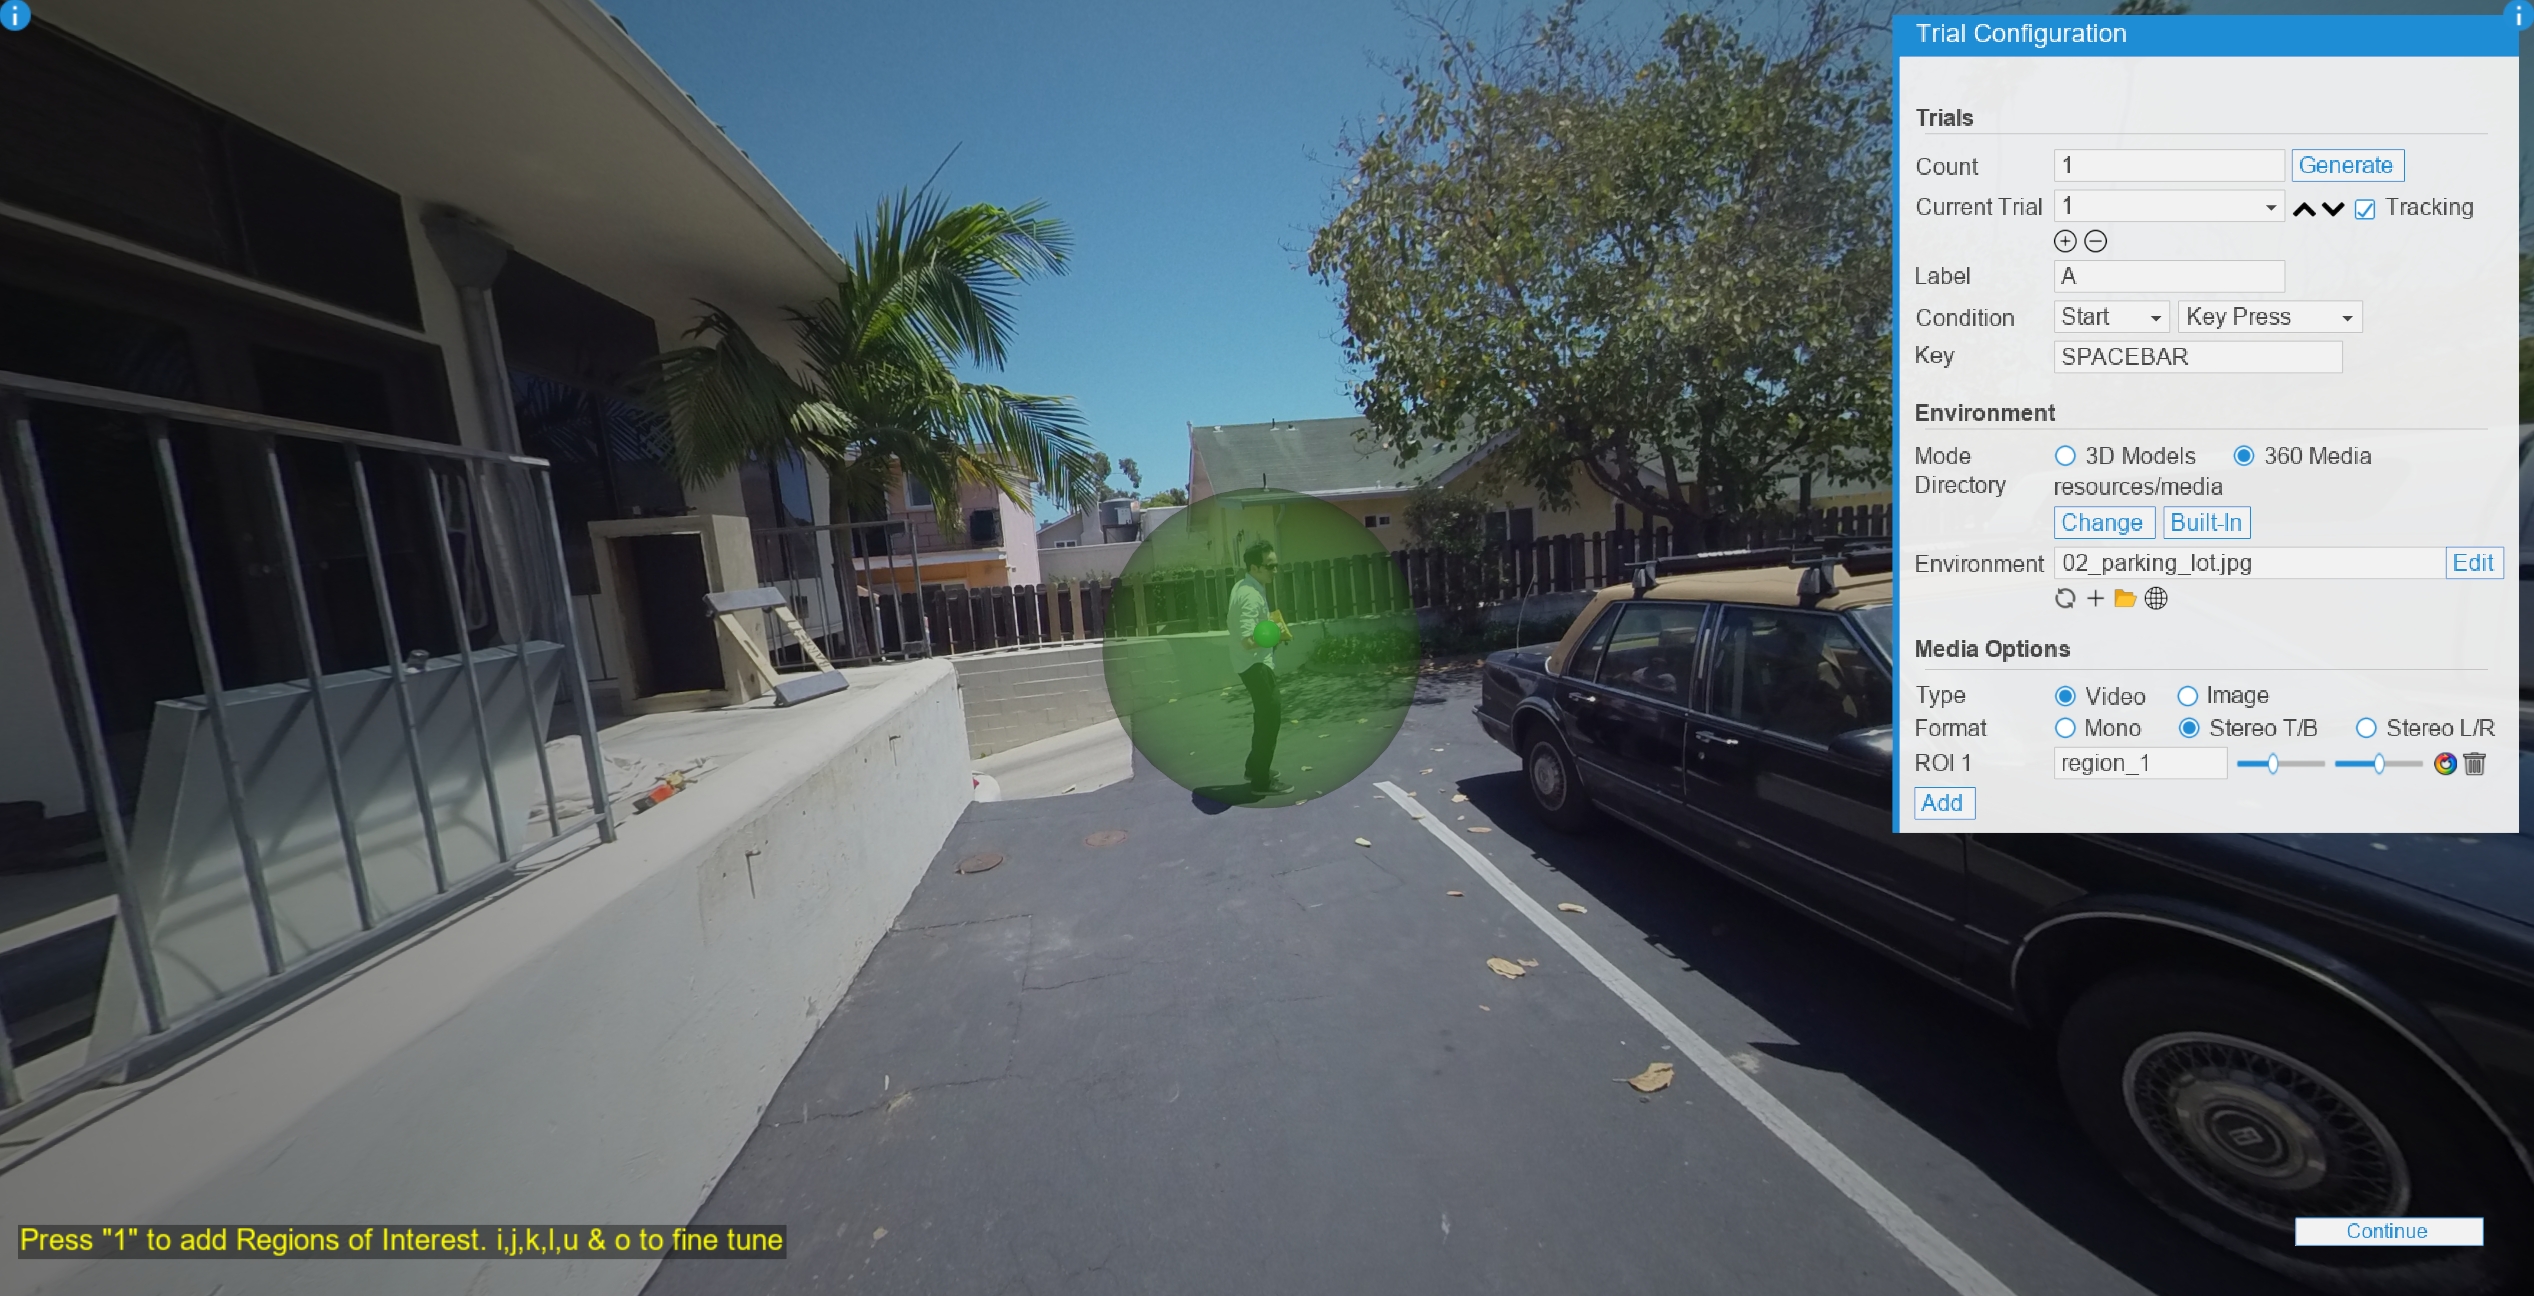
Select 360 or 180 Media, choose your image/video and stereo format, and add ROIs directly through the SightLab editor: press Shift (Desktop Mode) to enter ROI mode, then set ROIs by moving the virtual gaze point and pressing 1.
4. Choose What You Want to Measure or Interact With
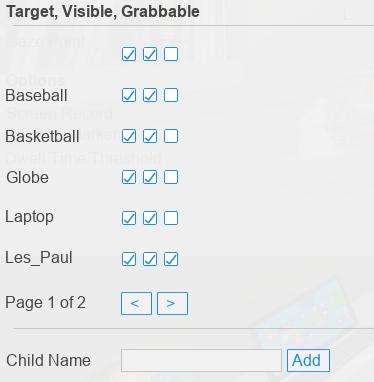
After your scene is ready, tag objects in SightLab that you want to use for data collection or interaction. For example, an object can be configured for:
- Gaze/dwell data
- Fixations and view counts
- Visibility
- Grabbing and interactions
You do not need to tag every object in the environment—only the objects or regions relevant to your experiment.
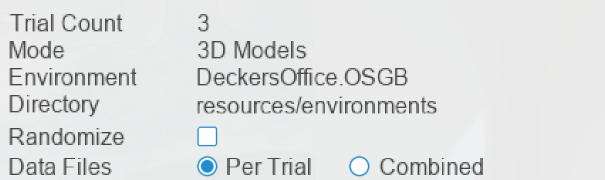
5. Generate Trials
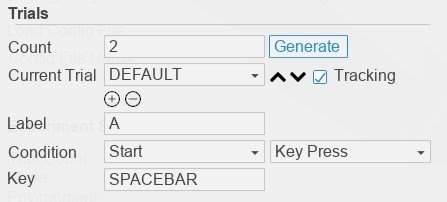
Enter the number of trials and click Generate (or click + to add more trials individually). For each trial you can choose an environment/media, a label/condition, and start/end conditions.
For a first test, a simple setup might be:
Start: Keypress End: Timer
SightLab also supports events, gaze-based conditions, media completion, controller input, and custom Python conditions.
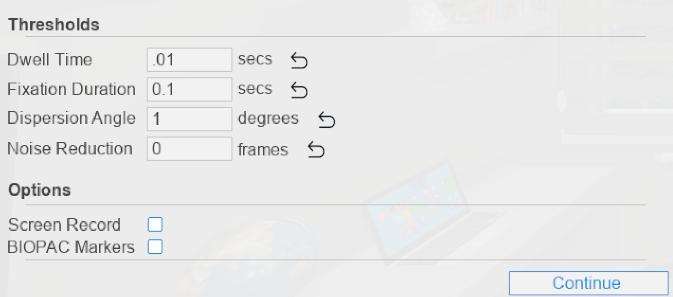
6. Optional Experiment Settings
Before running the study, you can optionally configure:
- Trial randomization
- Start/end instructions
- Screen recording
- Combined or per-trial data files
- BIOPAC synchronization
- Eye-tracking/fixation thresholds
The default eye-tracking settings are suitable for getting started. Adjust thresholds only if your study requires different analysis criteria.
7. Choose Hardware and Run
Click Continue. Select the hardware configuration you're using—see Supported Hardware for the full list of headsets, eye trackers, and tracking systems.
If you're running an actual study with eye tracking, complete the headset's calibration before collecting data.
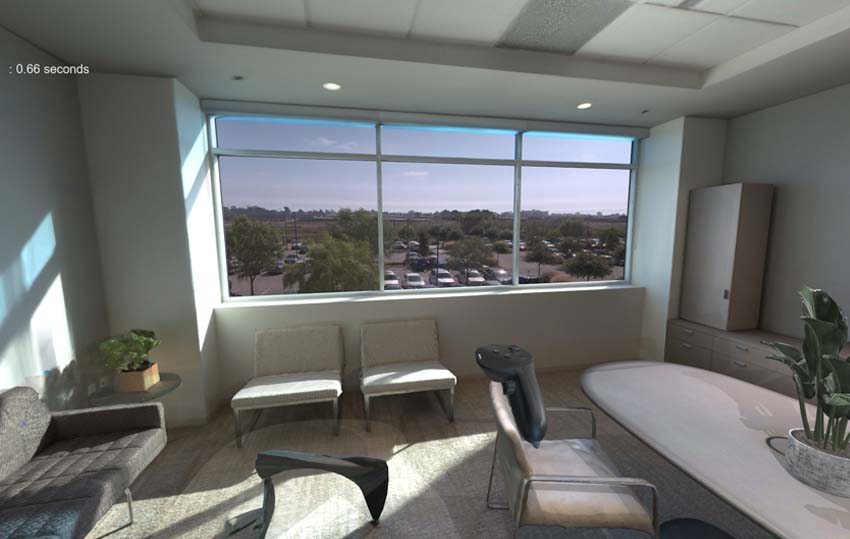
Then start the session and enter the Participant ID when prompted (unless set to bypass). Default controls use Spacebar to start/stop; see all controls here. Press P to toggle the gaze point display (off by default).
8. Replay and Review Data
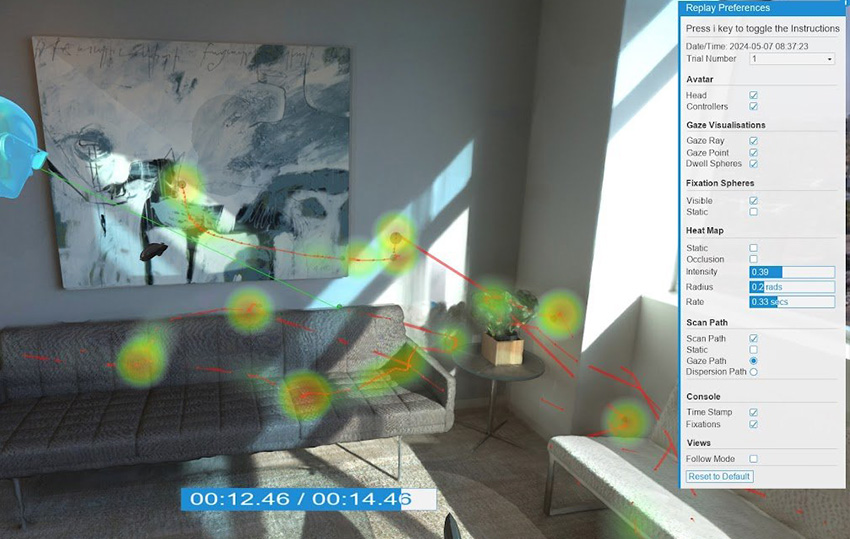
Use SightLabReplay.py (or click Replay in the SightLab Dashboard) for an interactive session replay—use Spacebar to start/stop playback. View data files in the project's data folder.
Need More Functionality?
You can stop here if the SightLab GUI provides everything your experiment requires. If you need more, there are several ways to extend your project:
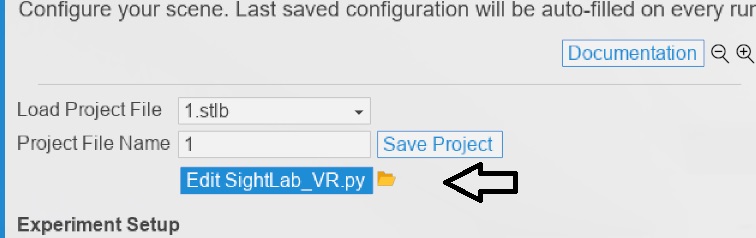
Add Python code — open your experiment script in the Vizard Python editor when you need custom experiment logic or interactions. Click Edit [filename], or Edit Script from the Dashboard Details page.
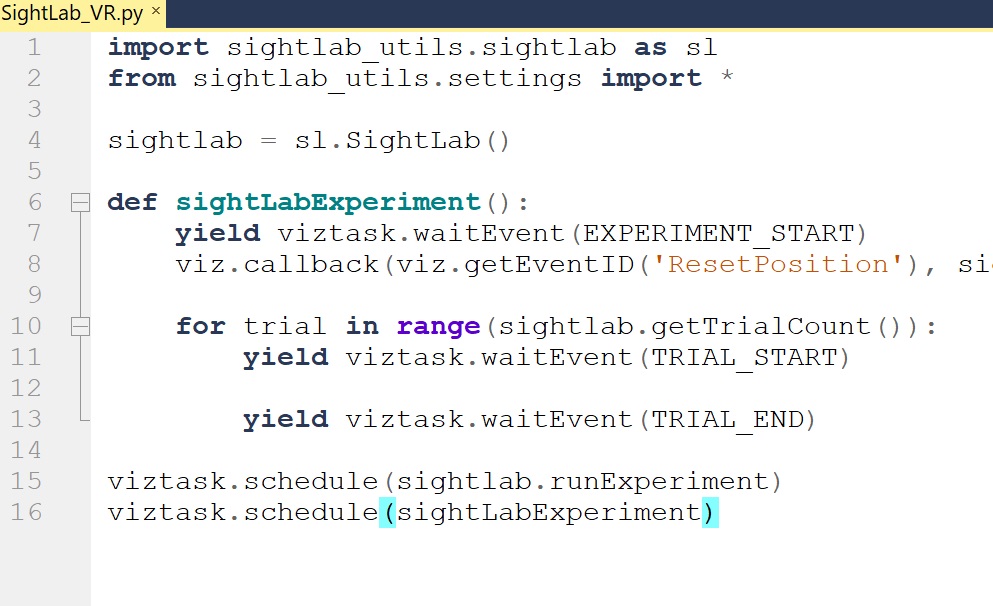
See SightLab Code Reference for SightLab's Python attributes and methods.
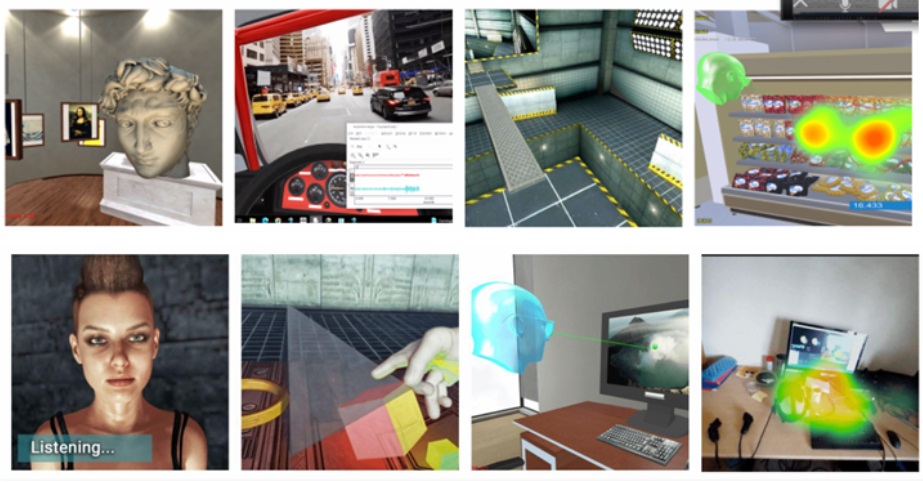
Start from an example — SightLab includes many example scripts and experiment templates covering functionality such as ratings and questionnaires, gaze-based interactions, object grabbing, BIOPAC and LSL, AI agents, multi-user experiments, mixed reality, and adaptive experiments. See the Example Scripts & Templates.
Build entirely with code — advanced users can also create SightLab experiments without the GUI. See the non-GUI example.
Where to Go Next
- Build or extend your experiment with Python — SightLab exposes Python attributes and methods for creating experiments entirely in code or extending GUI-created projects. See the SightLab Code Reference.
- Need help writing SightLab code? — the SightLab GPT Assistant can help generate and explain SightLab/Vizard Python code and point you toward relevant examples.
- Start from an existing example — browse the Example Scripts & Templates for ready-made starting points.
- Build a multi-user experiment — see the Multi-User guide for server/client experiments with multiple participants.
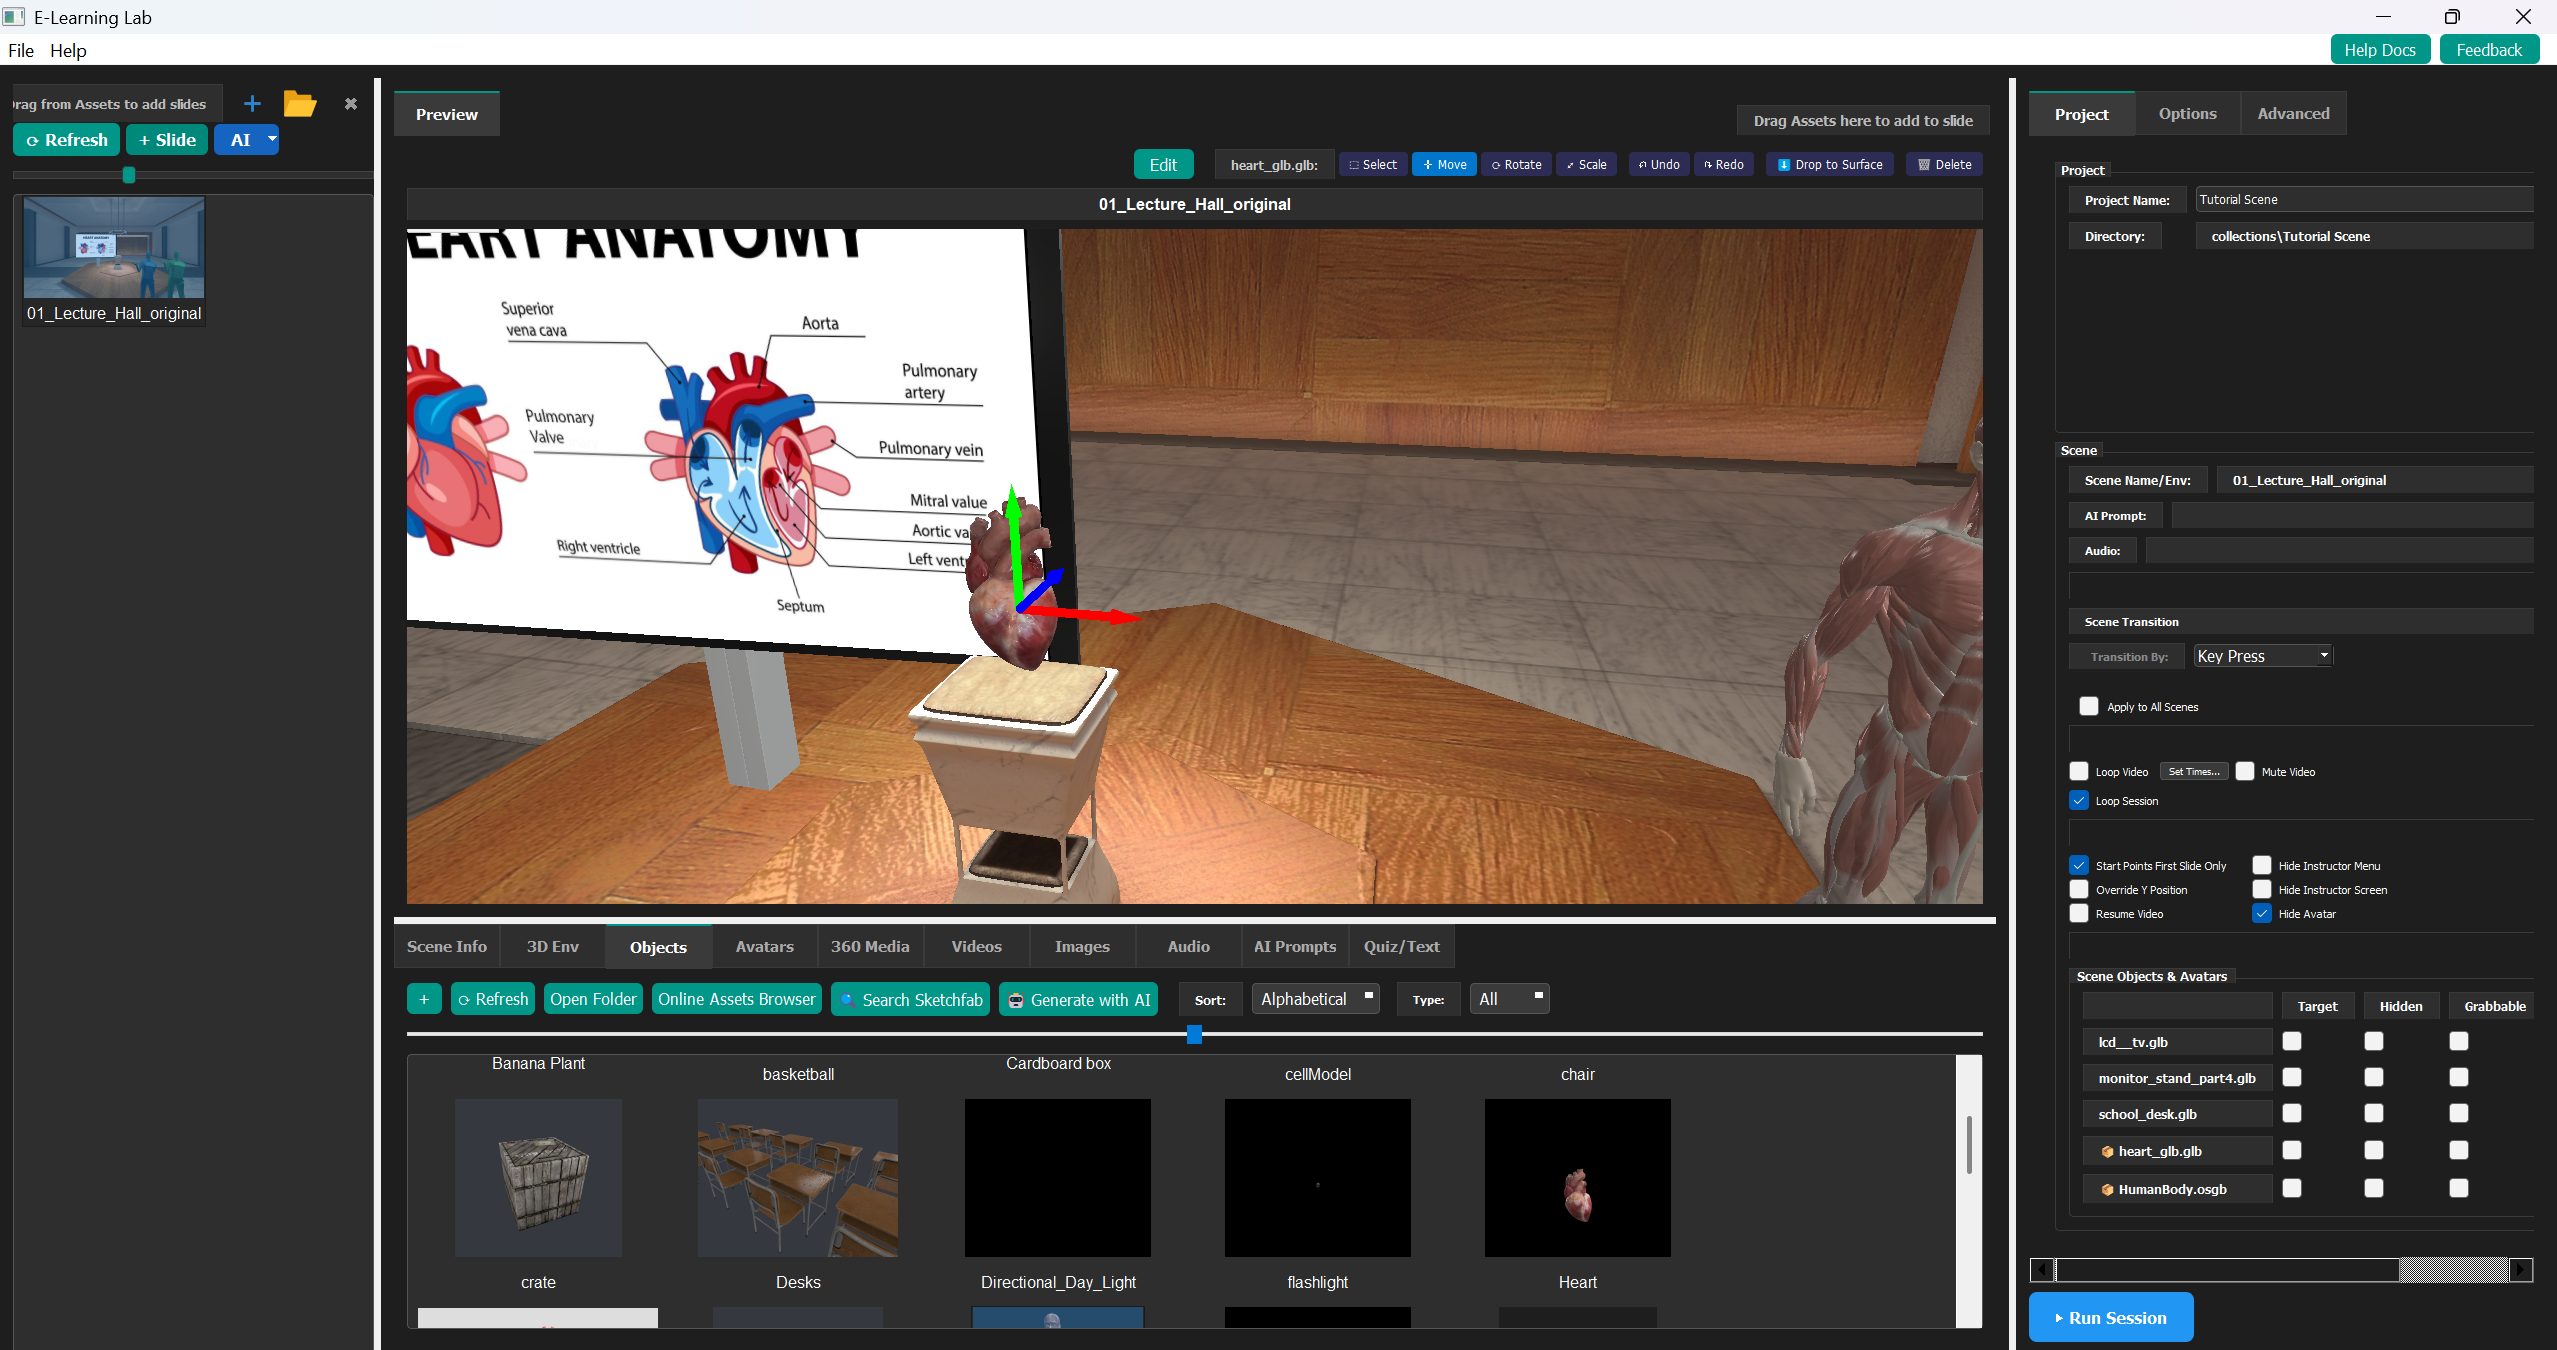
- Use a presentation-style workflow — for experiences that fit a slide/presentation model, or for immersive lesson building see E-Learning Lab. The E-Learning Lab can also be launched via the Dashboard under "Apps".
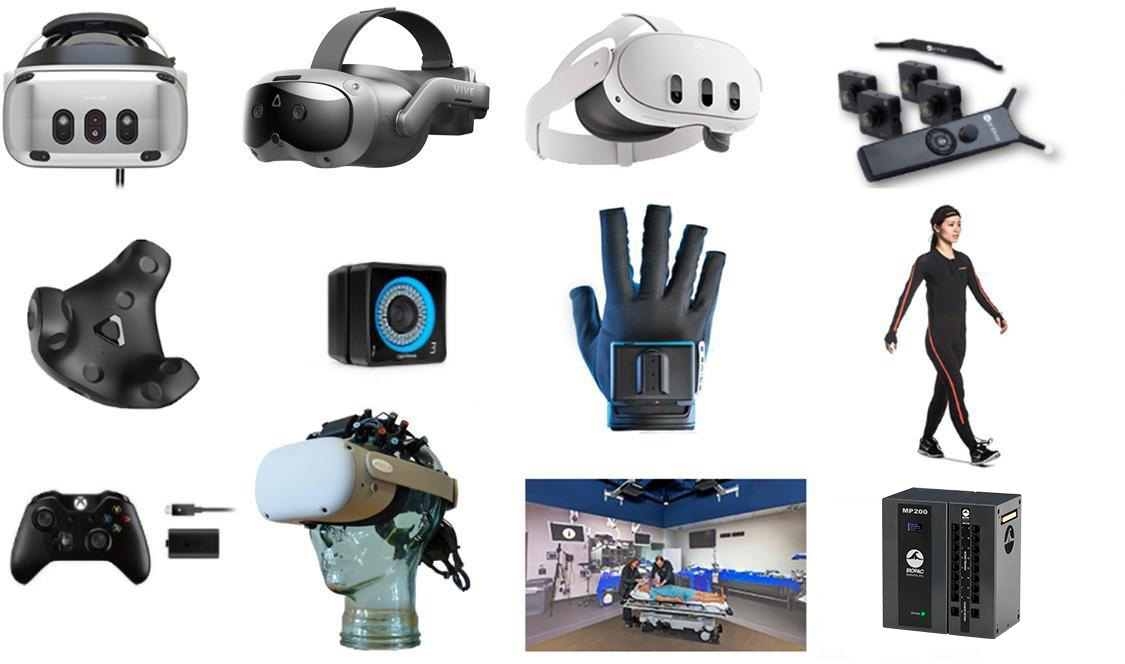
- Set up your VR hardware — for headset-specific setup guides, such as Vive Focus Vision, Meta Quest Pro/3, and Varjo, see Supported Hardware.
Video Tutorials
See also this additional video tutorial with Biopac.
Using SightLab Versions Earlier Than 2.8.0
Warning
The following instructions apply only to SightLab versions before 2.8.0. If you are using a current version, you can ignore this section—skip to Set Up Your Scene.
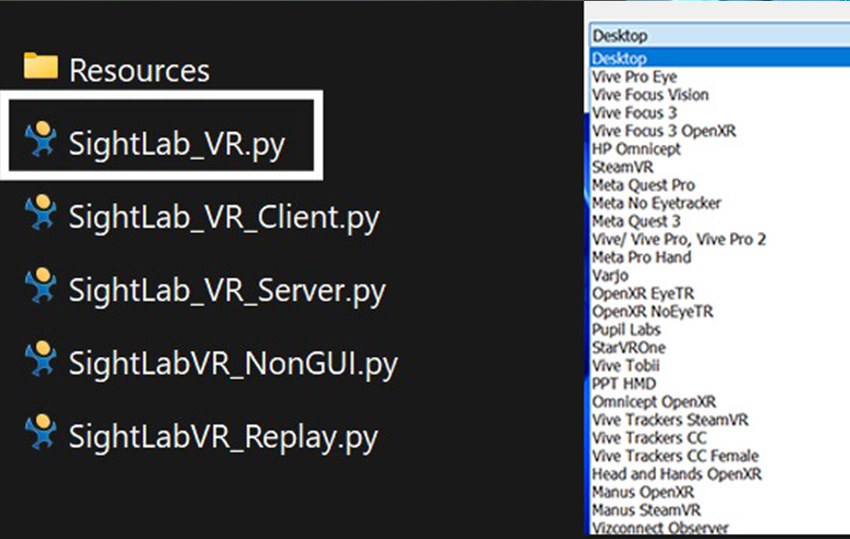
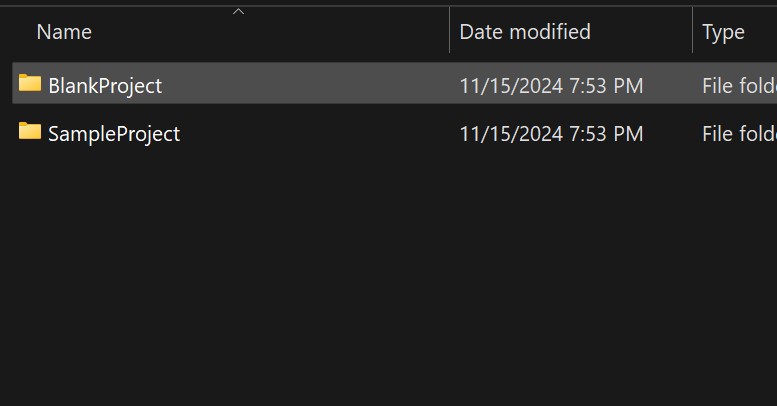
- Create Folder: From
Documents\SightLab2\Projects, make a copy ofBlankProject. (You can also click the folder icon in the top right of the Dashboard to go to the SightLab2 folder directly.)
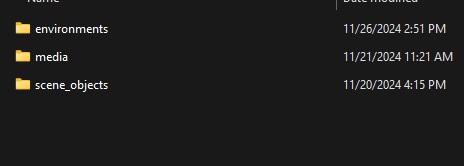
- Add Assets: Place 3D models in the
resources/environmentsfolder or 360 media in theresources/mediafolder. See Getting 3D Models and Assets or the Asset Browser (you can also use built-in assets or copy from the sample project).
- Launch GUI: Open
SightLab_VR.pyin yourBlankProjectcopy to launch the SightLab GUI and choose hardware. Choose assets from the dropdown list or drag and drop into the editor (click Modify first if using SightLab 2.3 or earlier).