AI Agent
This document describes how to use the AI Agent in SightLab, an interactive, intelligent AI agent that can be connected to various large language models like Chat GPT, Claude, Gemini, Offline Ollama models and more. You can customize the agent's personality, use speech recognition, and leverage high-quality text-to-speech models.
Key Features
| Multiple LLM Models | OpenAI, Anthropic, Gemini, and hundreds of offline models via Ollama (deepseek, Gemma, Llama, Mistral, etc.) — including vision capabilities |
| Custom Avatars | Modify appearance, animations, and environment. Works with Avaturn, ReadyPlayerMe, Mixamo, Rocketbox, Reallusion, and more |
| Personality & Context | Customize personality, contextual awareness, emotional state, and interactions. Save your creations as custom agents |
| Voice Interaction | Speech recognition to converse using your voice, or text-based input |
| High-Quality TTS | Edge-TTS, Kokoro, Piper, GPT-Realtime, OpenAI TTS, ElevenLabs (requires API), or PYTTSX3 |
| Interactive Events | Avatars can trigger custom events — facial expressions, animations, emotional tone (TTS Dependent) and scene interactions based on conversation context |
| 40+ Languages | Text to speech models automatically adjust to the selected language |
| SightLab Integration | Data collection, visualizations, transcript saving, and easy addition to any SightLab script |
| Adaptive Learning | The agent adapts using conversation history and interactions |
Quick Start
- Run
AI_Agent_GUI.pyto start with the GUI orAI_Agent.pywithout a GUI - Select your environment, hardware, and options in the GUI and press Continue
- Hold the 'c' key or RH grip button to speak; release to let the agent respond
- Press 'h' to send a screenshot and ask about what the agent sees (or can just ask "What are we looking at?")
💡 Tip: Run
multi_agent_interaction.pyfor a multi-agent conversation demo.
Setup & Installation
Required Libraries
Ensure you have the required libraries installed using the Vizard Package Manager:
| Category | Libraries |
|---|---|
| LLM Providers | openai, anthropic, google, google-generativeai, ollama |
| Speech Recognition | SpeechRecognition, faster_whisper, sounddevice |
| Text-to-Speech | edge-tts (samples), kokoro-onnx, soundfile, piper-tts==1.3.0 (samples), elevenlabs, pyttsx3 |
| Other | numpy |
⚠️ Important: Use
piper-tts==1.3.0— do not update to 1.4.0.Kokoro has very high quality, low latency and runs offline, but requires downloading the models from here (download and extract into the main/root AI Agent folder)
ElevenLabs Additional Setup
- For elevenlabs you may need to Install
mpvand add to environment variable path (also requires FFMPEG, but this comes with SightLab):- Download mpv
- Unzip and move to
C:\Program Files\ - In Windows search, type powershell, run as administrator
- Run:
setx /M PATH "$($env:PATH);C:\Program Files\mpv-x86_64-20250812-git-211c9cb" - Restart Vizard
Offline Models (Ollama)
Ollama comes with the SightLab installer, but if you didn't install it with SightLab, Install Ollama from here, then open a command prompt and type ollama run followed by the model name (e.g., ollama run gemma). See the full model list. The first run may take longer as the model loads.
Note: Requires an active internet connection unless running offline models via Ollama.
API Keys
API keys are needed for online models (OpenAI, Anthropic, Gemini) and optional services (ElevenLabs TTS). For offline models via Ollama, no key is needed.
Setting API Keys (recommended method)
Open a command prompt (type "cmd" in Windows search) and run:
setx OPENAI_API_KEY your-api-key
setx ANTHROPIC_API_KEY your-api-key
setx GEMINI_API_KEY your-api-key
setx ELEVENLABS_API_KEY your-api-key
Restart Vizard after setting keys. With this method your API keys are accessible from any folder.
Obtaining Keys
| Service | Where to Get Key |
|---|---|
| OpenAI | platform.openai.com/api-keys — Set a usage limit if needed |
| Anthropic | console.anthropic.com — Sign up, verify email, generate key |
| Gemini | aistudio.google.com/app/apikey — Also install google and google-generativeai via Package Manager. See Python Quickstart |
| ElevenLabs | elevenlabs.io/app/developers/api-keys — Enable unrestricted access to voices |
Customizing Your Agent
Follow these steps to create a custom AI agent with your own personality, avatar, and voice.
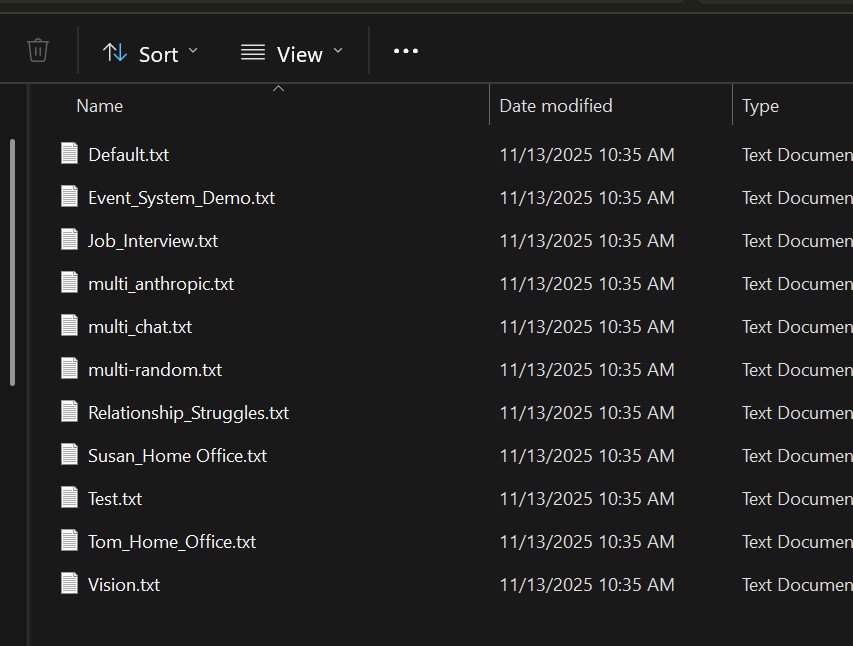
Step 1 – Create a Prompt
- In the
promptsfolder, make a copy ofdefault.txtand rename it (e.g.,MyAgent.txt) - Write your role-playing instructions for the agent's personality, context, and behavior
- You can use an LLM to help create a detailed role-playing prompt
💡 Tip: You can use
default.txtas-is if you don't need a custom personality.
Step 2 – Create an Avatar Config
- In the
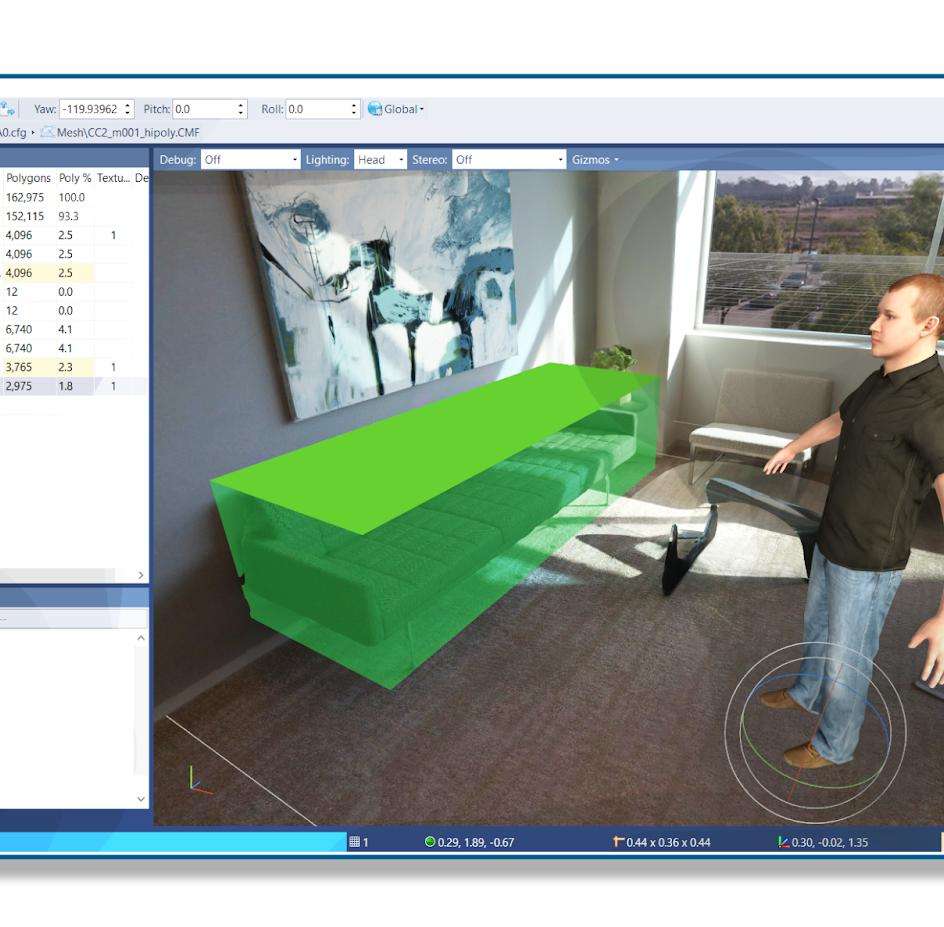
configsfolder, make a copy ofTemplate_Male.pyorTemplate_Female.pyand give it a name (e.g.,MyAvatar.py) - Find an avatar — either from the Avatars tab in the SightLab Dashboard Assets library, or drag in from any source (for auto-detection, use RocketBox or Mixamo avatars (requires adding .cfg to the name in Inspector))
- Open the avatar in Inspector by double clicking or choosing Open with - Inspector and check the Animations panel (bottom left) — note which animation state number you want for idle and which for talking
- In your config file, set:
TALK_ANIMATION— the state number for the talking animationIDLE_ANIMATION— the state number for the idle animation- Optionally change voices, language, and other settings in the config file (see Avatar Configuration Options for the full list)
![]()
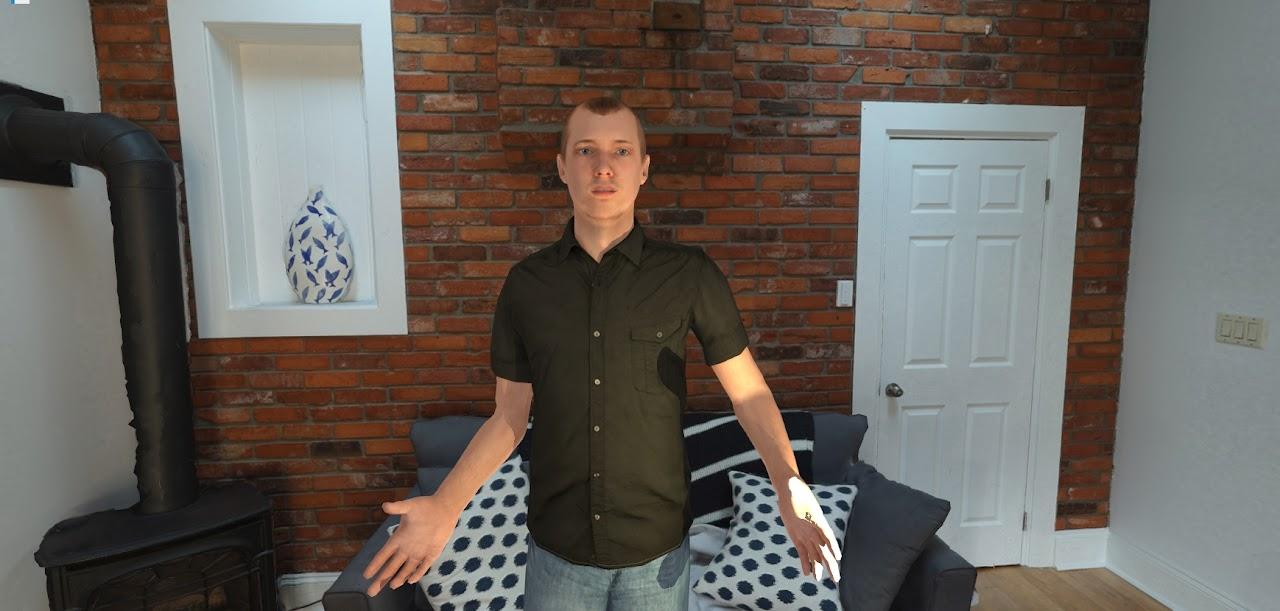
Step 3 – Add the Avatar to Your Scene
The simplest way to add an avatar is to drag and drop it directly into your environment in Inspector. The AI Agent will automatically detect and use the first avatar found in the scene (controlled by USE_SCENE_AVATAR = True, which is the default).
Using the GUI (simplest)
- Run
AI_Agent_GUI.py - Choose an included environment or drag in a new one
- Click Edit in the GUI to open the environment in Inspector
- Drag and drop your avatar model into the scene
- Position the avatar where you want it using the translate and rotate tools (see Adding Avatar Agents for placement tips)
- If the avatar's name doesn't end in
.cfg, right-click it in Inspector and choose Rename to add.cfgto the end
![]()
- Go to File → Save in Inspector, then close it
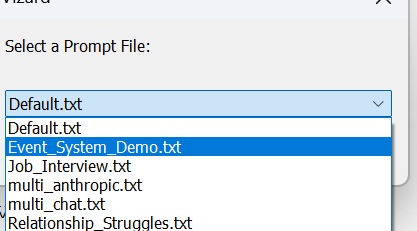
- Back in the SightLab GUI, you will see the avatar you added — set the State for the starting idle animation (should match the
IDLE_ANIMATIONin your config file) - Select your prompt and avatar config from the dropdowns, then run the scene
![]()
Without the GUI
- Add the avatar to your environment in Inspector as above (steps 4–7)
- Set the avatar name in
Config_Global.py:
SCENE_AVATAR_NAME = 'CC2_m001_hipoly_A0_v2.cfg' - If running from the SightLab Dashboard, click the config action button to directly open the config file
- Run
AI_Agent.py
Reallusion Avatars
Reallusion avatars need to be loaded by path rather than from the scene. Make a copy of the x_ReallusionMale.py config file, set the path to the avatar directly (this can be done for any avatar that isn't automatically detected as well):
AVATAR_MODEL = 'Resources/avatars/Reallusion_ActorCore_Male.osgb'
Getting Assets
Refer to this page for instructions on obtaining environments and avatars. Drag new assets into the SightLab Dashboard asset library and then can drag into your project.
For more details on avatar placement, animations, and data collection, see Adding Avatar Agents.
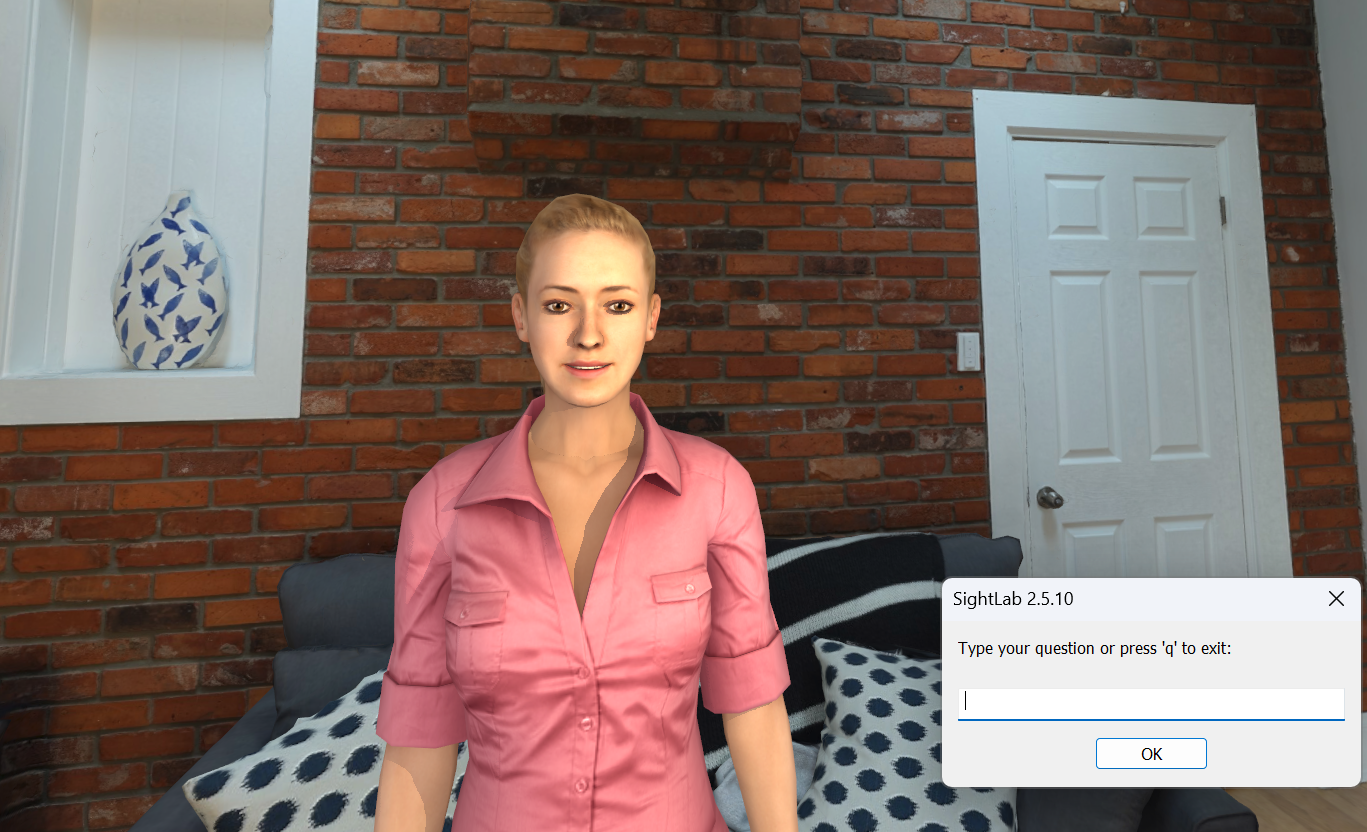
Interaction Controls
- Hold 'c' key or RH grip button to speak; release to let the agent respond
- If
USE_SPEECH_RECOGNITIONisFalse, press 'c' to type a question - To stop the conversation, type "q" and click "OK" in text chat
- If
HOLD_KEY_TO_SPEAKisFalse, you only need to speak and when there is a pause of over 0.8 seconds, the agent will respond, then wait for you to speak again (requires wearing headphones) - Press 'h' to send a screenshot as a prompt and ask questions about what the AI agent is seeing (in the sub-window), or can just ask "What are we looking at?"
Configuration
Most settings (AI model, voice, language, speech model, etc.) are available as dropdown selections in the GUI. For advanced customization, open Config_Global.py directly — or click the config action button from the SightLab Dashboard.
Passthrough / Augmented Reality
To enable AR passthrough mode, set this in Config_Global.py:
USE_PASSTHROUGH = True
This works with Meta Quest Pro, Meta Quest 3, and Varjo headsets.
Avatar Configuration Options
Each avatar uses a config file in the configs folder that controls animations, voice, and behavior. Key settings include TALK_ANIMATION, IDLE_ANIMATION, voice selection, mouth morphing, blinking, and bone/joint references. Make a copy of Template_Male.py or Template_Female.py and adjust as needed — see the comments in the template for all available options. If the avatar doesn't apply things like the head turning to follow you, facial expressions, etc. then you may need to edit these parameters and refer to the avatar in Inspector to see the bone names, etc.
AI Agent Event System
The AI agent supports event-driven interactions, allowing the AI to trigger custom actions during conversations for more expressive and interactive experiences.
The event system allows the AI to execute custom actions (like facial expressions, animations, or any other callback) by including special "event" keywords in its responses. These events are automatically detected, executed, and removed from the text shown to the user.
How It Works
- Event Detection: The AI includes
event: <event_name>on a line in its response - Event Execution: The system detects this line, triggers the corresponding handler
- Text Cleaning: The event line is removed before displaying text to the user
- Action: The custom action (e.g., facial expression, processing a screenshot, etc.) is performed
Event Configuration
Global Settings (Config_Global.py)
# Event System Settings
USE_EVENT_SYSTEM = True  # Enable/disable event system
EVENT_KEYWORD = "event:"  # Keyword that triggers events

# Morph Target Indices for Facial Expressions
SMILE_MORPH_ID = 3   # Avatar-specific morph index for smile
SAD_MORPH_ID = 2     # Avatar-specific morph index for sad
EXPRESSION_MORPH_AMOUNT = 0.7  # Intensity (0.0 to 1.0)
EXPRESSION_DURATION = 1.2      # Duration in seconds
Avatar-Specific Settings (configs/RocketBoxMale.py, etc.)
Each avatar config can override the default morph indices:
# Event System - Facial Expression Morph Targets
SMILE_MORPH_ID = 3   # RocketBox smile morph
SAD_MORPH_ID = 2     # RocketBox sad morph
EXPRESSION_MORPH_AMOUNT = 0.7
EXPRESSION_DURATION = 1.2
Built-in Events
Facial Expressions
- smile: Makes avatar smile (uses SMILE_MORPH_ID)
- sad: Makes avatar look sad (uses SAD_MORPH_ID)
- neutral: Returns avatar to neutral expression (resets both morphs)
Actions
nod: Nod head in agreement
shake head: shake head side to side in disagreement
Vision
- Capture and process screenshot of scene: When asked things such as "What do you see" the agent can capture and process a screenshot to give an understanding of its surroundings.
Placeholder Events (for future implementation)
- wave: Wave animation placeholder
Finding Morph Target Indices for Your Avatar
Different avatars have different morph target indices. To find the correct indices:
- Load your avatar in Inspector
- Click on the avatar name in the scene graph and view the morph IDs on the right side Properties pane under "Morphs"
- Update your avatar config file with the correct indices
Creating Custom Events
Step 1: Create the Event Handler Function
In AI_Agent_Avatar.py, after the existing event handlers:
def event_my_custom_action():
    """Description of what this event does"""
    try:
        # Your custom code here
        # Examples:
        # - Trigger animations: avatar.state(MY_ANIMATION)
        # - Move objects: object.setPosition([x, y, z])
        # - Play sounds: viz.playSound('sound.wav')
        # - Change lighting: viz.clearcolor(viz.RED)
        print("Custom action executed!")
    except Exception as e:
        print(f"Error in custom event: {e}")
Step 2: Register the Event
In the register_default_events() function:
def register_default_events():
    """Register all built-in event handlers"""
    if USE_EVENT_SYSTEM:
        EVENT_REGISTRY.register("smile", event_smile)
        EVENT_REGISTRY.register("sad", event_sad)
        EVENT_REGISTRY.register("neutral", event_neutral)
        EVENT_REGISTRY.register("my_custom_action", event_my_custom_action)  # Add this
        # ... rest of the events
Step 3: Update AI Prompt
Add your custom event to the prompt file so the AI knows about it:
Available events you can trigger:
- smile: Makes you smile
- sad: Makes you look sad
- event: screenshot - Take and analyze a screenshot of what you're seeing
- my_custom_action: Description of what it does
Example Prompts
Choose prompts/Event_System_Demo.txt for a comprehensive example prompt that teaches the AI how to use events effectively.
Usage Example
User: "I just won the lottery!"
AI Response (raw):
event: smile
That's incredible! Congratulations! You must be so excited!
What happens:
- Avatar smiles (smile morph applied)
- User sees: "That's incredible! Congratulations! You must be so excited!"
Multi Agent Interactions
See the script multi_agent_interaction.py to see how multiple agents can interact and communicate with each other. You can modify the individual agents by calling the AIAgent class and setting parameters such as config_path, name, and prompt_path.
Conversation Modes
The conversation loop can operate in two modes:
- Scripted Dialogue: Pre-written lines that agents speak in sequence
- AI-Generated: Dynamic conversation based on a leading question
User Interaction
You can interrupt and speak to either agent during their conversation:
- Press 'c' to speak to Agent1 (left avatar)
- Press 'v' to speak to Agent2 (right avatar)
- Press 'r' to restart the conversation loop
When you interrupt, the agent will turn toward you and stop any current speech. The conversation loop pauses while you interact.
Note that for multi agent interactions, the AI model and voices are defined in the respective config file for each agent (see the configs folder).
Example
from AI_Agents import AIAgent

agents = [
    AIAgent(config_path='configs/x_Multi_RocketBoxFemale.py', name='Agent1', prompt_path="prompts/Susan_Home Office.txt"),
    AIAgent(config_path='configs/x_Multi_RocketBoxMale.py', name='Agent2', prompt_path="prompts/Tom_Home_Office.txt"),
]
Adding to Existing Scripts
- Copy the "configs", "keys", and "prompts" folders, as well as
AI_Agent_Avatar.py. - Import with:
from configs.AI_Agent_Config import * import AI_Agent_Avatar - Add avatar:
avatar = AI_Agent_Avatar.avatar sightlab.addSceneObject('avatar', avatar, avatar=True) #Or if using the avatar you place in your scene USE_SCENE_AVATAR = AI_Agent_Avatar.USE_SCENE_AVATAR - Add these lines to enable passthrough augmented reality:
if USE_PASSTHROUGH:
    import openxr
    xr = openxr.getClient()

    if sightlab.getConfig() in ["Meta Quest Pro", "Meta Quest 3"]:
        passthrough = xr.getPassthroughFB()
    elif sightlab.getConfig() == "Varjo":
        passthrough = xr.getPassthroughVarjo()

    viz.clearcolor(viz.BLACK, 0.0)
    if passthrough:
        passthrough.setEnabled(True)
Publishing as an Executable
To publish an application with the AI Agent (or to just publish the standard included template) add this code to the top of the script (before importing SightLab):
import viz

# Filter out problematic packages that cause issues in published EXE
viz.res.addPublishFilter('*google_generativeai*')
viz.res.addPublishFilter('*-nspkg.pth')
viz.res.addPublishFilter('*.pth')

# Add publish directories - ensures correct package versions are bundled
publish_directories = [
    'data',
    viz.res.getVizardPath() + 'bin/lib/site-packages/sightlab_utils/',
    viz.res.getVizardPath() + 'bin/lib/site-packages/deepdiff',
    viz.res.getVizardPath() + 'bin/lib/site-packages/numpy',
    viz.res.getVizardPath() + 'bin/lib/site-packages/pandas',
    viz.res.getVizardPath() + 'bin/lib/site-packages/pydantic',
    viz.res.getVizardPath() + 'bin/lib/site-packages/pydantic_core',
    viz.res.getVizardPath() + 'bin/lib/site-packages/openai',
    viz.res.getVizardPath() + 'bin/lib/site-packages/httpx',
    viz.res.getVizardPath() + 'bin/lib/site-packages/httpcore',
    viz.res.getVizardPath() + 'bin/lib/site-packages/anyio',
    viz.res.getVizardPath() + 'bin/lib/site-packages/sniffio',
    viz.res.getVizardPath() + 'bin/lib/site-packages/annotated_types',
    viz.res.getVizardPath() + 'bin/lib/site-packages/certifi',
    viz.res.getVizardPath() + 'bin/lib/site-packages/speech_recognition',
    viz.res.getVizardPath() + 'bin/lib/site-packages/jiter',
]

for directory in publish_directories:
    viz.res.addPublishDirectory(directory)

import sightlab_utils.sightlab as sl
from sightlab_utils.settings import *
Tips & Troubleshooting
Tips
- Environment Awareness: Press 'h' to take a screenshot that is sent to the agent, or simply ask it "What do you see" or "What are we looking at", etc.
- Prompts: For configuring the agent, use
"I am..."for OpenAI and"You are..."for Anthropic without quotes. - Event Trigger for Speech Button: Modify
vizconnectto add an event for speaking button hold. Opensettings.pyinsightlab_utils/vizconnect_configs, and modify mappings fortriggerDownandtriggerUpor create new ones if needed. More Info on Vizconnect Events - If getting an error with Gemini "out of quota", try using a model with more quota or enable billing for much higher limits.
Common Issues
| Issue | Fix |
|---|---|
| Microphone/headset conflicts | Check that microphone settings match between the VR headset and output device |
| ElevenLabs character limit | Free tier limits to 10,000 characters; paid accounts get more |
ElevenLabs Documentation: ElevenLabs GitHub
Features
 |
 |
 |
|---|---|---|
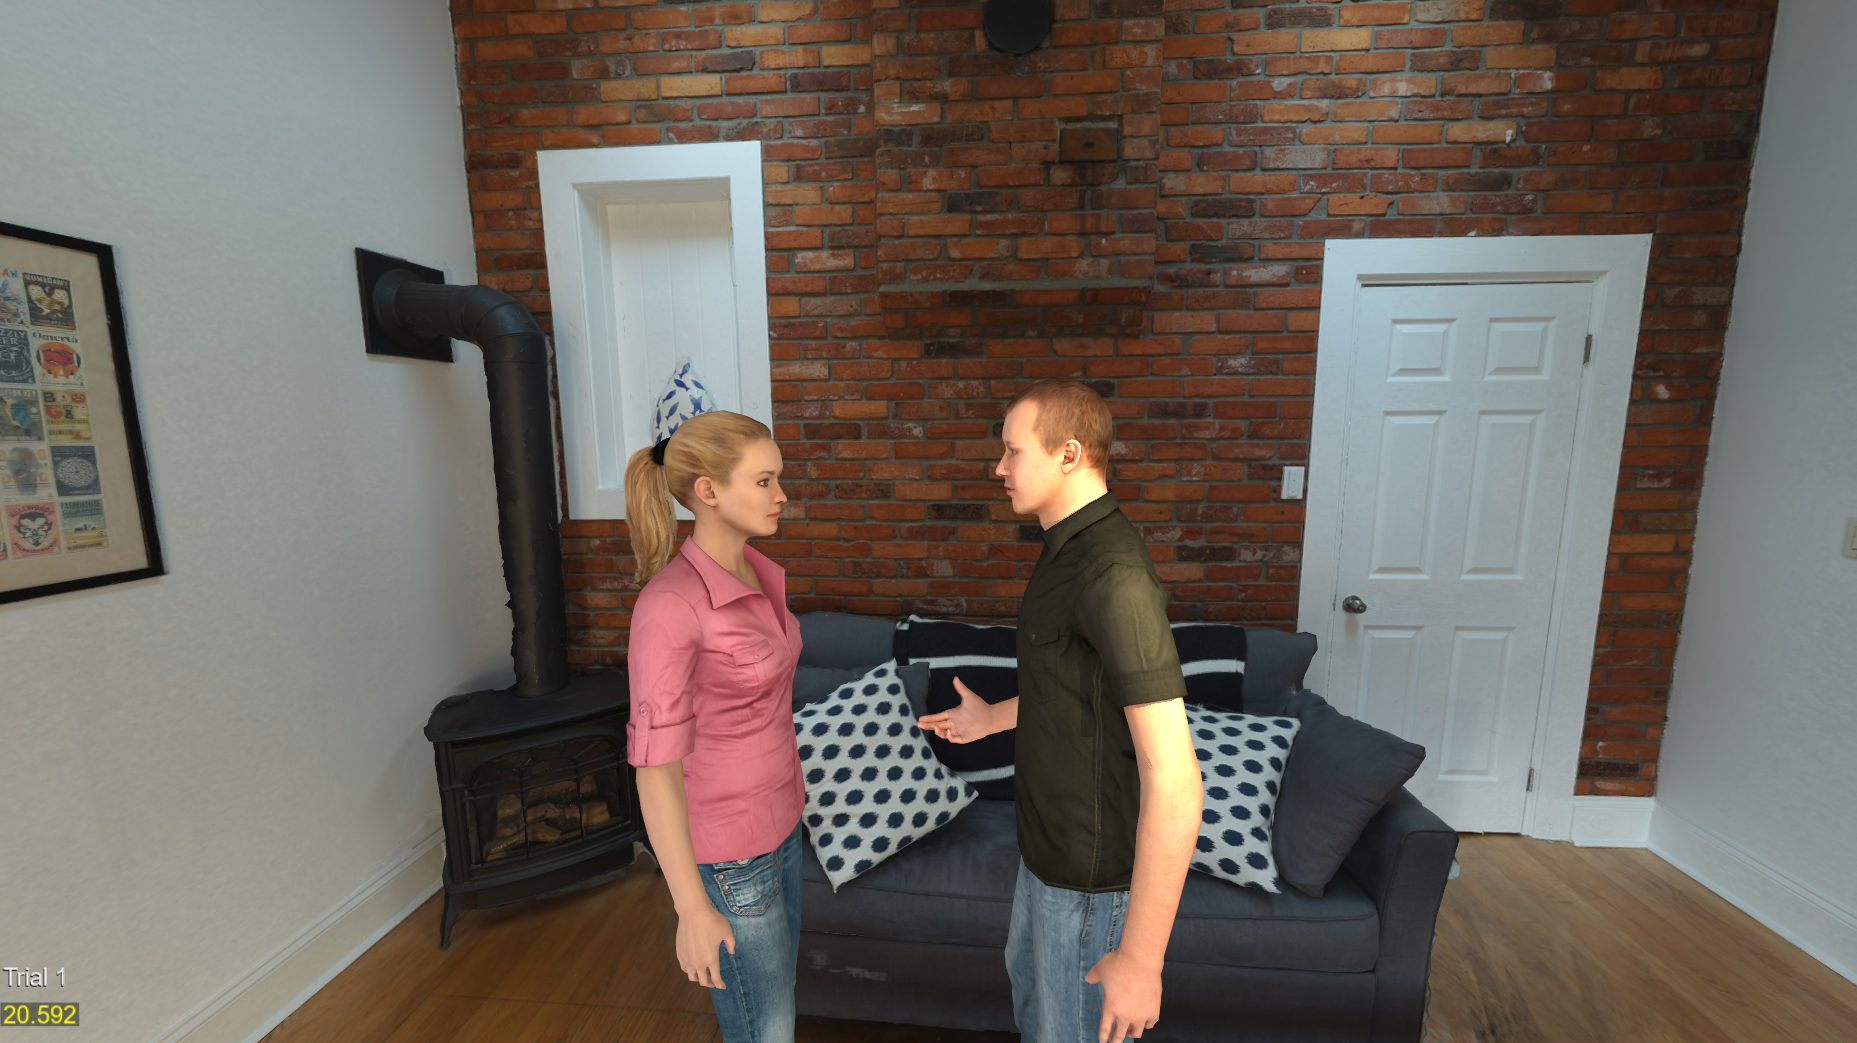
| Interact and converse with custom AI Large Language Models in a VR or XR simulation in real time. | Choose from various LLM Models. Requires API Key. | Modify avatar appearance, animations, environment, and more. Works with most avatar libraries |
 |
 |
 |
|---|---|---|
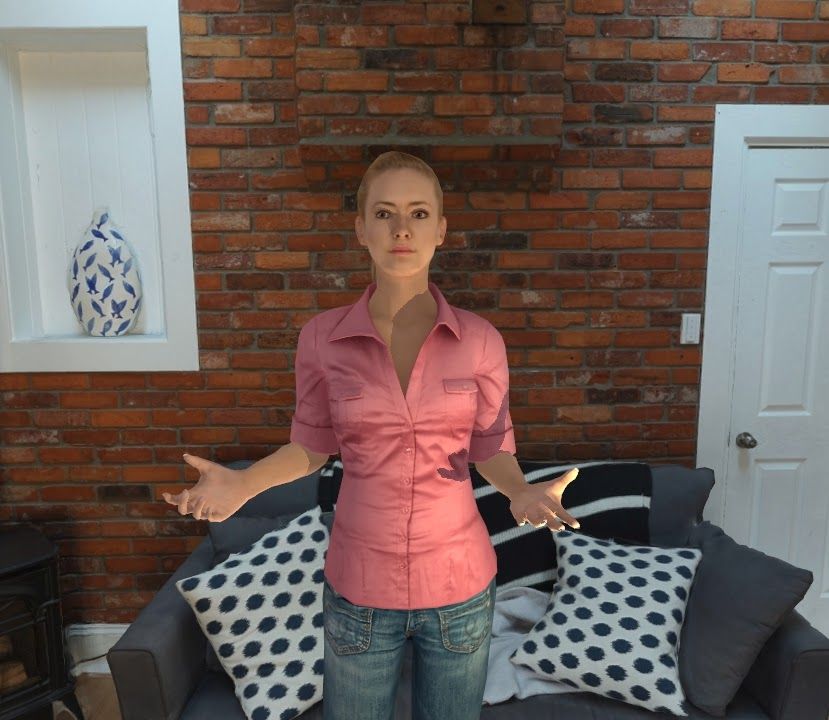
| Customize personality of agent, contextual awareness, emotional state, interactions, and more. Save as custom agents. | Use speech recognition to converse using your voice or text-based input. | Choose from high-quality voices from Eleven Labs and other libraries (requires API) or customize and create your own. |
 |
 |
|---|---|
| Train the agent as it adapts using a history of the conversation and its interactions. | Works with all features of SightLab, such as data collection and visualizations, transcript saving, and more. |
There is also available a version of this that just runs as an education based tool, where you can select objects in a scene and get information and labels on that item (such as paintings in an art gallery). See this page for that version. Additionally, there are teaching based AI Agent avatars in the E-Learning Lab tool.