AI Object Detection - Documentation
Click here to Download the Latest Version
Overview
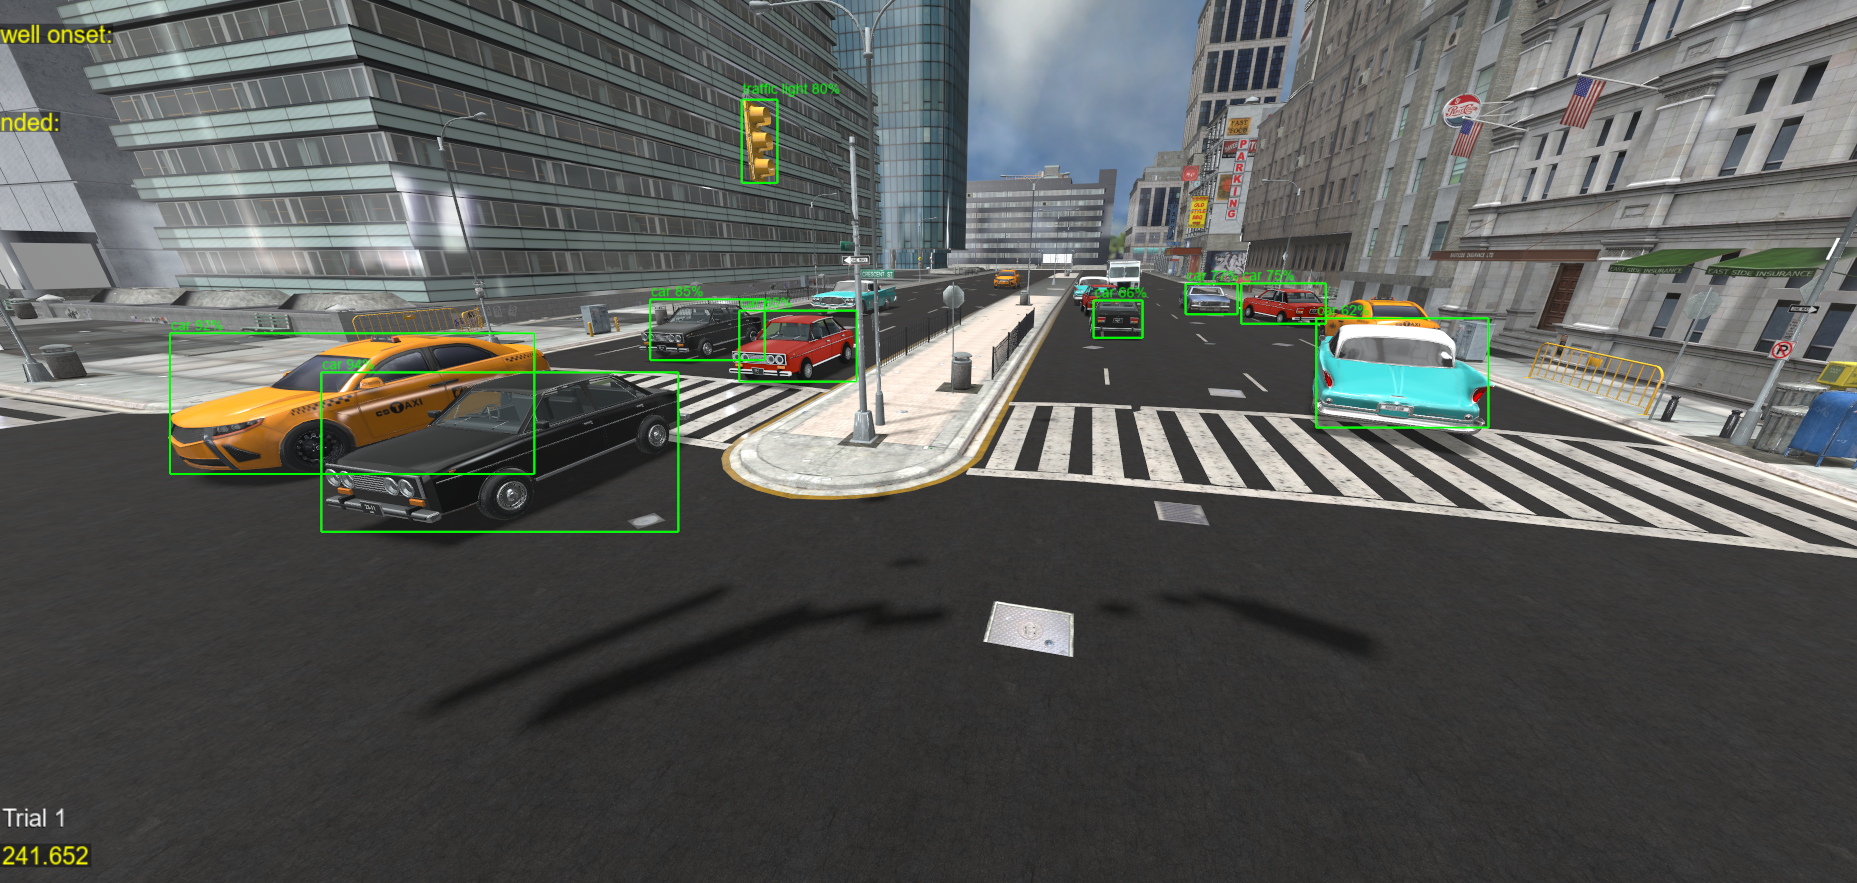
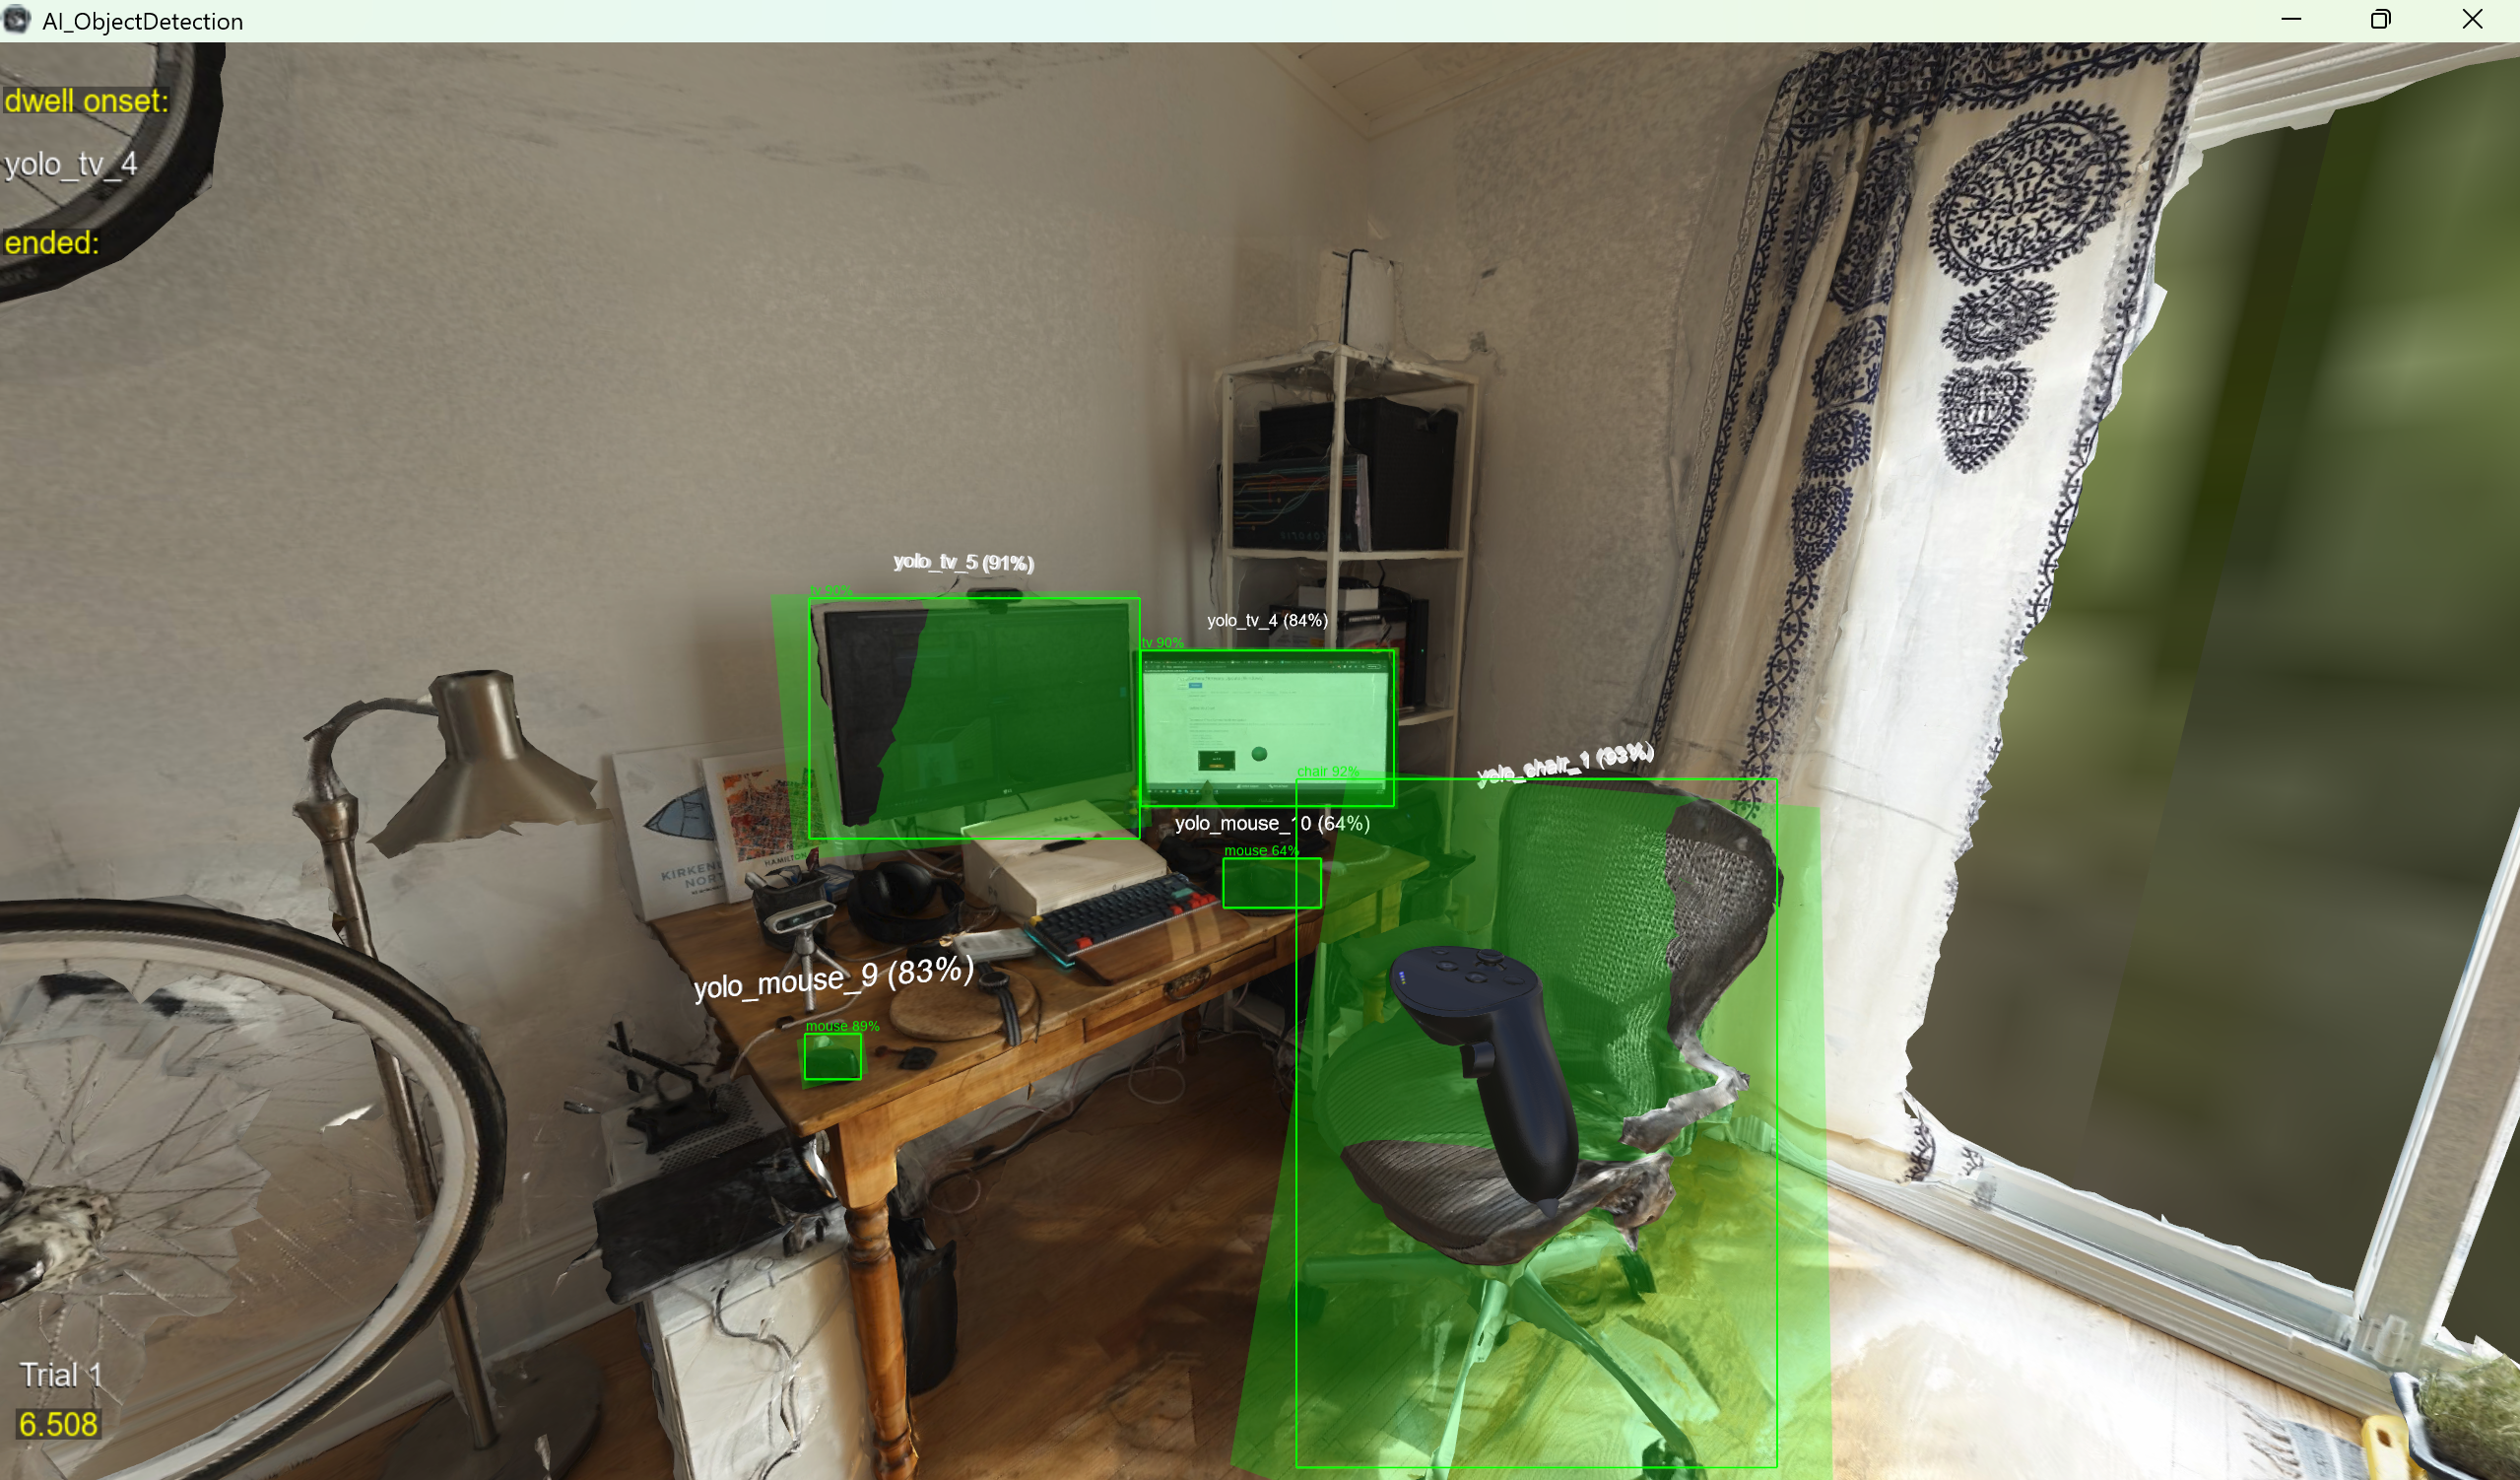
AI Object Detection brings automatic object identification to VR eye tracking studies by combining real-time YOLOX object detection with SightLab gaze data collection. During a session, the script captures the Vizard render MainScene, runs YOLO inference on an interval to identify objects in the scene, and overlays detections at the positions of objects. Gaze intersection with detections is automatically registered with Sightlab, so dwell time, view count, and other gaze metrics are collected automatically per object— no manual scene object setup required.
This functionality is part of sightlab_utils, allowing developers to extend their current Sightlab experiences with object detection simply by importing the yolox_object_detection module and calling <start/stop>Detection() in a SightLab experiment loop.
This allows researchers to run VR eye tracking studies where participants look around a virtual environment and the system automatically records what they looked at, for how long, and how many times — all without having to pre-label every object in the scene. See also this page for a version that can track using AR Passthrough.
Desktop testing: The script also works in desktop mode without a headset, which is useful for testing and validating detection settings before running a full VR session.
Requirements
Software
| Requirement | Notes |
|---|---|
| Vizard 8 | WorldViz Vizard with Python 3.x |
| SightLab | sightlab_utils must be on the Python path |
| YOLOX/requirements.txt | Python pypi dependencies |
Installing Dependencies in Vizard
Use Vizard's built-in Package Manager (Tools → Package Manager → cmd) and run pip install - "path\to\Sightlab2\ExampleScripts\AI_ObjectDetection\YOLOX\requirements.txt" or run pip directly from Vizard's Python:
"C:\Program Files\WorldViz\Vizard8\bin\python.exe" -m pip install -r "path\to\Sightlab2\ExampleScripts\AI_ObjectDetection\requirements.txt"
Ensure that your torch and torchvision packages are CUDA enabled and compatible with your GPU.
Files
| File | Purpose |
|---|---|
AI_ObjectDetection_Config.py |
All tunable settings (model, thresholds, visuals, capture, environment) |
AI_ObjectDetection.py |
Main script — run this in Vizard (can change to run with the GUI or without the GUI in the Config file) |
How to Run
-
Open
AI_ObjectDetection_Config.pyand verify settings (model, environment, confidence, etc.) -
USE_GUI- Choose whether to run with the SightLab GUI or code -
Open
AI_ObjectDetection.pyin Vizard and press F5 (or use the "Run WinViz on Current File" task) -
The script loads the configured environment (default:
homeOffice.osgb) -
Click or Trigger to start the trial — YOLO detection begins automatically
-
The participant looks around the VR scene; detected objects appear as semi-transparent boxes with labels
-
Press Spacebar to end the trial
-
SightLab saves gaze data (dwell time, view count, etc.) per detected object to the
data/folder
Output Data
SightLab saves standard experiment data to the data/ folder, including for each detection:
- Dwell time — total time gaze rested on each detected object
- View count — number of times gaze entered each object
- Average dwell time — mean gaze duration per view
- First view time — when the user first looked at each object
- Gaze/Dwell timeline — temporal sequence of gaze events
Each YOLO-detected object appears in the data with its key (e.g. yolo_chair_3, yolo_laptop_7). Instances of each class are differentiated and tracked using ByteTrack via supervision (e.g., yolo_cup_1 and yolo_cup_2 are two different tracked objects).
Runtime Keyboard Controls
| Key | Action |
|---|---|
b |
Toggle 2D bounding boxes on mirror window |
m |
Toggle collision volumes in mirror window |
i |
Toggle collision volumes in HMD |
o |
Toggle origin marker |
r |
Reset position |
p |
Toggle SightLab gaze point visibility |
Configuration Reference (AI_ObjectDetection_Config.py)
The following configuration variables' default values are also set as the defaults for the YOLOX_ObjectDetection class defined in sightlab_utils.yolox_object_detection.
YOLO Detection
| Setting | Default | Description |
|---|---|---|
CONFIDENCE |
0.6 |
Minimum confidence threshold (0.0–1.0). Lower = more detections but more false positives |
DETECTION_INTERVAL |
0.1 |
Seconds between YOLO inference runs |
AR |
False | Whether or not the experiment uses passthrough. If True, a window that is mirroring the AR view must be selected |
3D Collision Volumes
| Setting | Default | Description |
|---|---|---|
USE_VOLUME_MANAGER |
True |
Create 3D collision volumes in the scene that can be used to automatically log gaze per object |
ENABLE_GAZE_TRACKING |
True |
Enable gaze tracking on detected objects' collision volumes, using SightLab registered Gaze Objects. If False and USE_OBJECT_MANAGER is true, the collision volumes are only for visual purposes, and log no data |
MAX_TRACKED_VOLUMES |
15 |
Maximum tracked 3D collision volumes |
SHOW_VOLUMES_IN_HMD |
True |
Show collision volumes in HMD view |
SHOW_VOLUMES_IN_MIRROR |
True |
Show collision volumes in desktop mirror |
DEBUG_VOLUME_ALPHA |
0.25 |
Default collision volume alpha (opacity) |
2D Bounding Box Overlays
| Setting | Default | Description |
|---|---|---|
USE_BOUNDING_BOXES |
True |
Overlay YOLO bounding boxes on the mirrored view (can not be shown in HMD), not used for gaze logging |
SHOW_BOUNDING_BOXES |
True |
Show 2D bounding boxes on the mirror window (classic YOLO-style outlines). These are screen-space overlays that appear on the researcher's desktop view on top of the 3D scene |
BOUNDING_BOX_COLOR |
[0, 1, 0] |
RGB bounding box color |
SHOW_LABELS |
True |
Show text labels above detected objects (and collision volumes if enabled) |
Sightlab Configs
| Setting | Default | Description |
|---|---|---|
ENVIRONMENT_MODEL |
'sightlab_resources/environments/homeOffice.osgb' |
Default environment model |
INSTRUCTION_MESSAGE |
AI Object Detection\nLook around the scene to automatically detect objects\n\nPress Trigger or Click to Continue |
Instructions shown at the start of the experiment |
USE_GUI |
True |
Use Sightlab GUI to configure experiment settings |
SCREEN_RECORD_WINDOW |
False |
Sightlab recording parameter |
Using the YOLOXObjectDetection Class in Your Experiments
As mentioned previously, the object detection functionality provided by YOLOX is packaged as a module in sightlab_utils, allowing you to use this feature in your own Sightlab experiments.
To start, import the class from the module into your Python code:
from sightlab_utils.yolox_object_detection import YOLOXObjectDetection
Then, in your sightLabExperiment function, you'll need to instantiate the class before the trial starts.
Note that the YOLOXObjectDetection class has all of the configs listed above set to those default values, so you don't need to pass anything for them unless you want to tweak them. The only things you need to pass are your sightlab and viz instances.
detector = YOLOXObjectDetection(viz, sightlab)
After declaring your detector, you'll need to start it when the trial starts.
detector.startDetection()
This automatically begins detection. Then, when the trial finishes, end detection.
detector.endDetection(). That's it. The following code snippet demonstrates the whole flow:
def sightLabExperiment():
    while True:
        detector = YOLOXObjectDetection(viz, sightlab)
        yield viztask.waitKeyDown(' ') # wait for spacebar to start trial
        yield sightlab.startTrial()
        detector.startDetection()
        # your experiment code here ...
        yield viztask.waitKeyDown(' ') # wait for spacebar to end trial
        detector.endDetection()
        # your experiment clean up here ...
        yield sightlab.endTrial()