Building a New Lesson
Access a quick guided tutorial via Help > Getting Started inside E-Learning Lab. Click Show for animated demonstrations, Next/Back to navigate, and Q to exit early.
1. Start a New Project
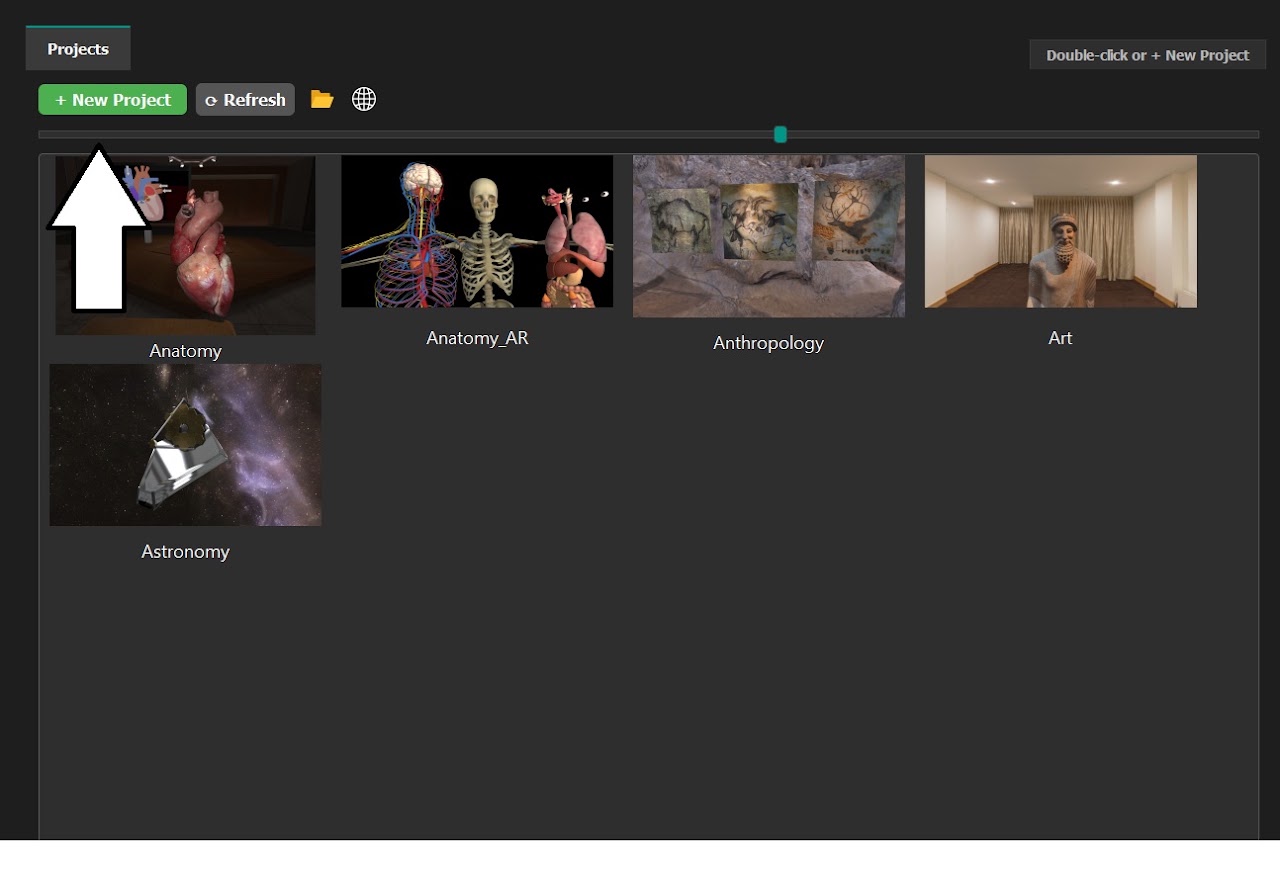
Click New Project to begin a lesson, or double-click to open an existing one.
Additional lessons are available online via the globe icon, which links to the Online Presentation Browser. You can point this at your own collection by clicking Advanced - Open globalConfig and editing ADDITIONAL_LESSONS_URL. You can also drag and drop zip files from online presentations — they automatically unpack and become available.
2. Name Your Project
Give your new project a name and click Create.
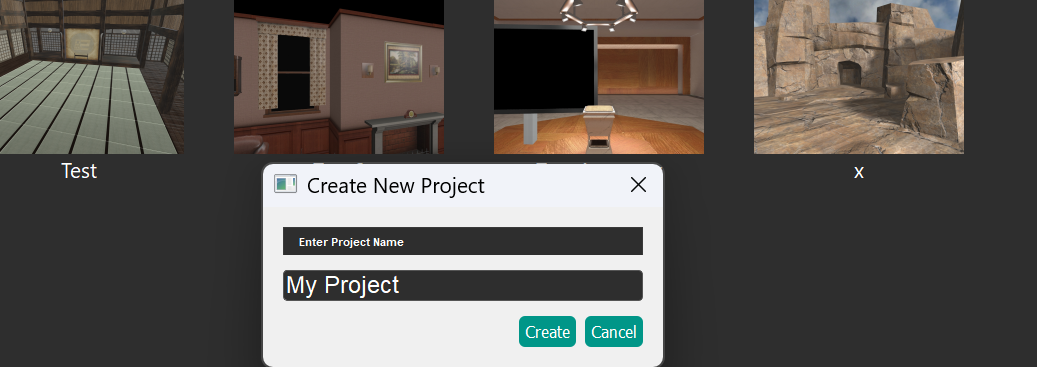
3. Add a Scene
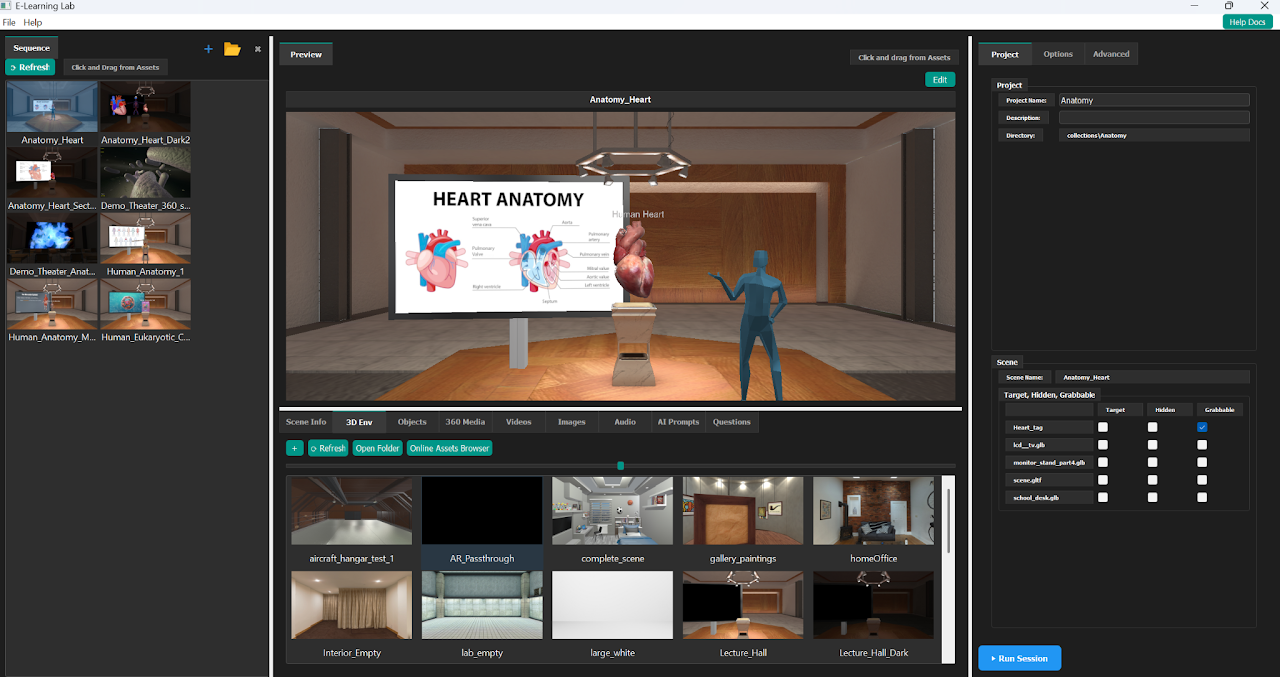
Go to the Assets tab and either:
- Left-click and drag an asset into the Scenes/Sequence window or Preview window
- Right-click an asset and select Add to Project
- Click +Slide to start with a blank slide (v1.4.7+)
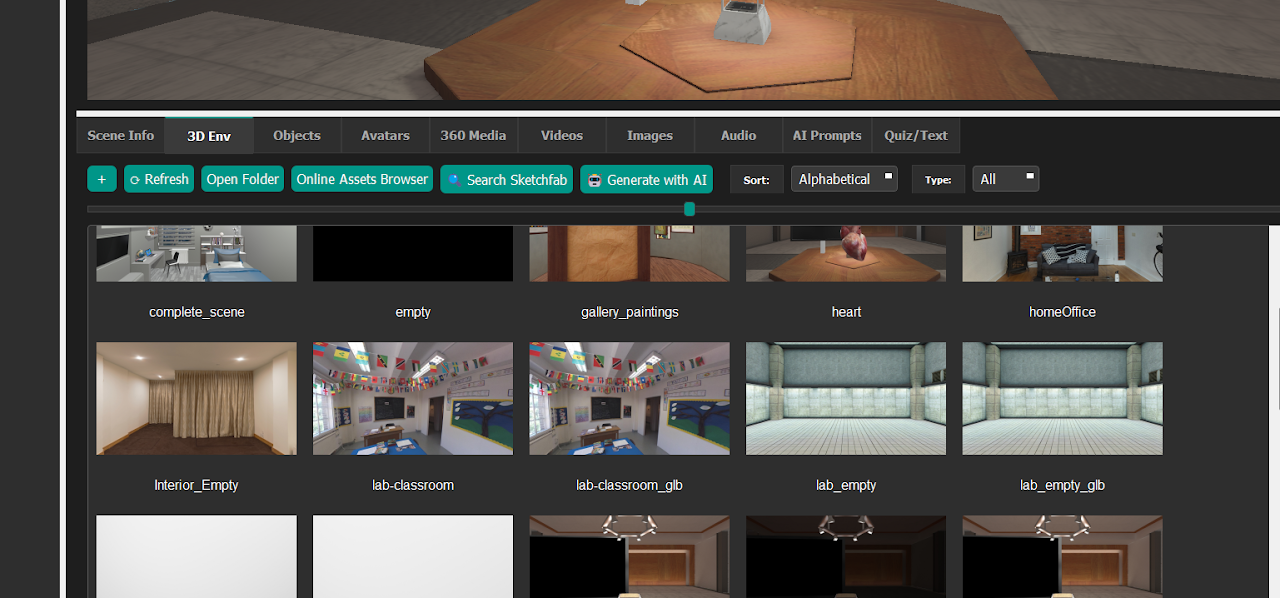
Asset sources:
- Built-in connection to SketchFab for 3D models
- Wikimedia library for videos and images
- AI generation for models, images, videos, and 360 media (v1.2+)
- Online Asset Browser for additional assets
- Local assets folder (appears after clicking Refresh)
Navigation tips:
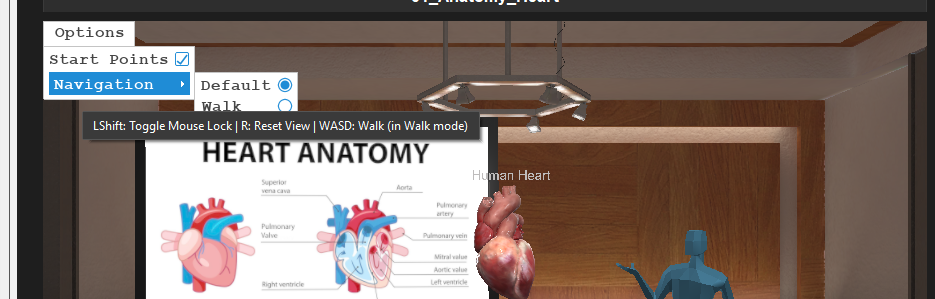
- Use the mouse to navigate the preview window
- Press WASD and QE to move through the preview
- Click the top-left menu to switch navigation types or hide start points
- Press R to reset the view
- Hold Left Shift to lock or freeze the preview camera
4. Edit the Scene
Drag in objects, videos, images, avatars and more directly into the scene editor and set up your scene/slide using the move/rotate/scale/delete gizmos
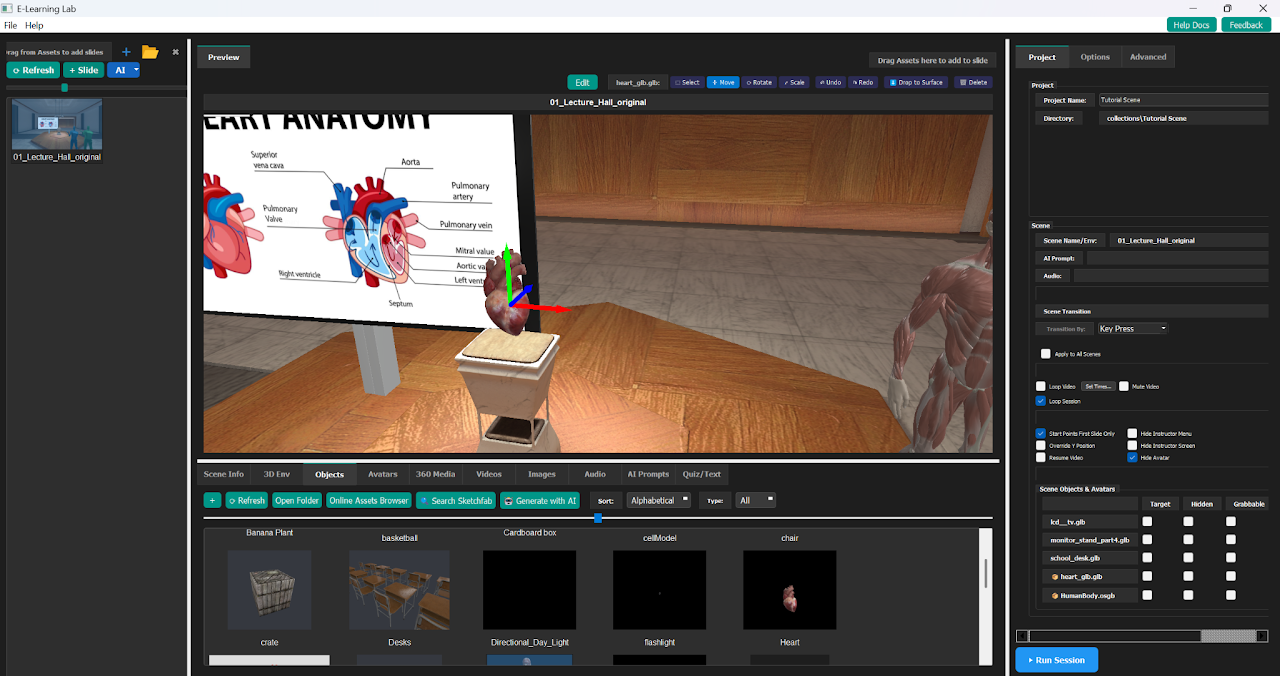
Available editing options:
- Add objects and starting points
- Add lights, sounds, or videos
- Customize interactivity
Click the Edit button to open the scene in Inspector for more advanced per model adjustments, such as editing materials, light properties and more.
See the Scene Editor and Inspector 3D Scene Builder pages for detailed editing instructions.
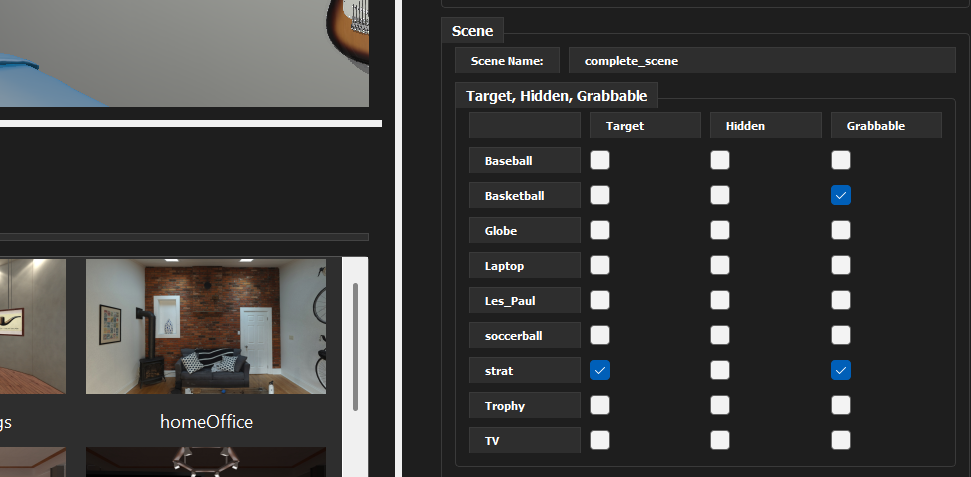
Object properties: Use the checkboxes on the right side to:
- Set items as grabbable
- Target for eye tracking objects of interest
- Control visibility
- Enable built-in animations
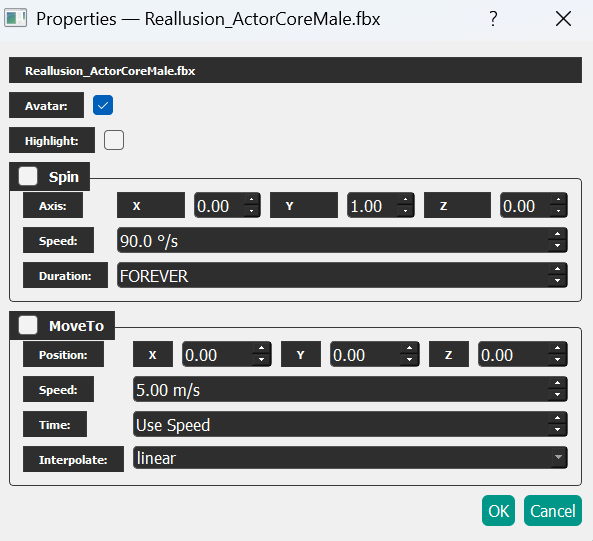
Right-click an object and select Properties to add features like Highlight, Move To animations, and Spin (v1.4.3+).
Scene management: Rename, duplicate, or delete scenes from the right-click menu. Videos show a Play Video option. Drag and drop scenes to reorder them.
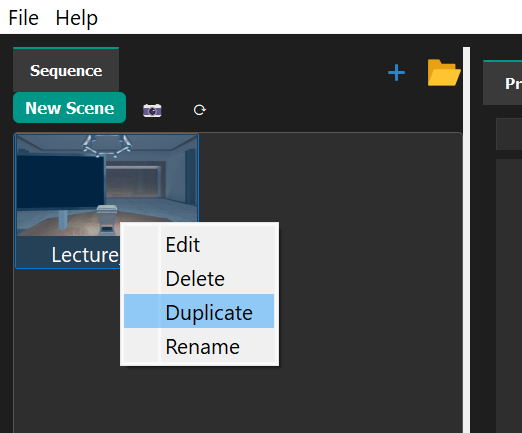
5. Run the Session
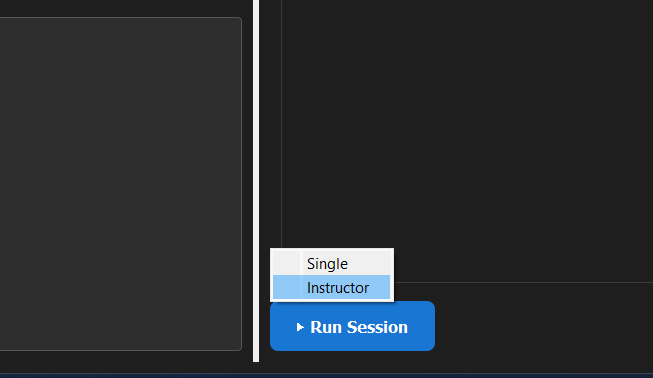
When ready, click Run Session and select from:
- Single User
- Instructor (for multi-user sessions)
Adding Videos
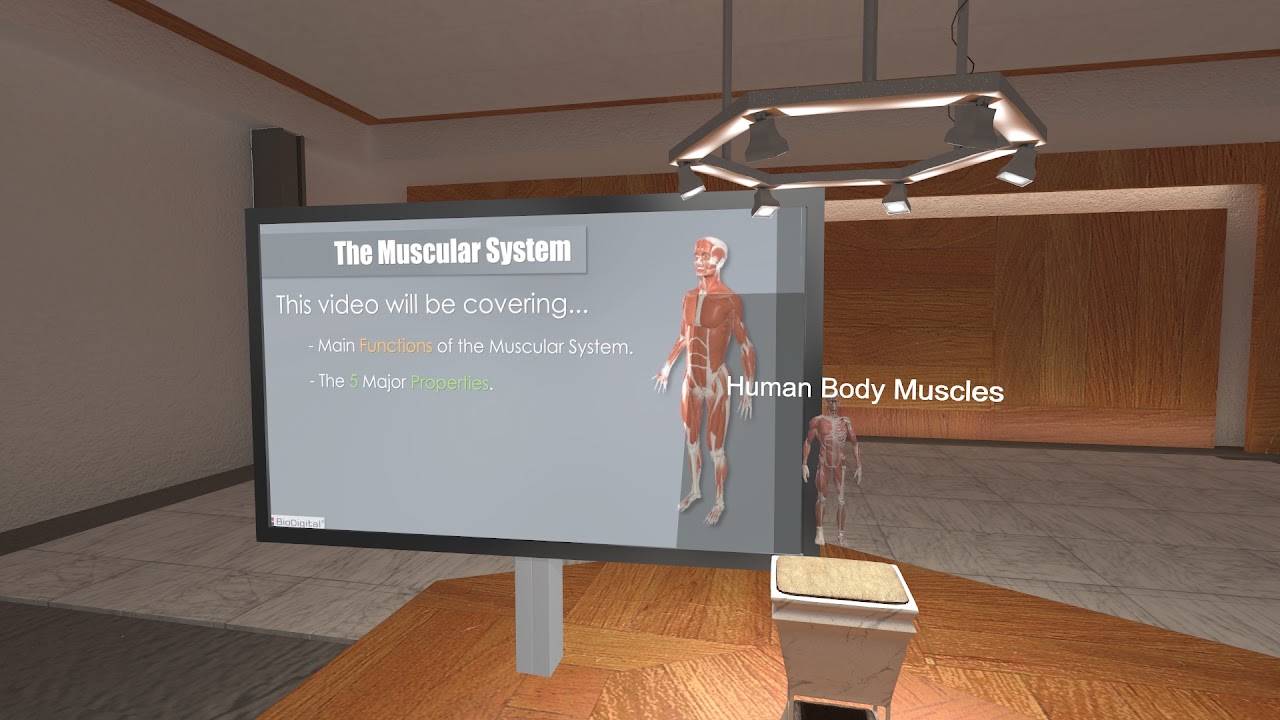
- Select the Videos tab in the Asset browser
- Add a new video or use an existing one
- Drag the video directly into the scene editor to add to the current scene or drag to the scenes window to create a new scene automatically with this video
- Choose either the TV Screen or Big Theater option (see below)
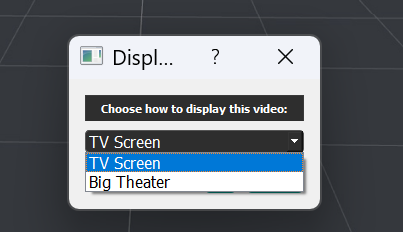
Videos can be monoscopic or stereo
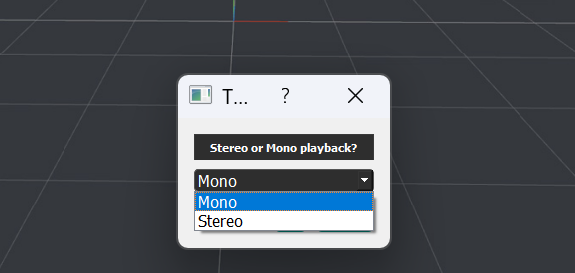
Video options:
- Check Loop to repeat a video
- Check Resume Video to resume from where it stopped when cycling through scenes
- Set start and end times via the GUI
- Mute the video's sound if desired
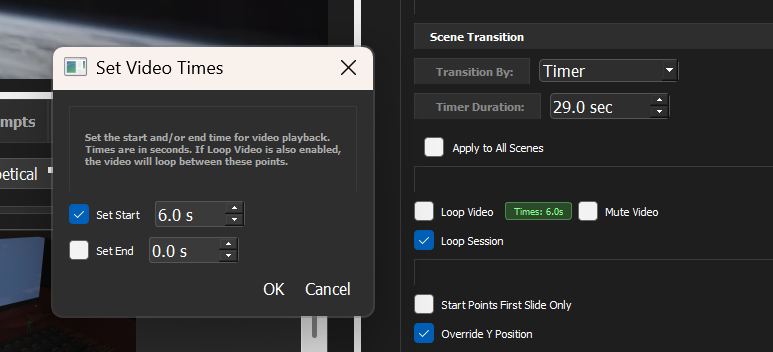
By default, videos auto-play on each slide. To disable this, set AUTO_PLAY_VIDEOS = False in mediaConfig.py. See Controls for video playback management.
Stereo format: Stereo videos default to Side By Side (Left/Right). To change to Top/Bottom, set STEREO_VIDEO_FORMAT = 'Top_Bottom' in mediaConfig.py.
Large Screen Videos
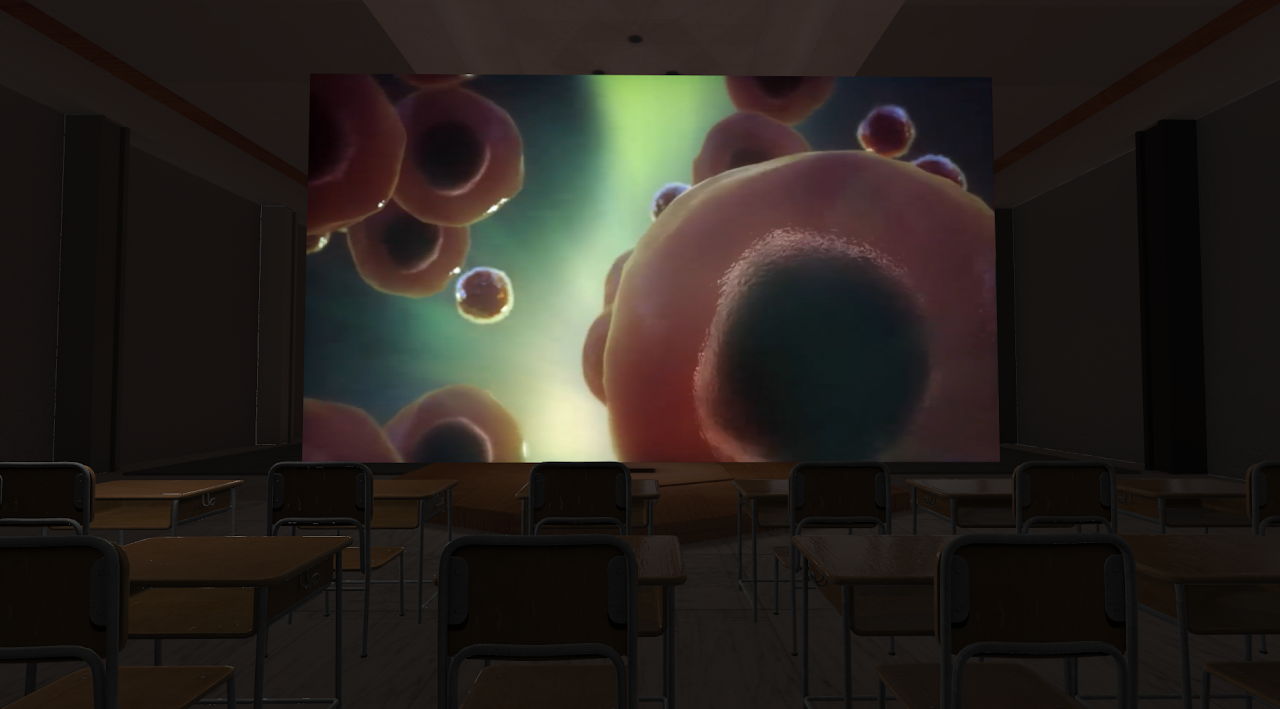
- Add a larger environment (Theater is recommended)
- Select the Videos tab and add or use an existing video
- Select a scene, right-click the video, and select Add to Scene or drag into preview or scenes window
- Choose Big Theater and select mono or stereo
360 Videos

Select the 360 Media tab in the Asset browser. Add new 360 media or use existing media. Right-click and select Add to Project, or drag into the Sequence/Scenes window. Choose mono or stereo.
180 Side-by-Side Videos
As of v1.4.2, you can use 180 side-by-side videos. Add "180" somewhere in the filename before dragging from the 360 media bin. Dragging directly to the scenes panel may work better if you add it to the 360 media bin first.
Adding Images
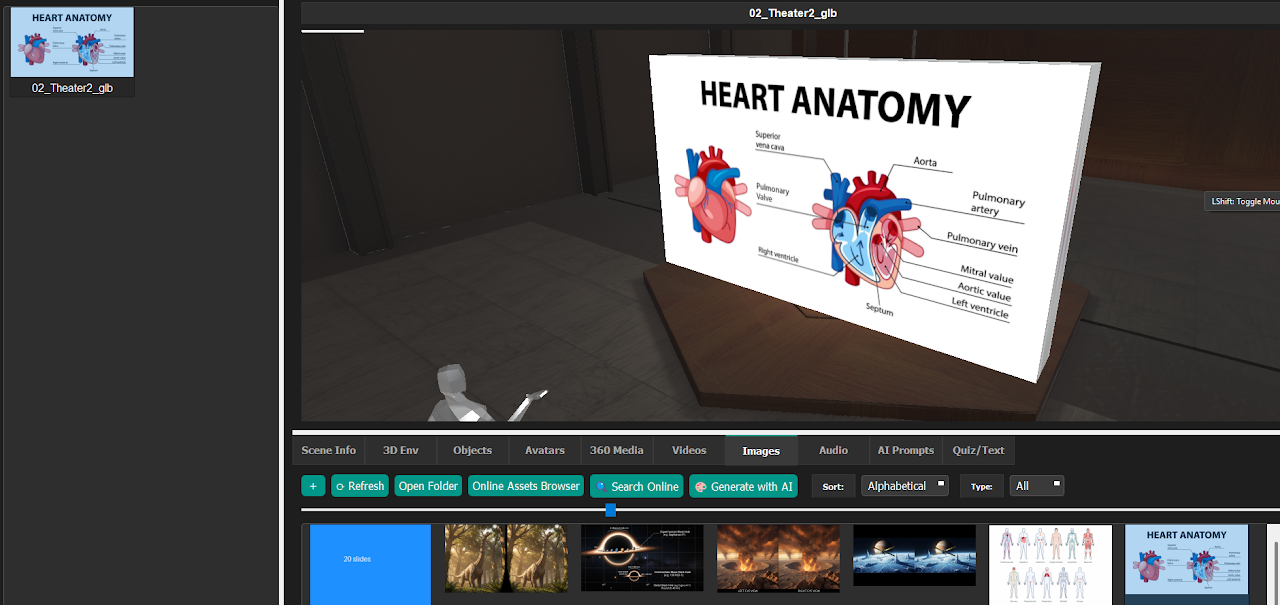
- Drag and drop images from the images assets bin to the Sequence/Scenes window, or drag directly into the scene editor
- Add new images or use existing ones — or generate with AI, search Wikimedia, or search online
Adding Audio
- Select the Audio tab
- Add new audio or use existing options
- Right-click and select Add to Scene, or drag into the preview window
- If audio is added to a slide, it appears in the Scene Info panel on the right
Text-to-speech: Add text files to the Audio bin and they will be read aloud by the default text-to-speech model (Piper by default).
Scene audio options: Right-click on scene audio to set it to play for the entire sequence, enable looping, or delete it.
Adding an Avatar Replay
As of v1.6.0, you can record yourself presenting a slide in a Single User session, then drag the session's replay file (.rply) from File Explorer onto the Preview window. The recorded avatar plays each time that slide starts, along with your voice if Record Microphone was turned on. It appears on the Avatar Replay row of the Scene Info panel.
See Avatar Replay for the full workflow.
Augmented Reality Mode (Passthrough)
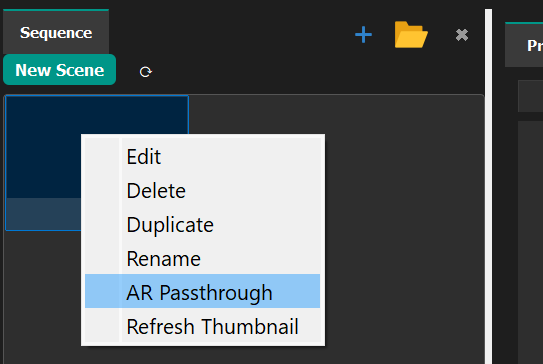
To enable passthrough (AR) mode for an environment:
- Right-click on a scene and select AR_Passthrough, or
- Append the tag
_Passthroughto the environment name
See Augmented Reality for more.
Using Built-in Animations
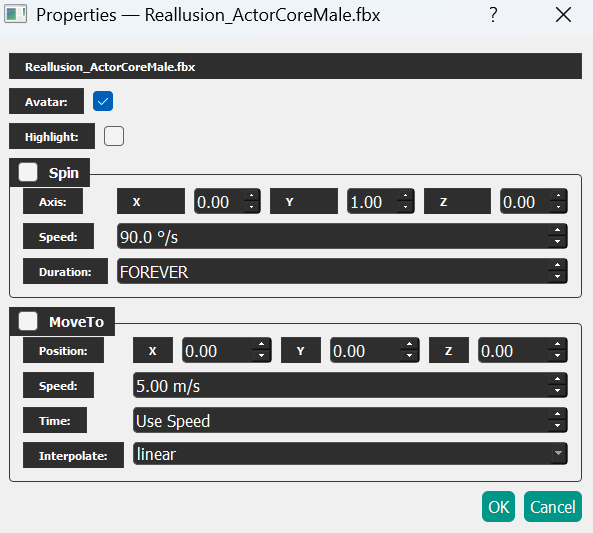
Built-in animations should play automatically but may vary by implementation. To activate them:
- Check the Animate checkbox on the object
- The object must already have an animation attached
- Next to the Animate checkbox, select the specific animation under State (open the model in Inspector to see available animations)
- If the object uses a skeleton, right-click and choose Properties, then check the Avatar checkbox
- Standard Rocketbox avatars ending in
.cfgare recognized automatically
Adding AI-Assisted Instruction
See AI Intelligent Agent for detailed guidance.
Screen Casting
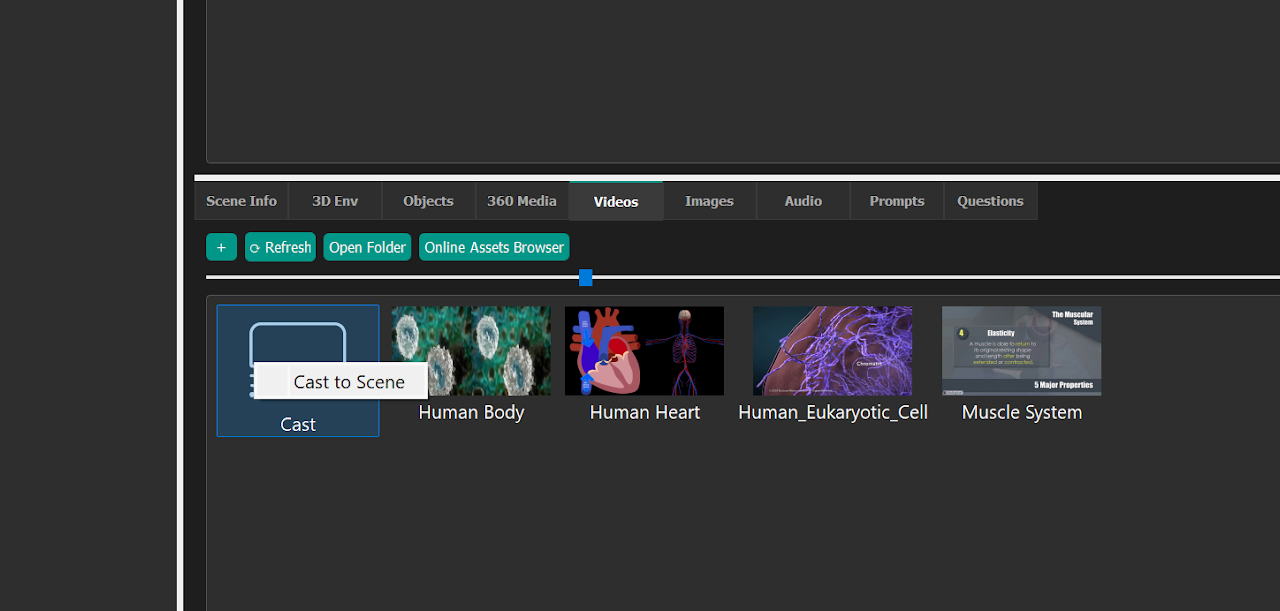
To cast from your desktop or a window to a virtual screen:
- Select a project and add or select a scene with either the TV object (for virtual TV casting) or enough space for the virtual theater screen
- Go to the Videos tab
- Right-click the Cast icon or drag it into the preview window
- Select Cast to Scene
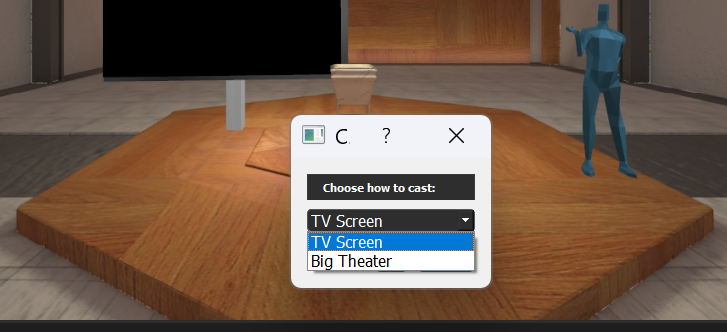
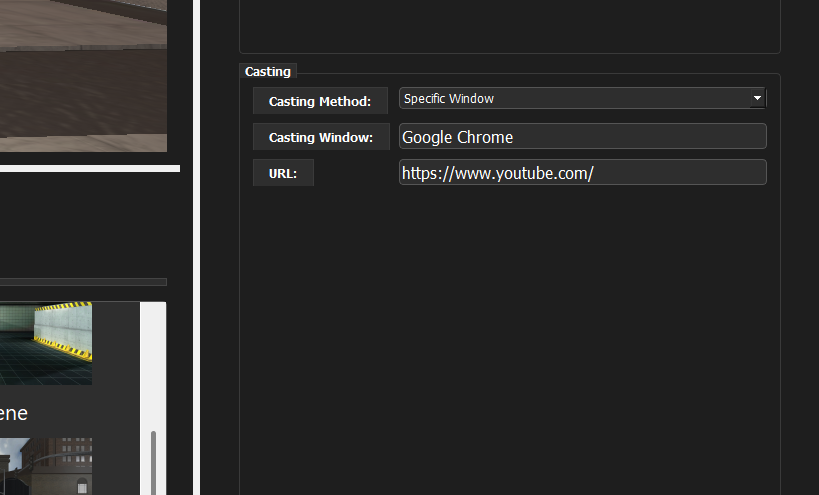
Casting options (on the Options tab):
- Cast entire desktop
- Cast from a specific window
- Cast a URL
- Select which window to cast
Chrome hardware acceleration (for browser-based casting sources): disable hardware acceleration before starting:
- Open
chrome://settings - Scroll to System
- Toggle Use hardware acceleration when available OFF
- Restart Chrome
Adding Additional Content and Generating with AI Assistance
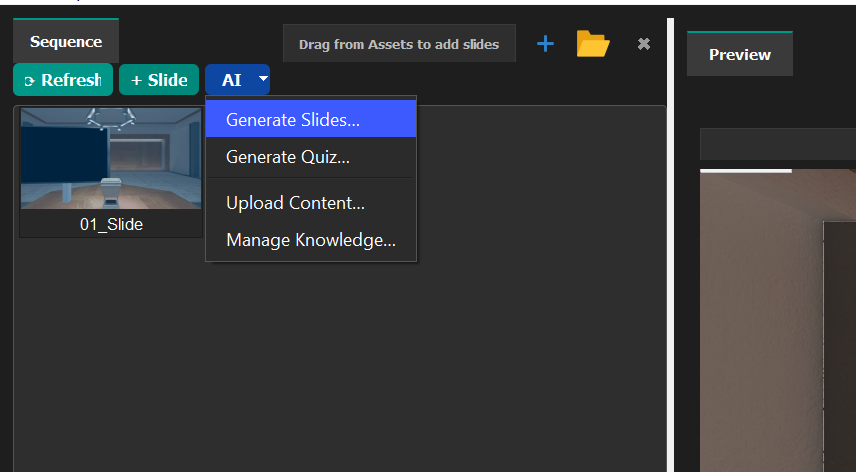
Upload your own material (PDFs, images, text, and more) from the scenes panel to generate:
- Contextual quizzes
- AI Agent discussions
- Additional slide content