Running a Session as a Client
Setup and Launch
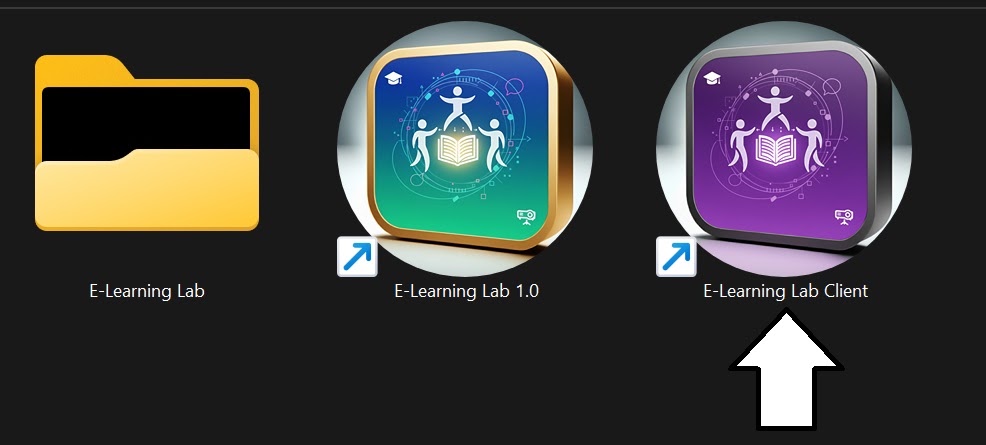
To begin, launch the E-Learning Lab Client application. The system supports both desktop and headset modes — if using a headset, make sure it's connected to your PC and powered on.
Connecting to Server
Click Connect to establish a connection with the server.
First-time setup: If this is your first login with this project, you'll need to provide the server computer's name. Select New from the Server Name dropdown. A dialog appears for entering this information. To find your server's computer name, search "About your PC" in Windows and note the Device Name field. This name is saved for future sessions.
Avatar and Profile Configuration
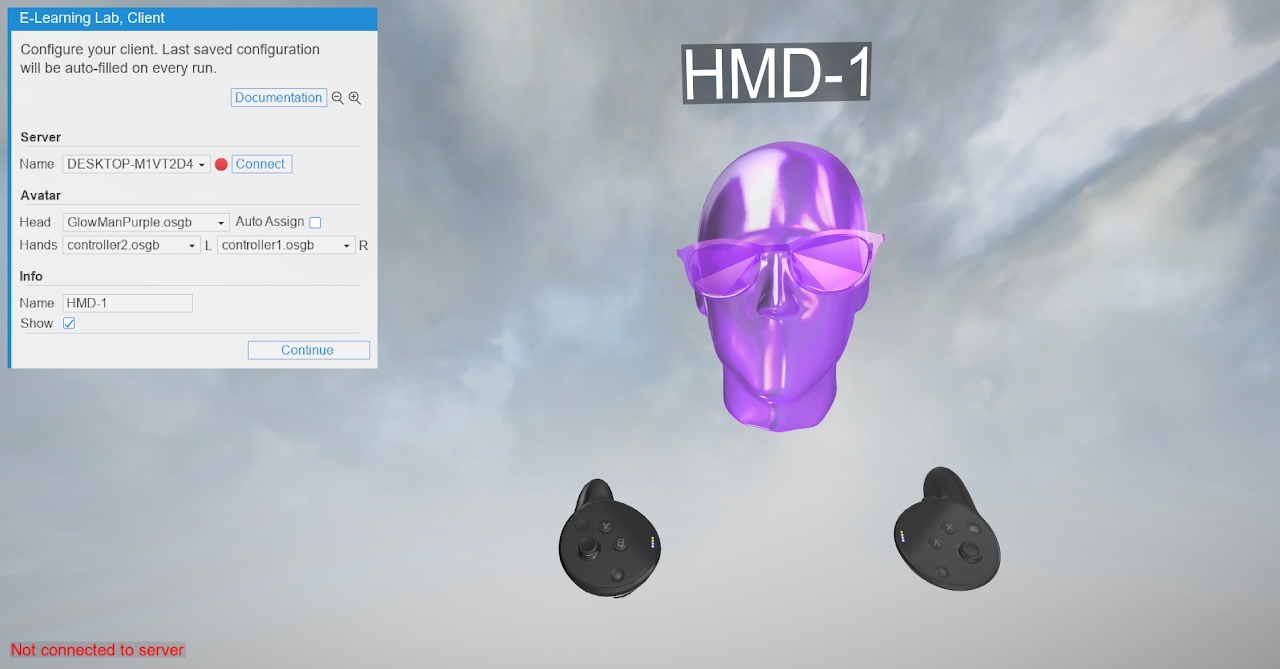
Complete the following selections:
- Choose your preferred avatar
- Enter your name
- Decide whether to display your name to other participants
- In the Suffix field, enter any number associated with your specific client start point
Full Body Avatar Options
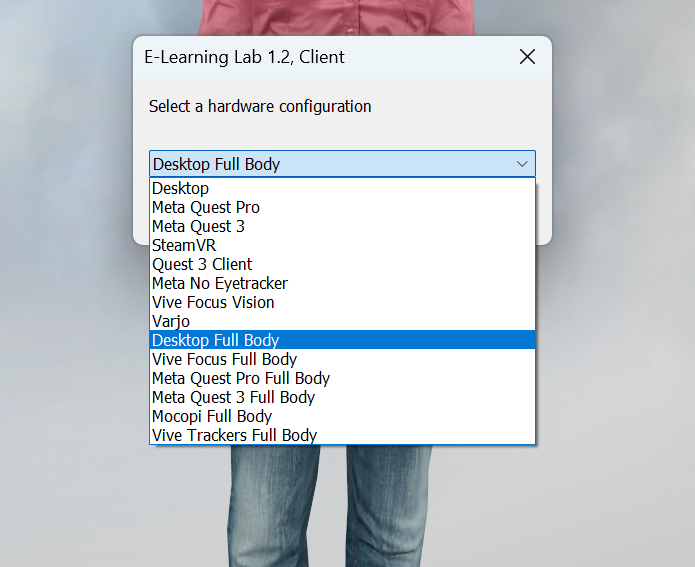
Selecting Full Body activates extended avatar capabilities. After enabling this feature, choose one of the full body presets from the bottom section of the list for your hardware configuration.
Once you've configured these settings, click Continue to proceed.
In-Session Navigation
See Controls for instructions on scene interaction.
Late Arrival Scenarios
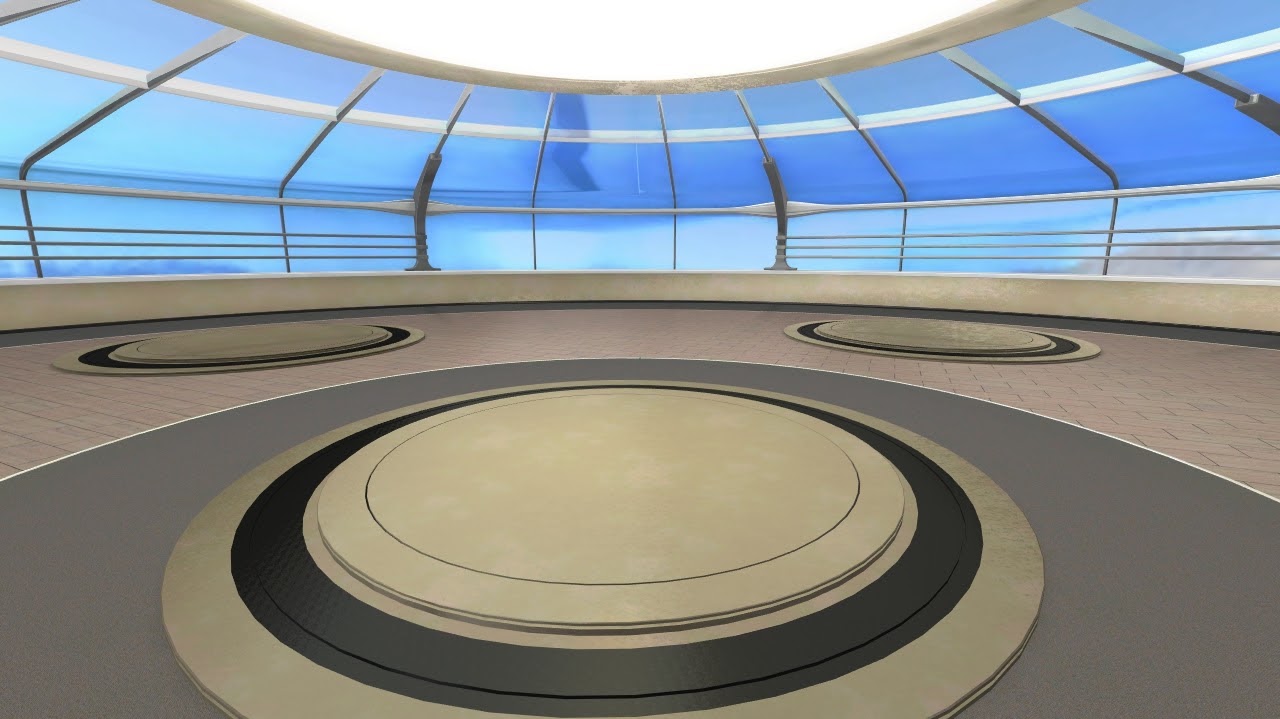
Joining after a session begins isn't a problem — you'll load on the current slide. Initial video playback may desynchronize with other participants on that first slide, though subsequent slides will restore synchronization. While waiting to enter, you'll occupy a designated waiting environment.
Alternative Launch Methods
Two automated startup scripts are available: E_Learning_Lab_Client_Auto_Desktop.py and E_Learning_Lab_Client_Auto_VR.py. These enable automatic server connection and hardware-specific execution.