Inspector 3D Scene Builder
Editing Scenes in Inspector
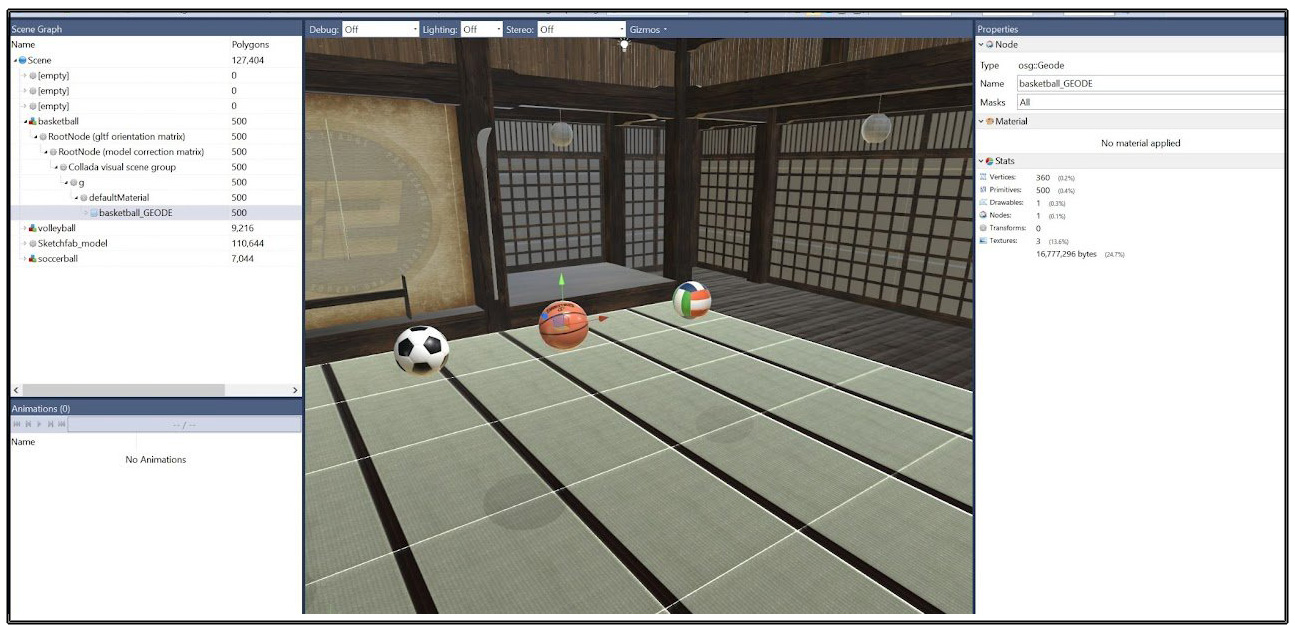
Double-clicking an asset in the asset browser, scenes window, or preview window opens the 3D model editor (Inspector) for advanced environment setup. This tool allows you to preview animations, add lighting, swap textures, and set starting points. Most scene setup can be completed directly in the scene/preview window editor.
Using Inspector
Inspector Controls
- Drag Left Mouse Button: Orbit the viewpoint
- Shift + Click Left Mouse Button: Move viewpoint to clicked surface
- Drag Right Mouse Button: Pan the view
- Scroll Wheel: Zoom towards/away from viewpoint
- Z: Zoom to selected node
Opening Models in Inspector
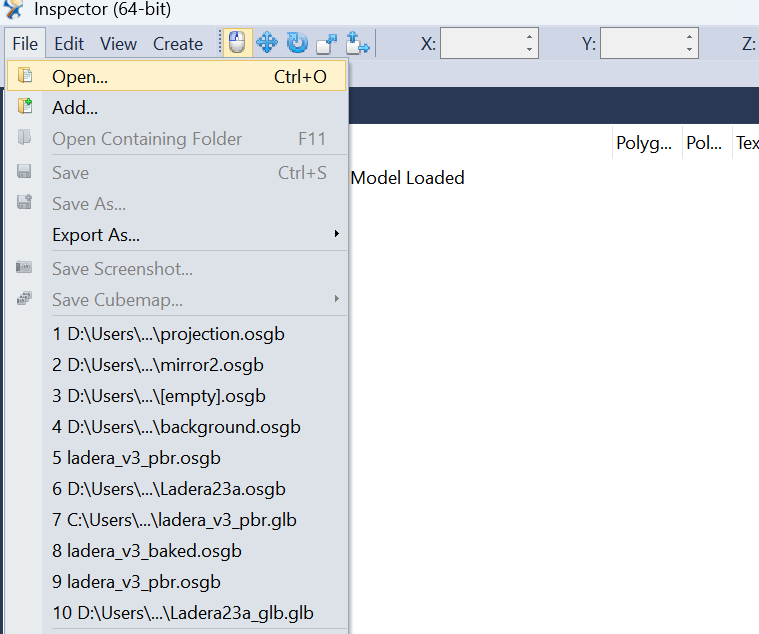
Use "File - Open" to add a new model.
Checking Environment Size
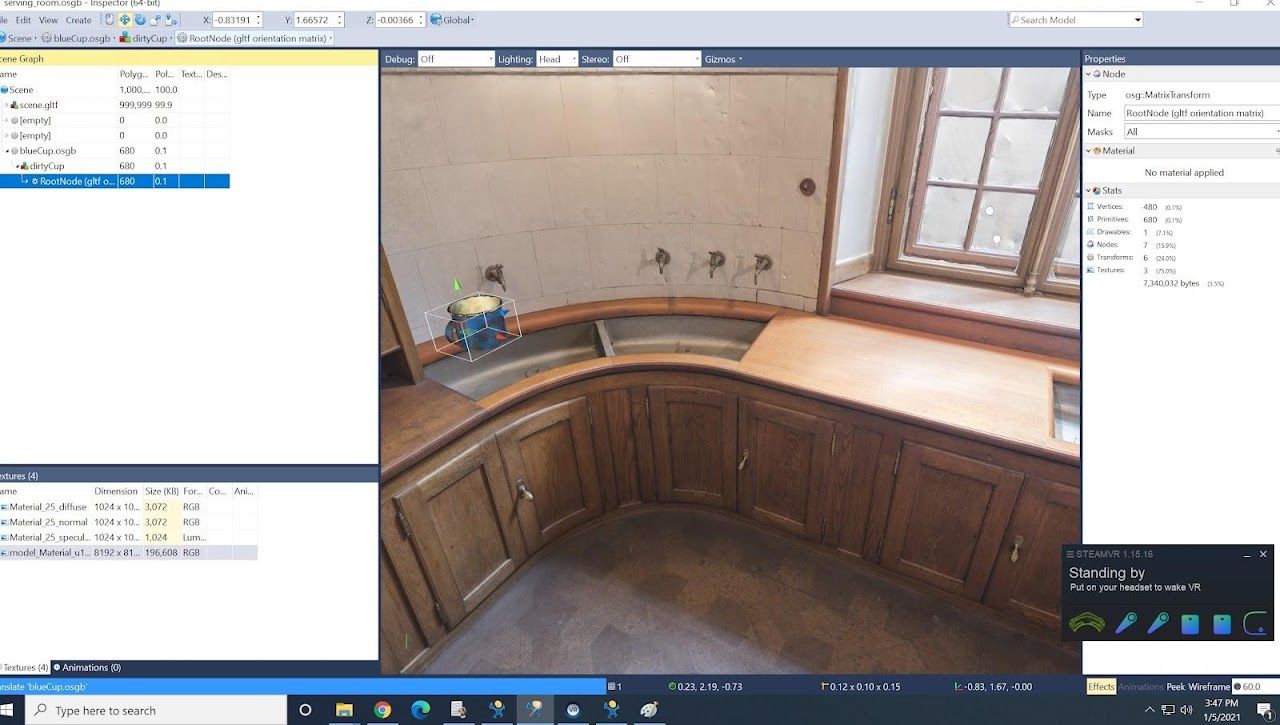
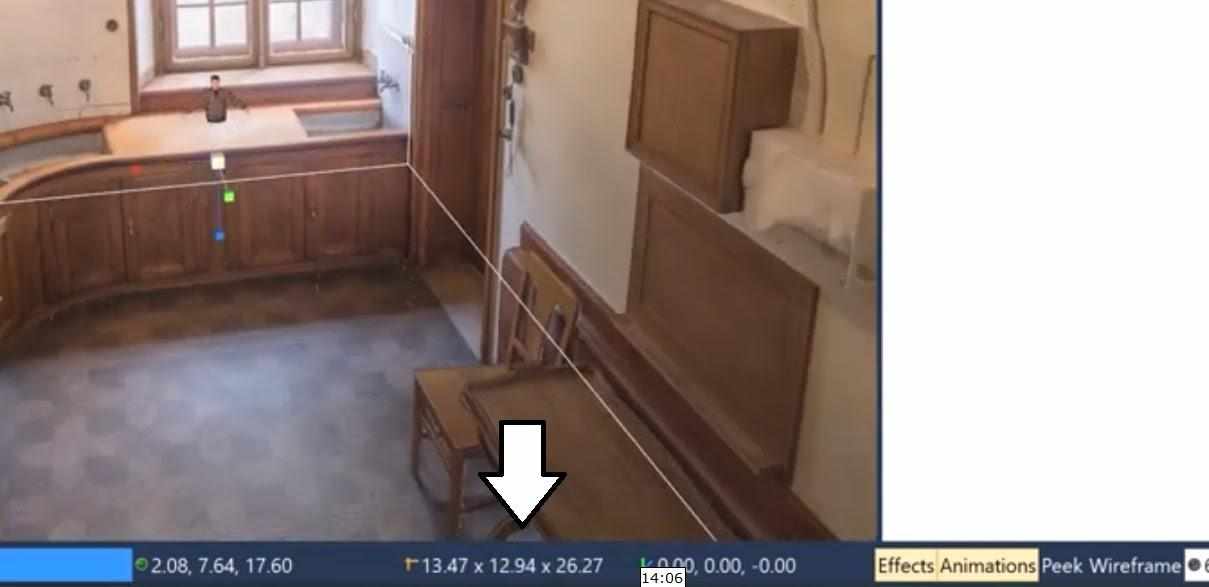
- Click on the root node in the top left scene graph
- Look at the bottom right to see the size in meters
Setting the Starting Points
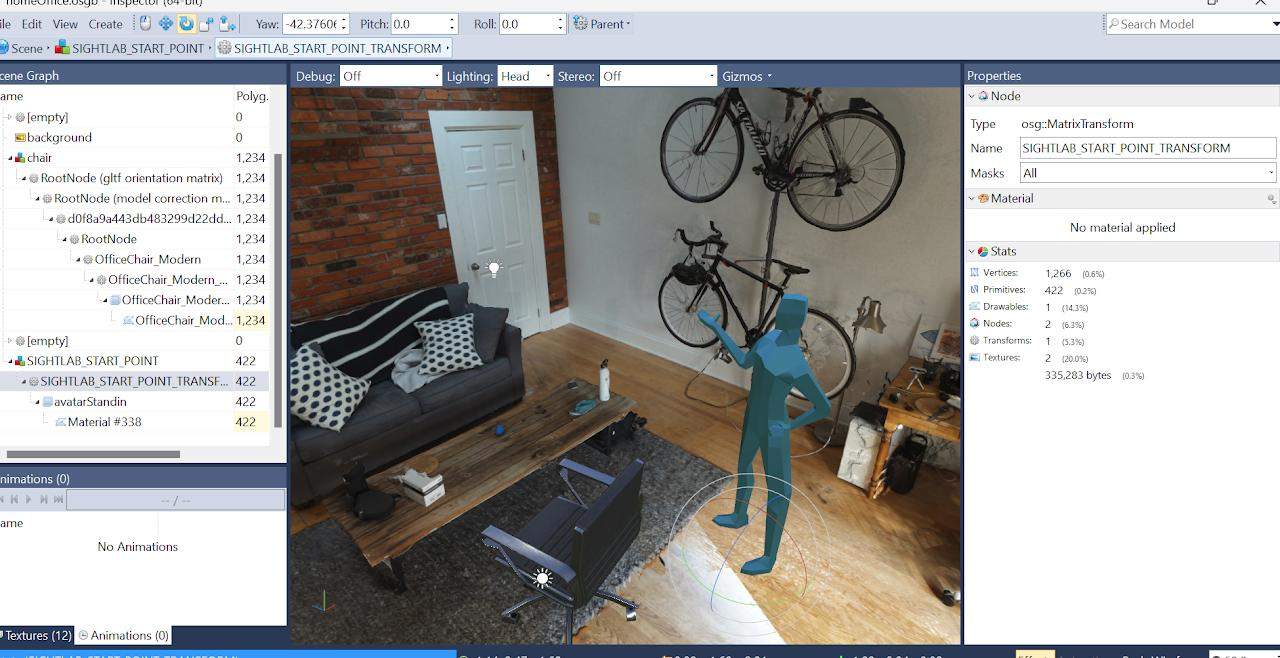
- Click "File - Add"
- Navigate to the scene_objects folder
- Add START_POINT_SINGLE for single-user starting position (white)
- Add SIGHTLAB_START_POINT_CLIENT for client starting position (purple)
- Add START_POINT_INSTRUCTOR for instructor starting position (blue)
If no START_POINT object is found, users start at the origin point (middle of the environment object).
Transforming Objects
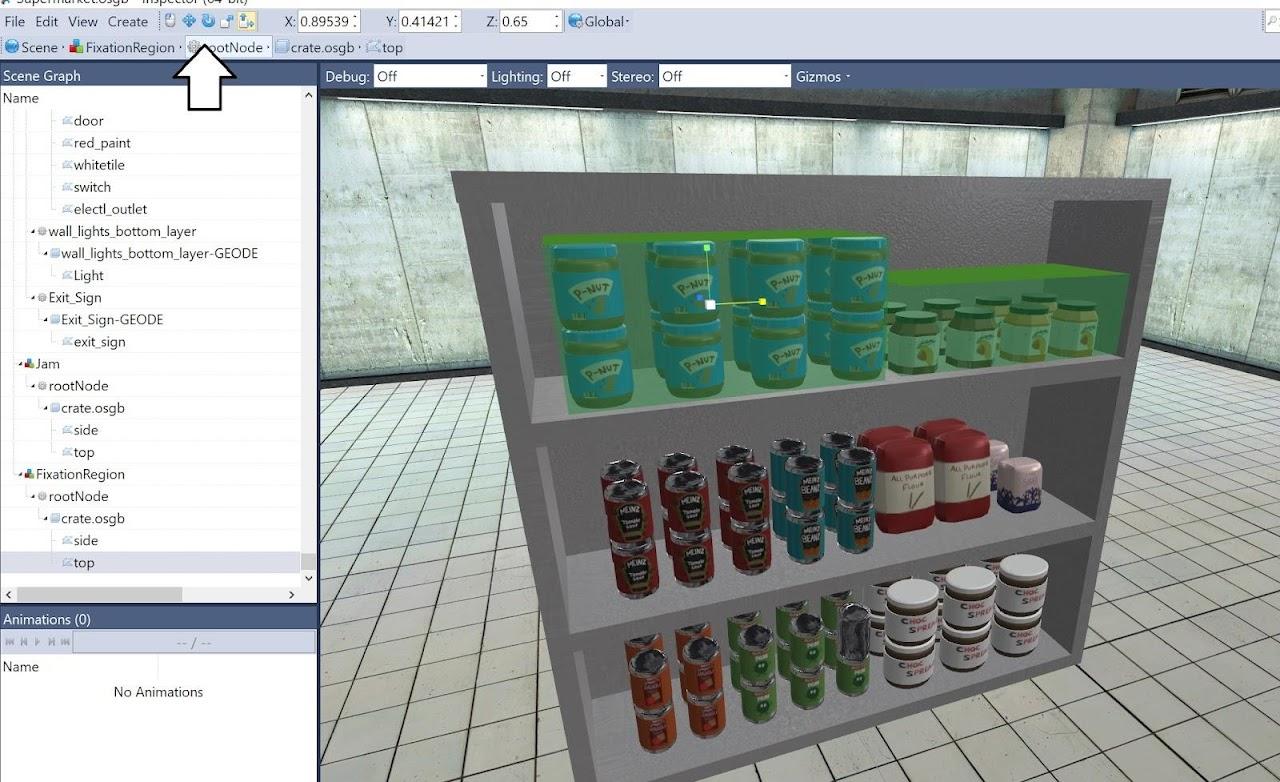
Use these tools to modify objects:
- Move: Reposition objects
- Scale: Change object size
- Rotate: Change object orientation
To change participant starting position, move and rotate the START_POINT object.
Adding New Objects
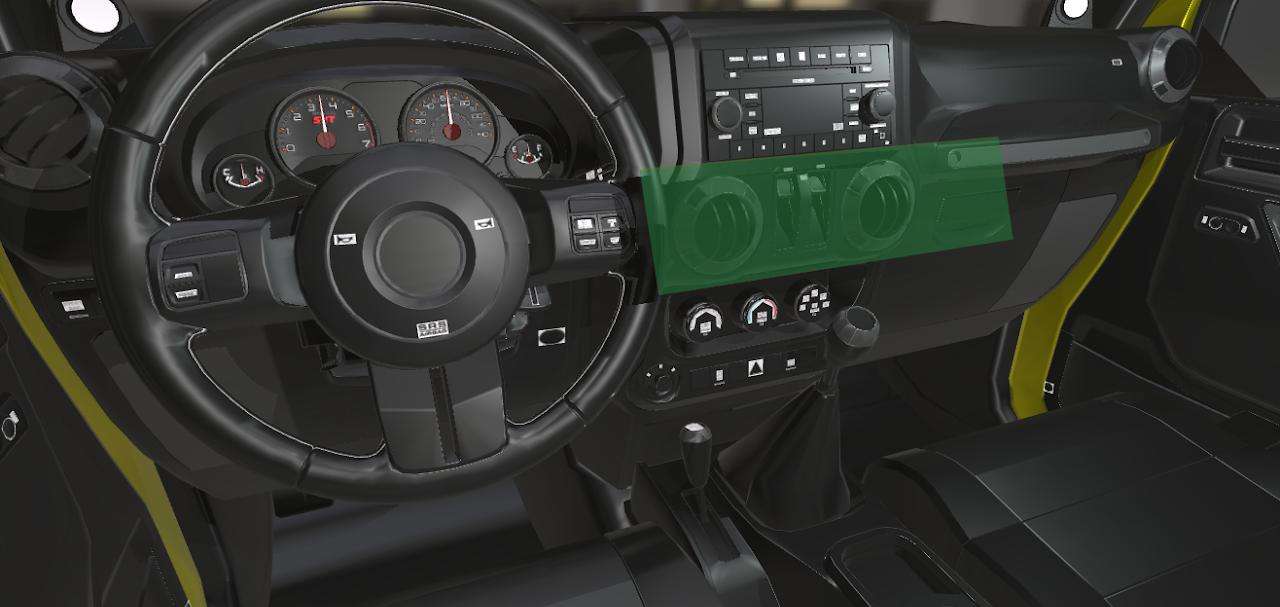
- Go to "File - Add"
- Add desired objects
- Use transform tools to position, rotate, and scale
Understanding Nodes
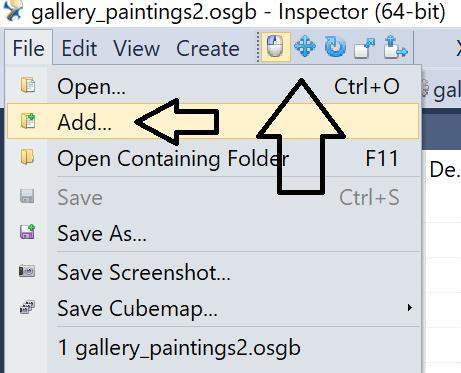
The scene graph on the left shows your list of nodes. A red, blue, and green node is a group node, which is crucial for grabbing and interacting with objects.
Creating Group Nodes
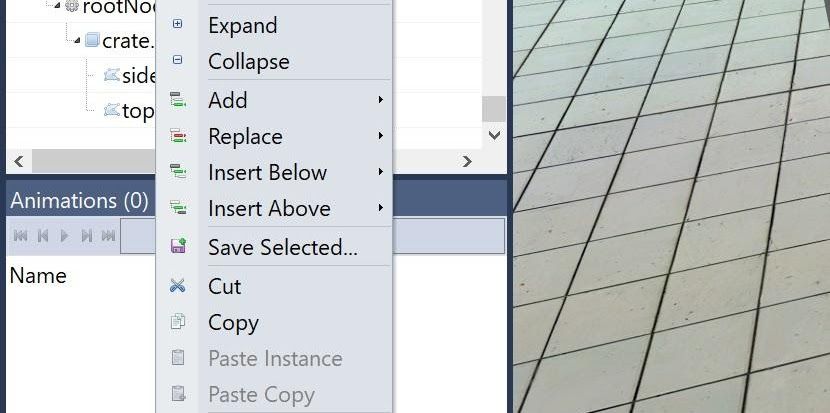
- Most added objects come in as group nodes
- If not, right-click and select "Insert Above - Group" on any node you wish to add as an interactive object
- For existing model objects you want to interact with, add a group node above them
- To move, scale, or rotate objects, click on the transform node (gear icon) and use transform tools
- If no transform node exists, right-click and choose "Insert Above - Transform"
Renaming Objects
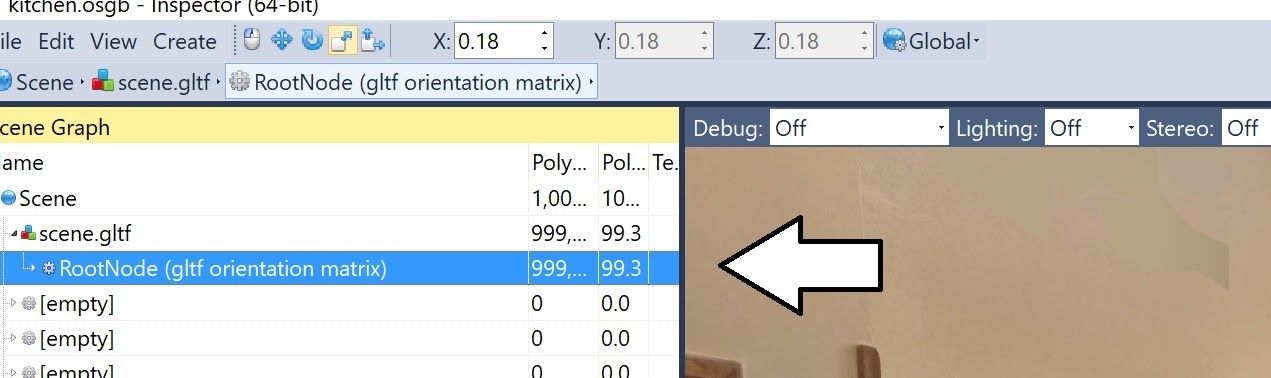
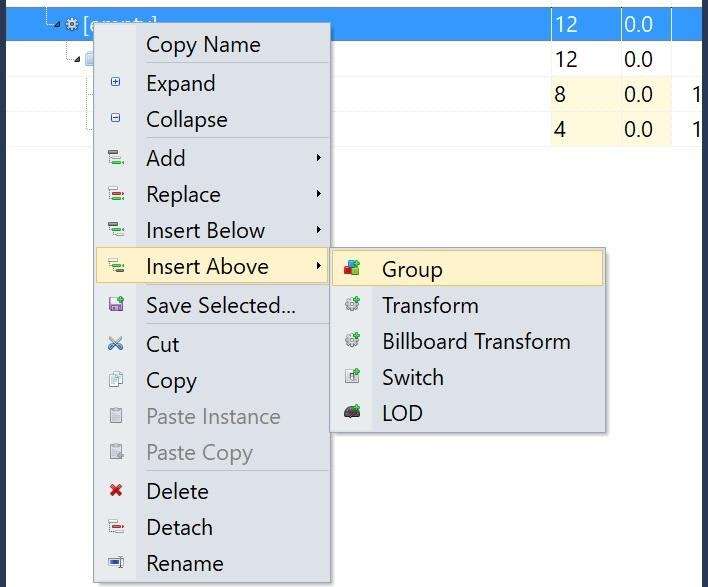
- Right-click on the group node
- Select "Rename"
- Enter a unique name (check for existing names using the "Search" option)
Additional Features
Lights, Backgrounds, and More
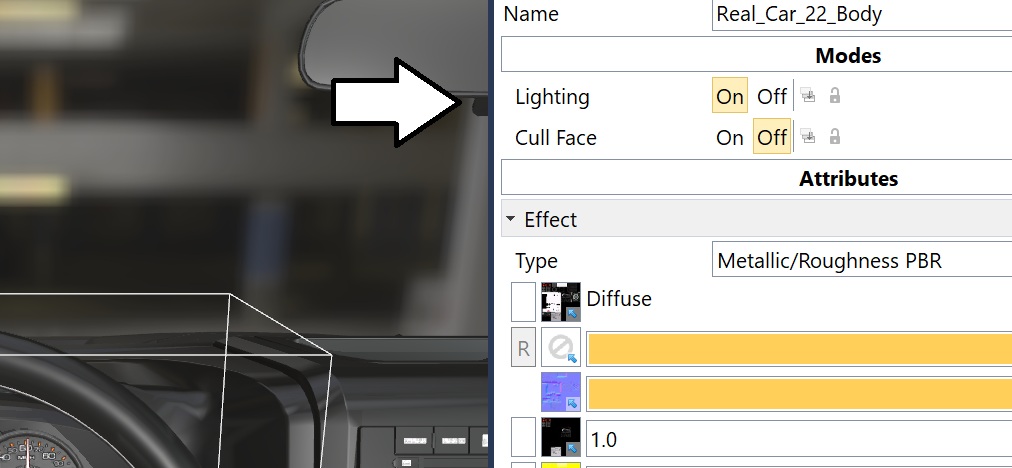
You can add lights and backgrounds with Inspector. To add a light, go to "Create - Light" and choose Directional, Point, or Spot Light. Clicking on the light brings up its attributes on the right.
Saving Changes
- Select "File - Save" and save your model into your "Collections" folder where your new lesson exists
- Close the 3D model editor window
Using an External Reference Model
To reuse a 3D model without duplicating hard drive space, place it in a subfolder (such as "objects") below your collection, then go to "Create - External Reference."
Adding 3D Text
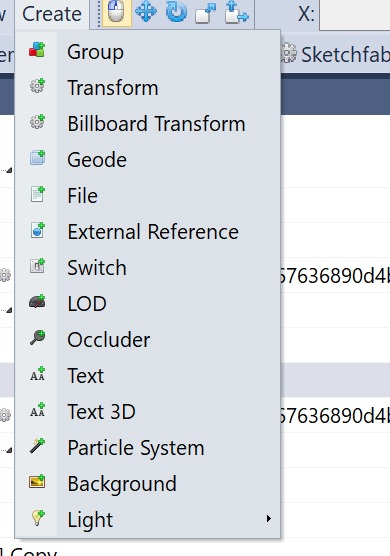
To add 3D text for labels, go to "Create - Text 3D." Use the scale, move, and rotate tools to position the text. Use the properties on the right to change the text field.