Scene Editor
Place and Configure Content Directly in Preview
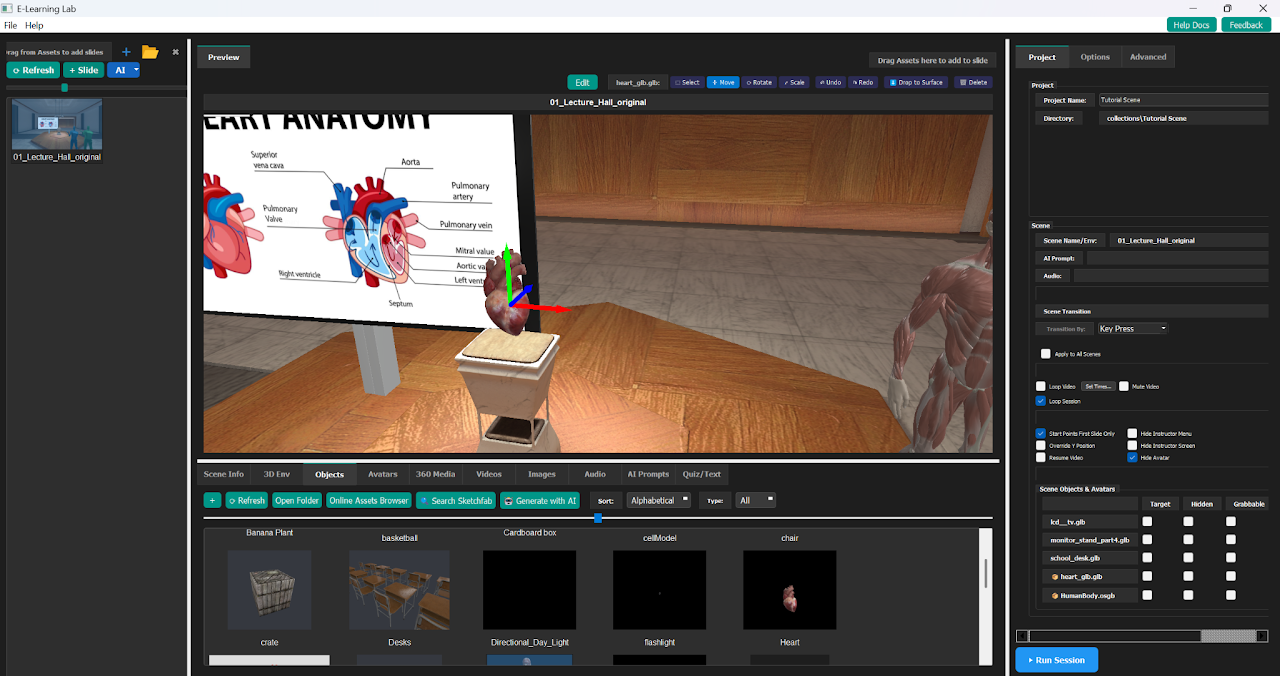
Use the Scene Editor to add objects, avatars, and start points directly in the Preview window, then position them with the on-screen Move / Rotate / Scale gizmo.
Quick Workflow
- Select a scene.
- Open the appropriate asset bin.
- Drag an asset into the Preview window.
- Position it with the gizmo.
- Configure its scene options.
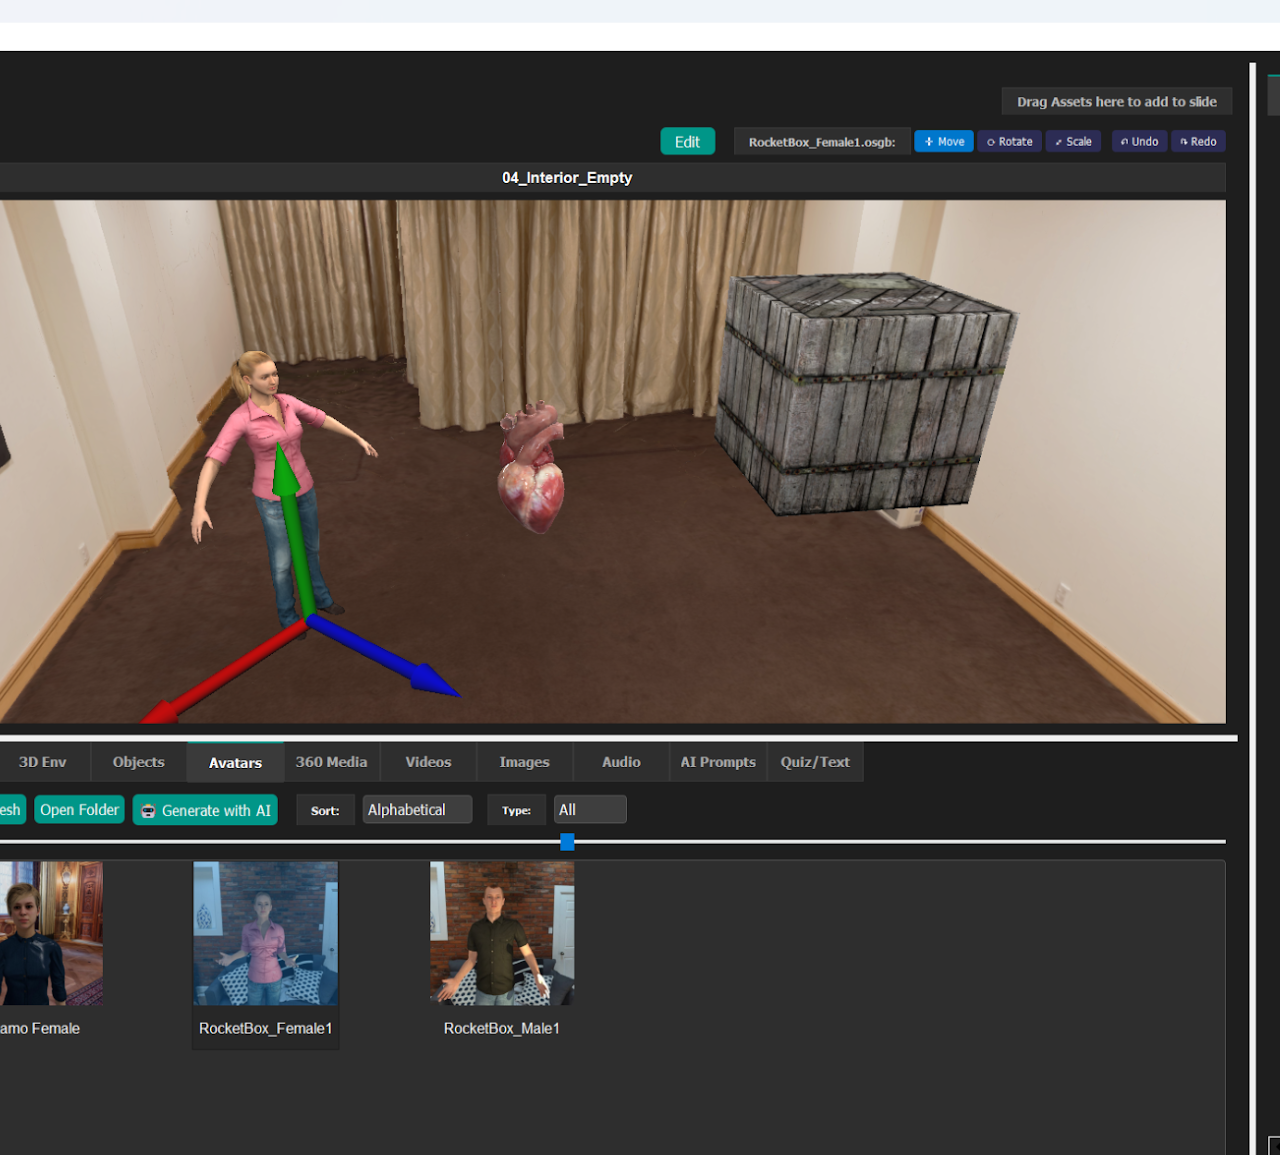
Inspector remains available from the Edit button when you need a capability the gizmo does not cover or want to place something permanently in the scene file.
Adding an Object
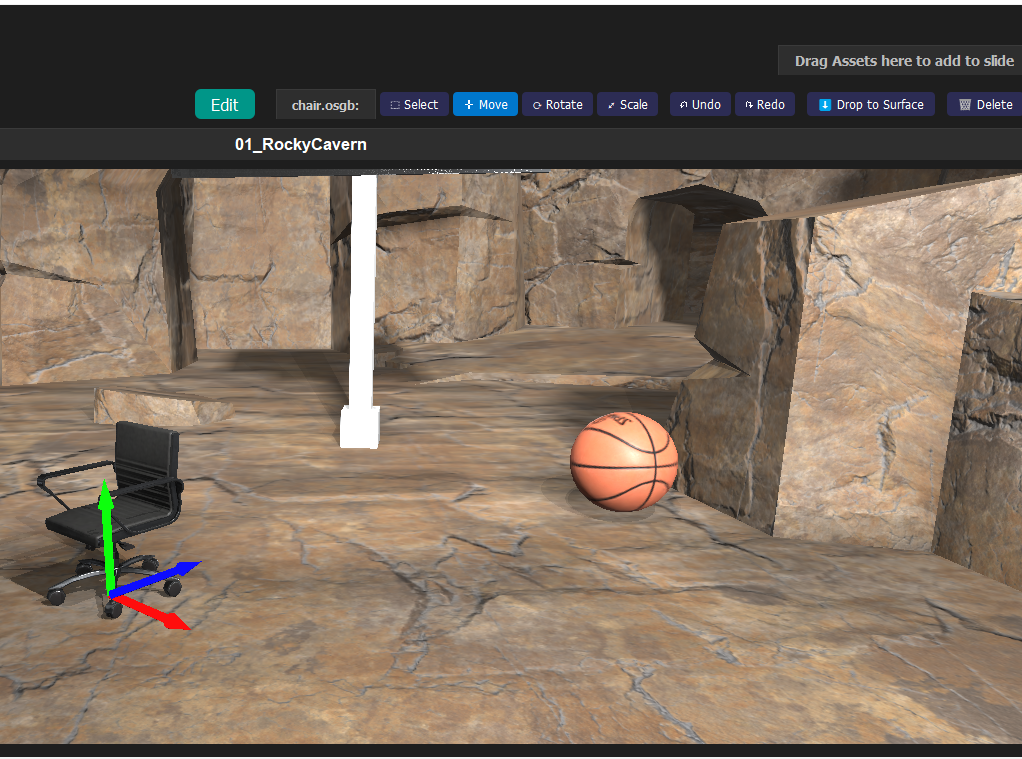
- Open the Objects tab and find the model you want.
- Drag it onto the Preview window.
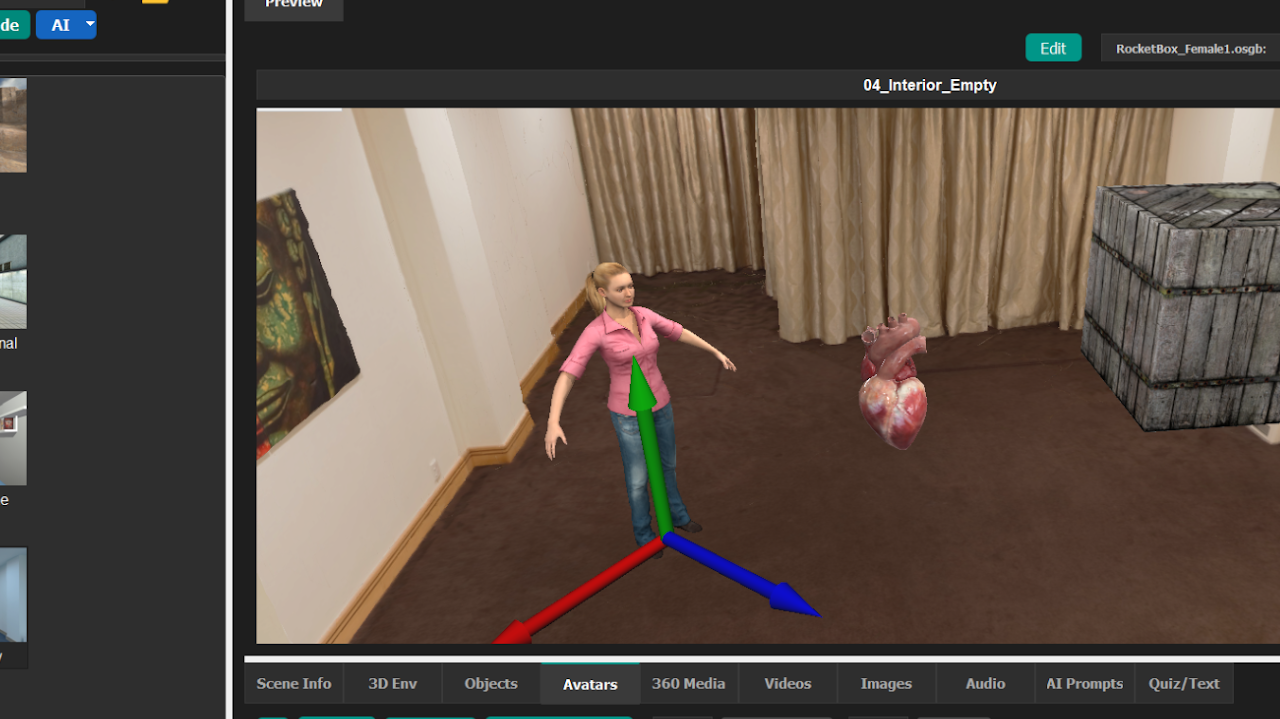
- The object appears immediately with the Move gizmo active. Drag an axis arrow to position it.
The first time an object is dropped, its file is copied into the project's Objects folder so it travels with the project. Dropping the same file into the same scene replaces that instance; dropping a different file adds another object.
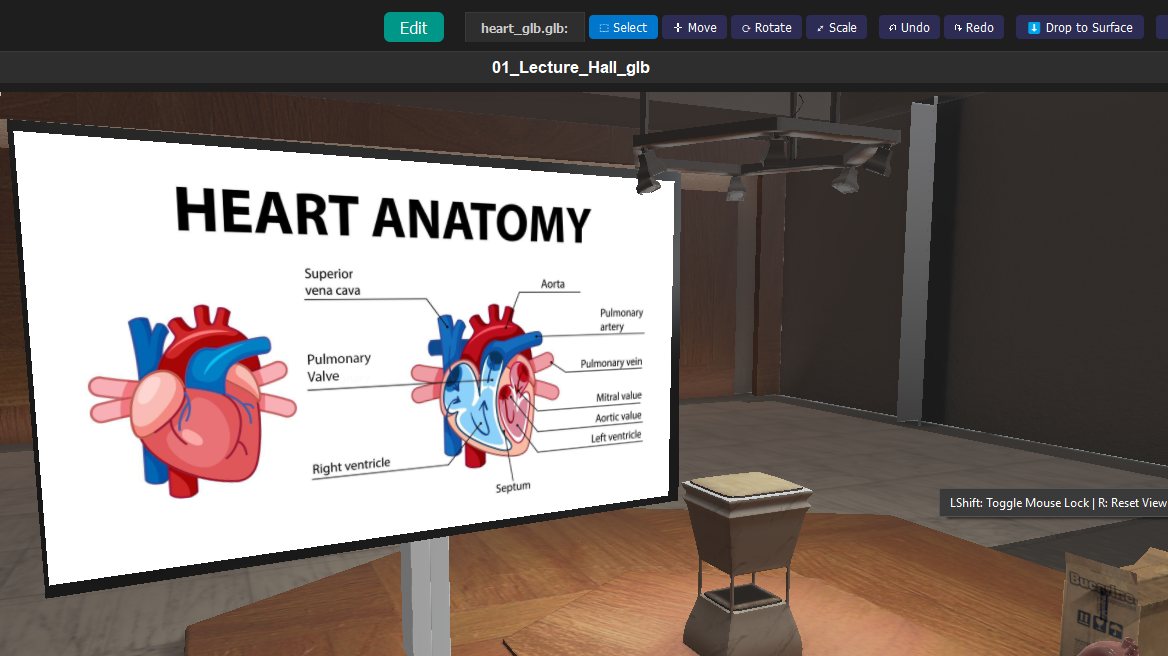
The Gizmo Toolbar
- Select — Click objects without showing transform handles.
- Move — Drag a red, green, or blue arrow to move along one axis. New objects start in Move mode.
- Rotate — Drag an axis ring to rotate the object.
- Scale — Drag an axis handle, or use the white center cube for uniform scaling.
- Undo / Redo — Step through completed transforms; Ctrl+Z and Ctrl+Y also work.
- Drop to Surface — Place the object on the floor or the surface directly below it.
- Delete — Remove the selected object after a confirmation prompt.
The gizmo stays the same size on screen regardless of object scale.
Select, Delete, and Configure Objects
Click any placed object in Preview to select it; the gizmo follows the most recently selected object.
To remove an object, use Delete in the toolbar or press the Delete key. A confirmation appears first. Deleting also removes its saved Target, Grabbable, Animate, Highlight, Spin, MoveTo, and Proximity Sensor settings.
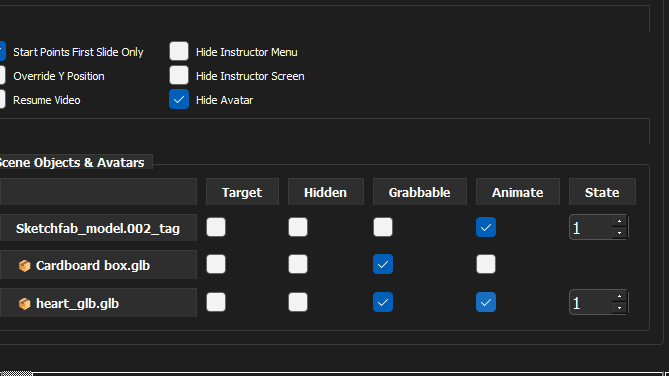
The Scene Objects & Avatars panel provides these options:
- Target — Enables gaze or attention tracking.
- Hidden — Starts the object hidden.
- Grabbable — Allows the participant to pick it up in VR.
- Animate — Plays a selected animation state.
Dropped objects display a box icon. Right-click a row to configure Highlight, Spin, MoveTo paths, or Dim Fill Light for WebXR. Changes preview immediately.
Right-click a row and choose Proximity Sensor... to make something happen when the learner comes near that object, such as playing a sound, showing or animating an object, or advancing the slide. See Proximity Sensors.
Avatars and Start Points
Avatars
Drag an avatar into Preview just like any other object. Bare .cfg files and full character models with embedded avatars are recognized automatically. Avatar rows use a person icon, include a State value for animation or pose, and provide a right-click morph menu.
Avatar Replays
Drag a session replay file (.rply) from File Explorer onto Preview to play a recorded presenter back as an avatar on the selected slide (v1.6.0+). Unlike avatars from the Avatars tab, a replay avatar isn't positioned with the gizmo: it plays back exactly where it was recorded. The recording appears on the Avatar Replay row of the Scene Info panel. See Avatar Replay.
Start Points
Use the ready-made markers START_POINT_SINGLE, START_POINT_CLIENT, START_POINT_INSTRUCTOR, and START_POINT_AI_AGENT to position where the user, instructor, AI Agent, or clients will start. Drag the appropriate marker into the scene and position it with the gizmo.
Start points are visible while editing and can be hidden from Options > Start Points. They are hidden automatically during a session and do not appear in the tagging panel. Each scene can have its own start points.
Proximity Zones
Drag PROXIMITY_ZONE from the Objects tab to place an area that triggers actions when the learner walks into it. Like start points, zones are visible while editing and hidden during a session. See Proximity Sensors.
TV Screen Fallback and Multi-User Sync
TV Screen Fallback
If an image or video is assigned to TV Screen but the environment has no TV object, Scene Editor adds a TV_Stand placeholder automatically. Use its Move / Rotate / Scale gizmo to position it and delete to remove it.
Tips
- New drops always start in Move mode so you can position them immediately.
- Switching scenes clears the active gizmo; it never carries into another scene.
- Undo / Redo history is maintained separately for each scene during the editing session.
- Use Edit > Inspector when you need a feature the Scene Editor does not provide or want to place something permanently in the scene file.