Avatar Replay
Overview
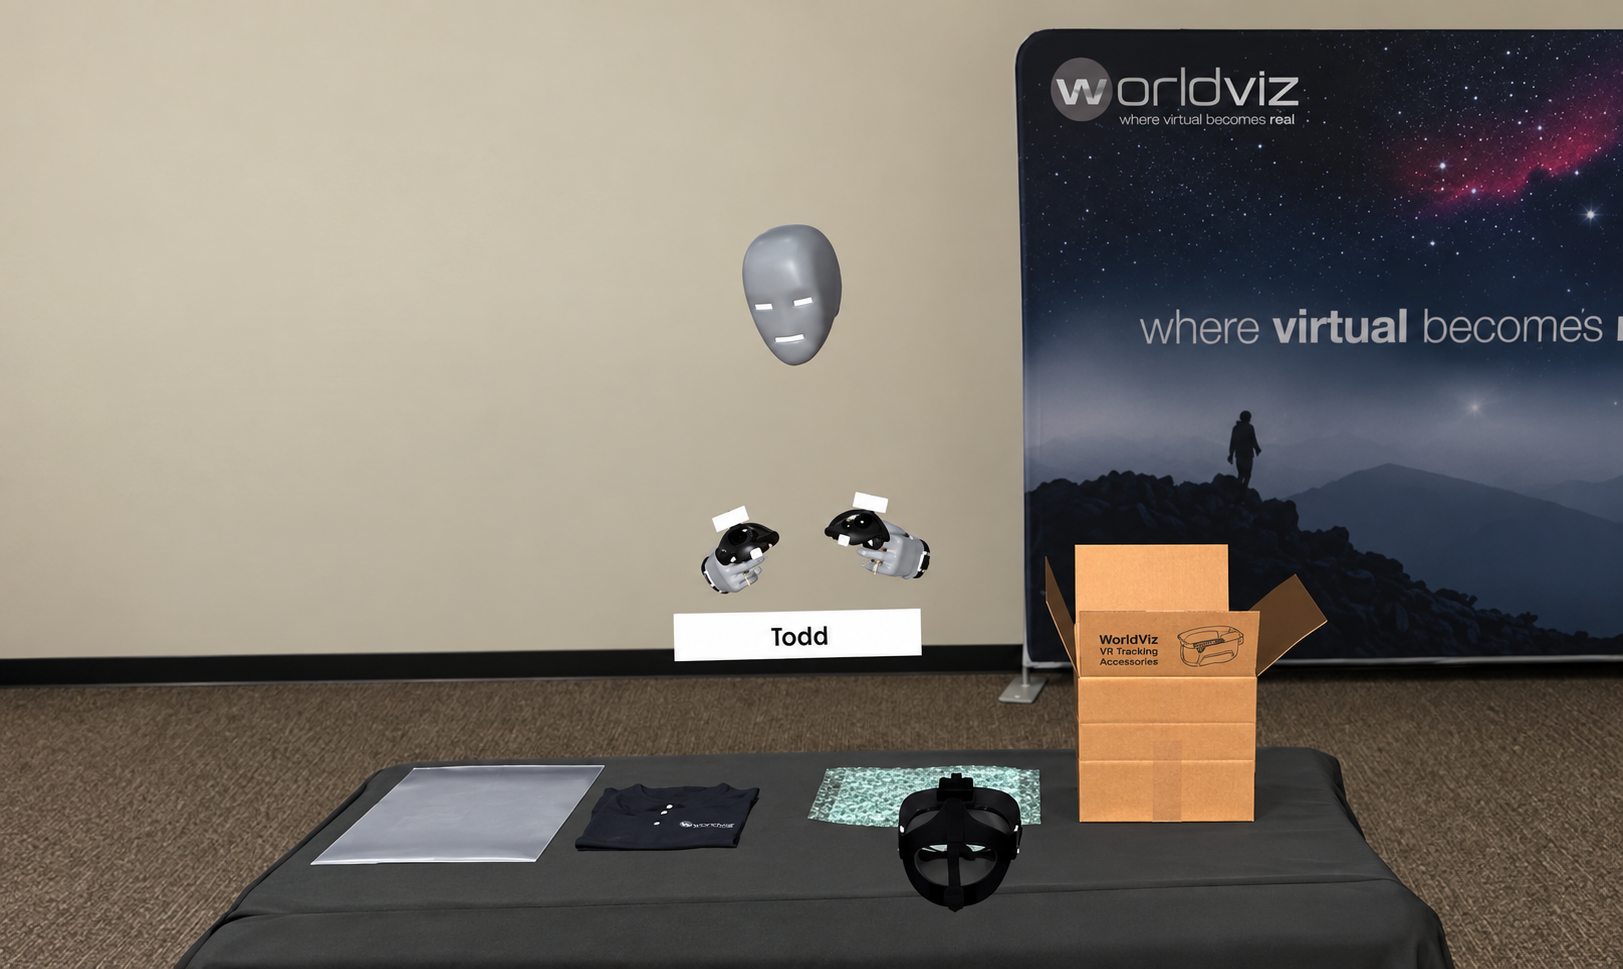
As of version 1.6.0, you can record yourself presenting a slide (your head and hand movements, and optionally your voice) and play that recording back as an avatar on any slide. Each time the slide starts, the avatar performs exactly what you recorded, so learners see a guide who walks them through the scene, points at objects and talks them through the content, without an instructor needing to be in the session.
The recording is a regular SightLab session replay file (.rply). You record it by running a normal Single User session with Data Saving on, and attach it by dragging it onto the Preview window.
What You Need
- Data Saving turned on under the Advanced tab. Replay files are only saved when Data Saving is on.
- A microphone, if you also want to record your voice (optional).
- SightLab 2.9.0 or higher. Avatar Replay is built on SightLab's Avatar Playback.
1. Record Your Presentation
- Open the Advanced tab and check Data Saving. The dropdown next to it chooses where recordings are saved: Project Folder keeps them with the lesson, Root Folder uses the E-Learning Lab's own
datafolder (see Where Session Data Is Saved). - To record your voice as well, check Record Microphone.
- Click Run Session and select Single.
- Present the slide: move around, point at objects and talk through the content.
- End the session with the End button in the virtual menu.
The recording is saved in the data folder (click Open Data Folder on the Advanced tab to find it), inside the folder for that session:
<date-time>__experiment_data/
    replay_data/
        <date-time>__replay_data_1.rply     your movements
        <date-time>__audio_data_1.wav       your voice (Record Microphone)
Note
While Record Microphone is checked, every Single User session with Data Saving on records the microphone. Uncheck it when you're done recording.
Record one take per slide, standing where the avatar should be
A recording always plays from its very beginning, so record a separate take for each slide you want an avatar on, with that slide as the first one in the session. The avatar also plays back exactly where you stood while recording, and learners begin at the slide's start point, so a recording that starts at the start point begins inside the learner. An easy way to handle both is to record in a copy of the project that contains just that slide, with its START_POINT_SINGLE start point moved to where the avatar should stand.
2. Attach the Recording to a Slide
- Select the slide in the Scenes/Sequence window.
- In File Explorer, drag the
.rplyfile onto the Preview window.
E-Learning Lab checks that the file contains head and hand movement, then copies it into the project. If a voice recording was made with it, the matching .wav file is attached automatically, and the confirmation message names it. If the slide already has an avatar replay, you're asked before it is replaced.
The slide's Scene Info panel now shows the recording on the Avatar Replay row. A 🎤 means a voice recording is attached, and (loop) means the recording repeats.
Avatar Replay Options
Right-click the file name on the Avatar Replay row to choose:
- Loop Playback — Repeat the recording, and its voice, for as long as the slide is shown.
- Remove Voice — Keep the movements but remove the voice recording.
- Remove from Scene — Detach the recording from this slide.
The folder button at the end of the row opens the project's Replays folder.
3. Run the Lesson
When the slide starts, the avatar appears and plays the recording from the beginning, with your voice in sync. When the slide changes, the avatar disappears, and returning to the slide plays it again from the start. On the first slide, playback begins when the session starts rather than during loading.
If the recording isn't looped, the avatar holds its final pose until the slide changes.
Avatar replays play in Single User, Instructor, Client and Observer sessions. In a multi-user session, every computer plays the avatar when the slide changes.
How Voice Recordings Are Matched
When you drop a .rply file, E-Learning Lab looks for its voice recording in this order:
- A
.wavfile in the same folder with the same name, but withaudio_datain place ofreplay_data. Record Microphone always saves it this way. - A
.wavfile in the same folder with exactly the same name as the.rplyfile. - Otherwise, a
.wavfile whose name starts with the same date and time, in the same folder or the session folder above it. This picks up recordings made with SightLab's Audio Recording example. If there are several, the one ending in the same trial number is used.
If nothing matches, the recording is attached without a voice.
What Gets Played Back
- Head and hands — The avatar uses the head and hand models from the recording, or SightLab's default head and controller models. Recordings made in Desktop mode include the head and one hand.
- Grabbed objects — If you picked up objects while recording and the lesson has objects with the same names (for example, when you record in the same lesson), the playback moves them the same way. They go back to where they were when the slide changes.
- Session replay — The playback avatar is recorded too, so it appears when you open a learner's session in Session Replay.
Where the Files Are Stored
Attached recordings are copied into the project's Replays folder and named after the slide:
Replays/<slide name>.rply— the movementsReplays/<slide name>.wav— the voice, if anyReplays/<slide name>.json— the loop setting and where the files were copied from
Because they're stored in the project, avatar replays follow the slide when it's renamed or reordered, are included when you export the project, and are removed when the slide is deleted.
Tips and Limitations
- Narration audio — If the slide also has narration audio, both play at the same time. The confirmation message warns you when you drop a recording onto a slide that has narration.
- Pausing — The 1 key and the Play/Pause button pause narration and videos but not avatar replays, so the avatar and its voice stay in sync.
- Choosing a microphone — Record Microphone uses the Windows default input device. To use a different microphone, such as your headset's, click Open globalConfig.py on the Advanced tab and set
RECORD_MIC_DEVICEto part of the device's name. - Where voice can be recorded — Record Microphone works in Single User sessions.
- Multi-user recordings — A replay file recorded in a multi-user session plays back the first client in the recording.
- Stand Alone Mode — Avatar replay isn't available in Stand Alone Mode yet.
Related Pages
- Data Logging and Replay
- Running a Session Single User
- Scene Editor
- Adding NPC/Avatar Agents
- Avatar Playback (SightLab)
- Session Replay (SightLab)
- Audio Recording (SightLab)