External Data Recorder - Meta Headsets
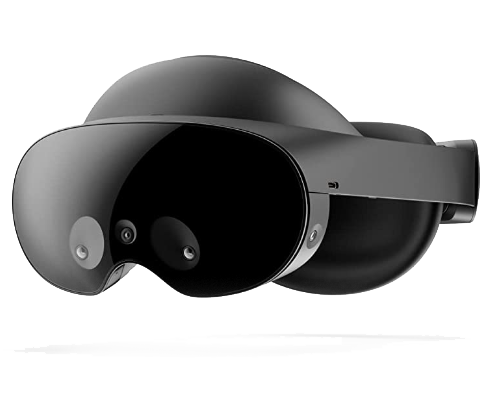
This guide details Meta HMD usage with the External Data Recorder and relevant implementation details. Please read the External Data Recorder - Overview documentation to complete setup and familiarize yourself with the External Data Recorder.
This guide uses PC-Link apps with a Meta Quest Pro. The Meta Quest 3 follows the same steps, except it has no calibration step as it has no native eye tracking.
Use Meta Horizon Link version 207 or earlier
The External Data Recorder has been tested with Meta Horizon Link v207. Version 208 may cause issues. To prevent automatic updates, go to Settings -> General and turn off Automatic App Updates.
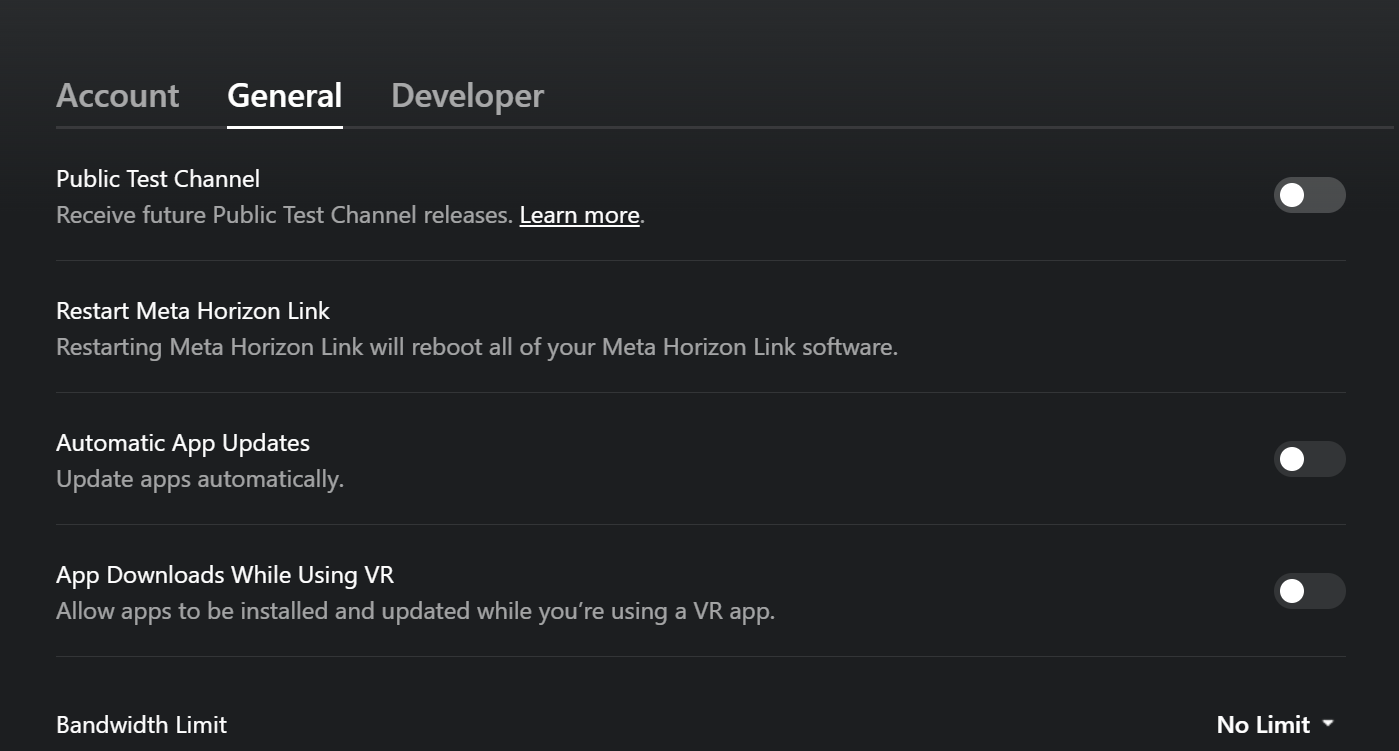
You can check your installed version at the bottom of the Settings page:
Steam Link is another option
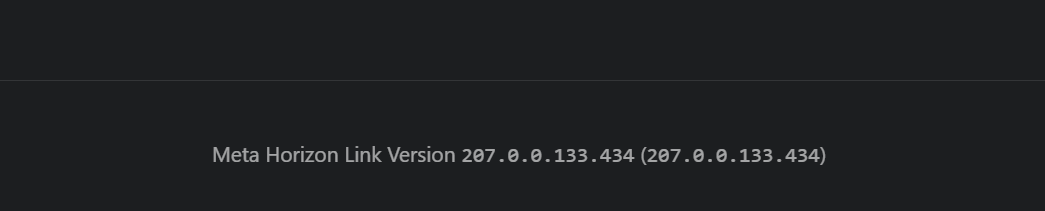
You can also connect a Meta Quest Pro or Quest 3 over Steam Link instead of Meta Horizon Link. It doesn't need the Meta Horizon Link app, so it's a good choice if you have issues with Horizon Link versions later than 207, and you record SteamVR's VR View window instead of the Oculus Mirror. See Steam Link.
Step-by-step
Open Meta Horizon Link on your desktop. Ensure your OpenXR Runtime is set to Meta Horizon Link Runtime, by going to Settings -> General:
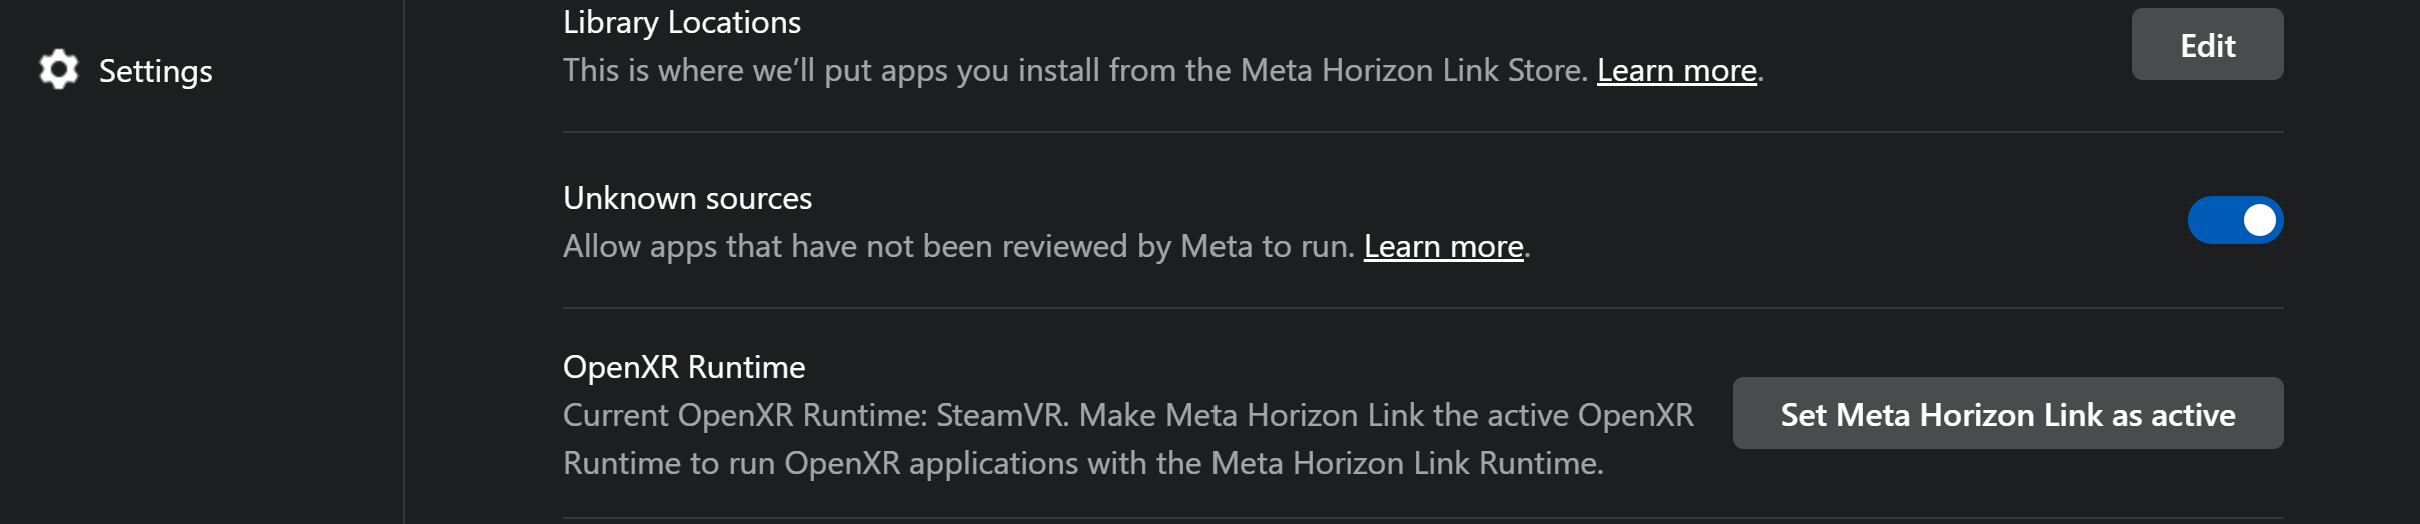
After setting Meta Horizon Link as the active OpenXR Runtime, it should look like this:

Next, go to the Developer tab in Settings, and allow Eye tracking over Meta Horizon Link and Developer Runtime Features:
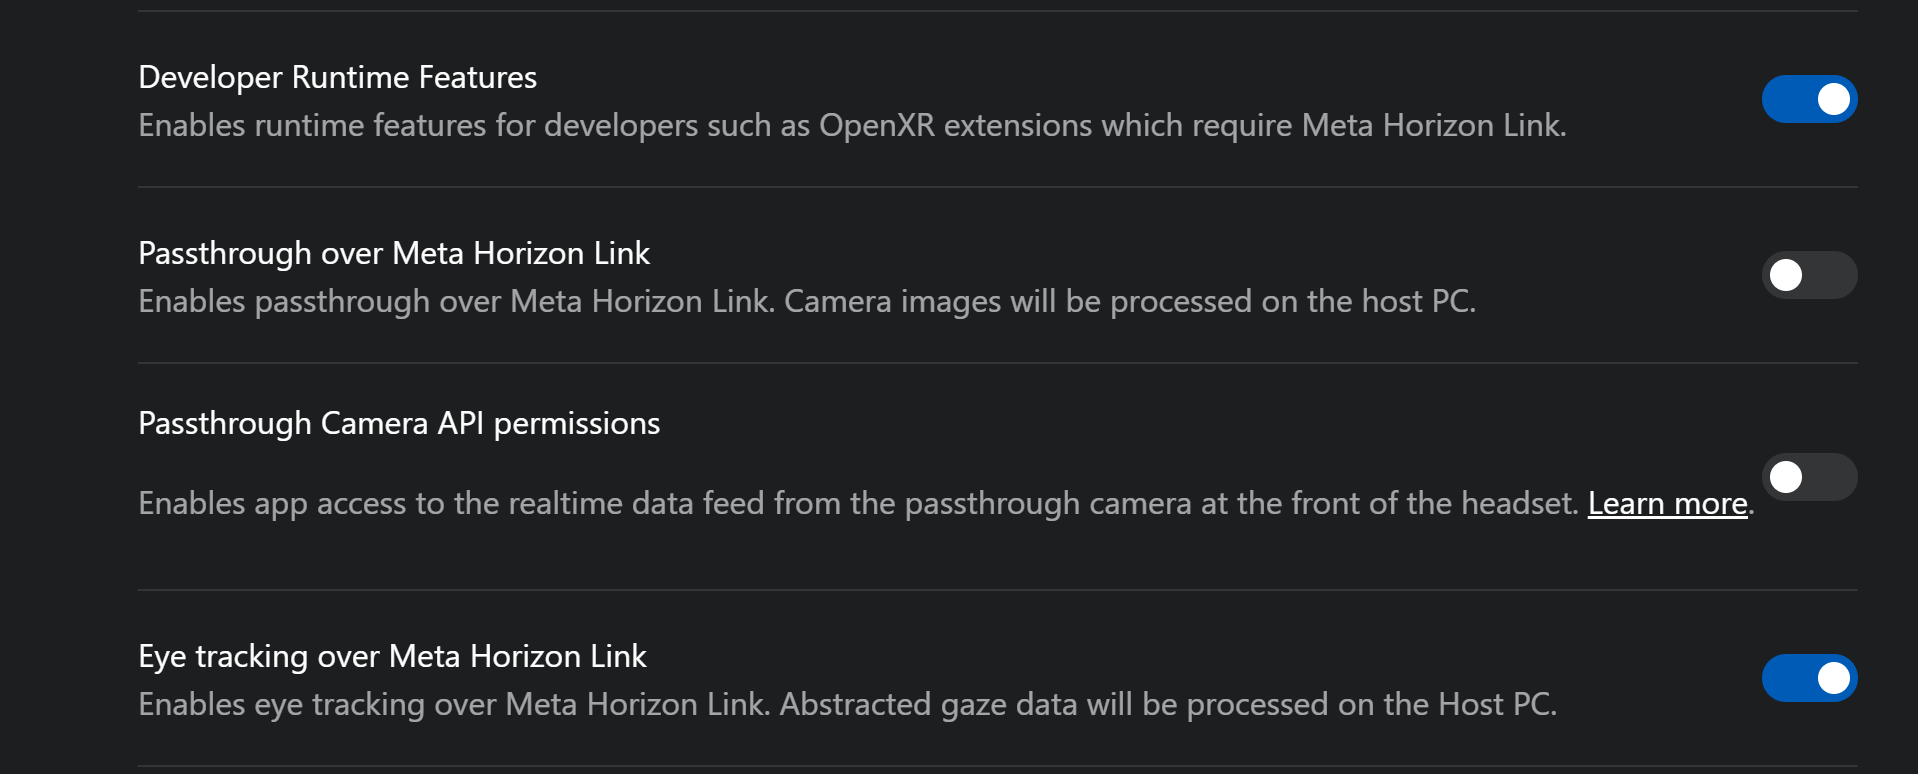
Connect your HMD with a USB-C to USB3.0 cable from your headset to your desktop to use PC-Link.
Press the Meta/Oculus button on the right controller to open the settings menu in the HMD.
Then, select the Link button. It should also say PC under Link, indicating that your cable has succesfully connected your HMD to your desktop.
If it doesn't, try restarting all Oculus/Meta services on your desktop and restart the HMD and your computer, unplug the cable and plug it in again. There is also an option to Restart Meta Horizon Link in Settings -> General. Also make sure Air Link is disabled.
Once succesfully connected, select the Launch button. This should take you to a new home screen that looks like this:
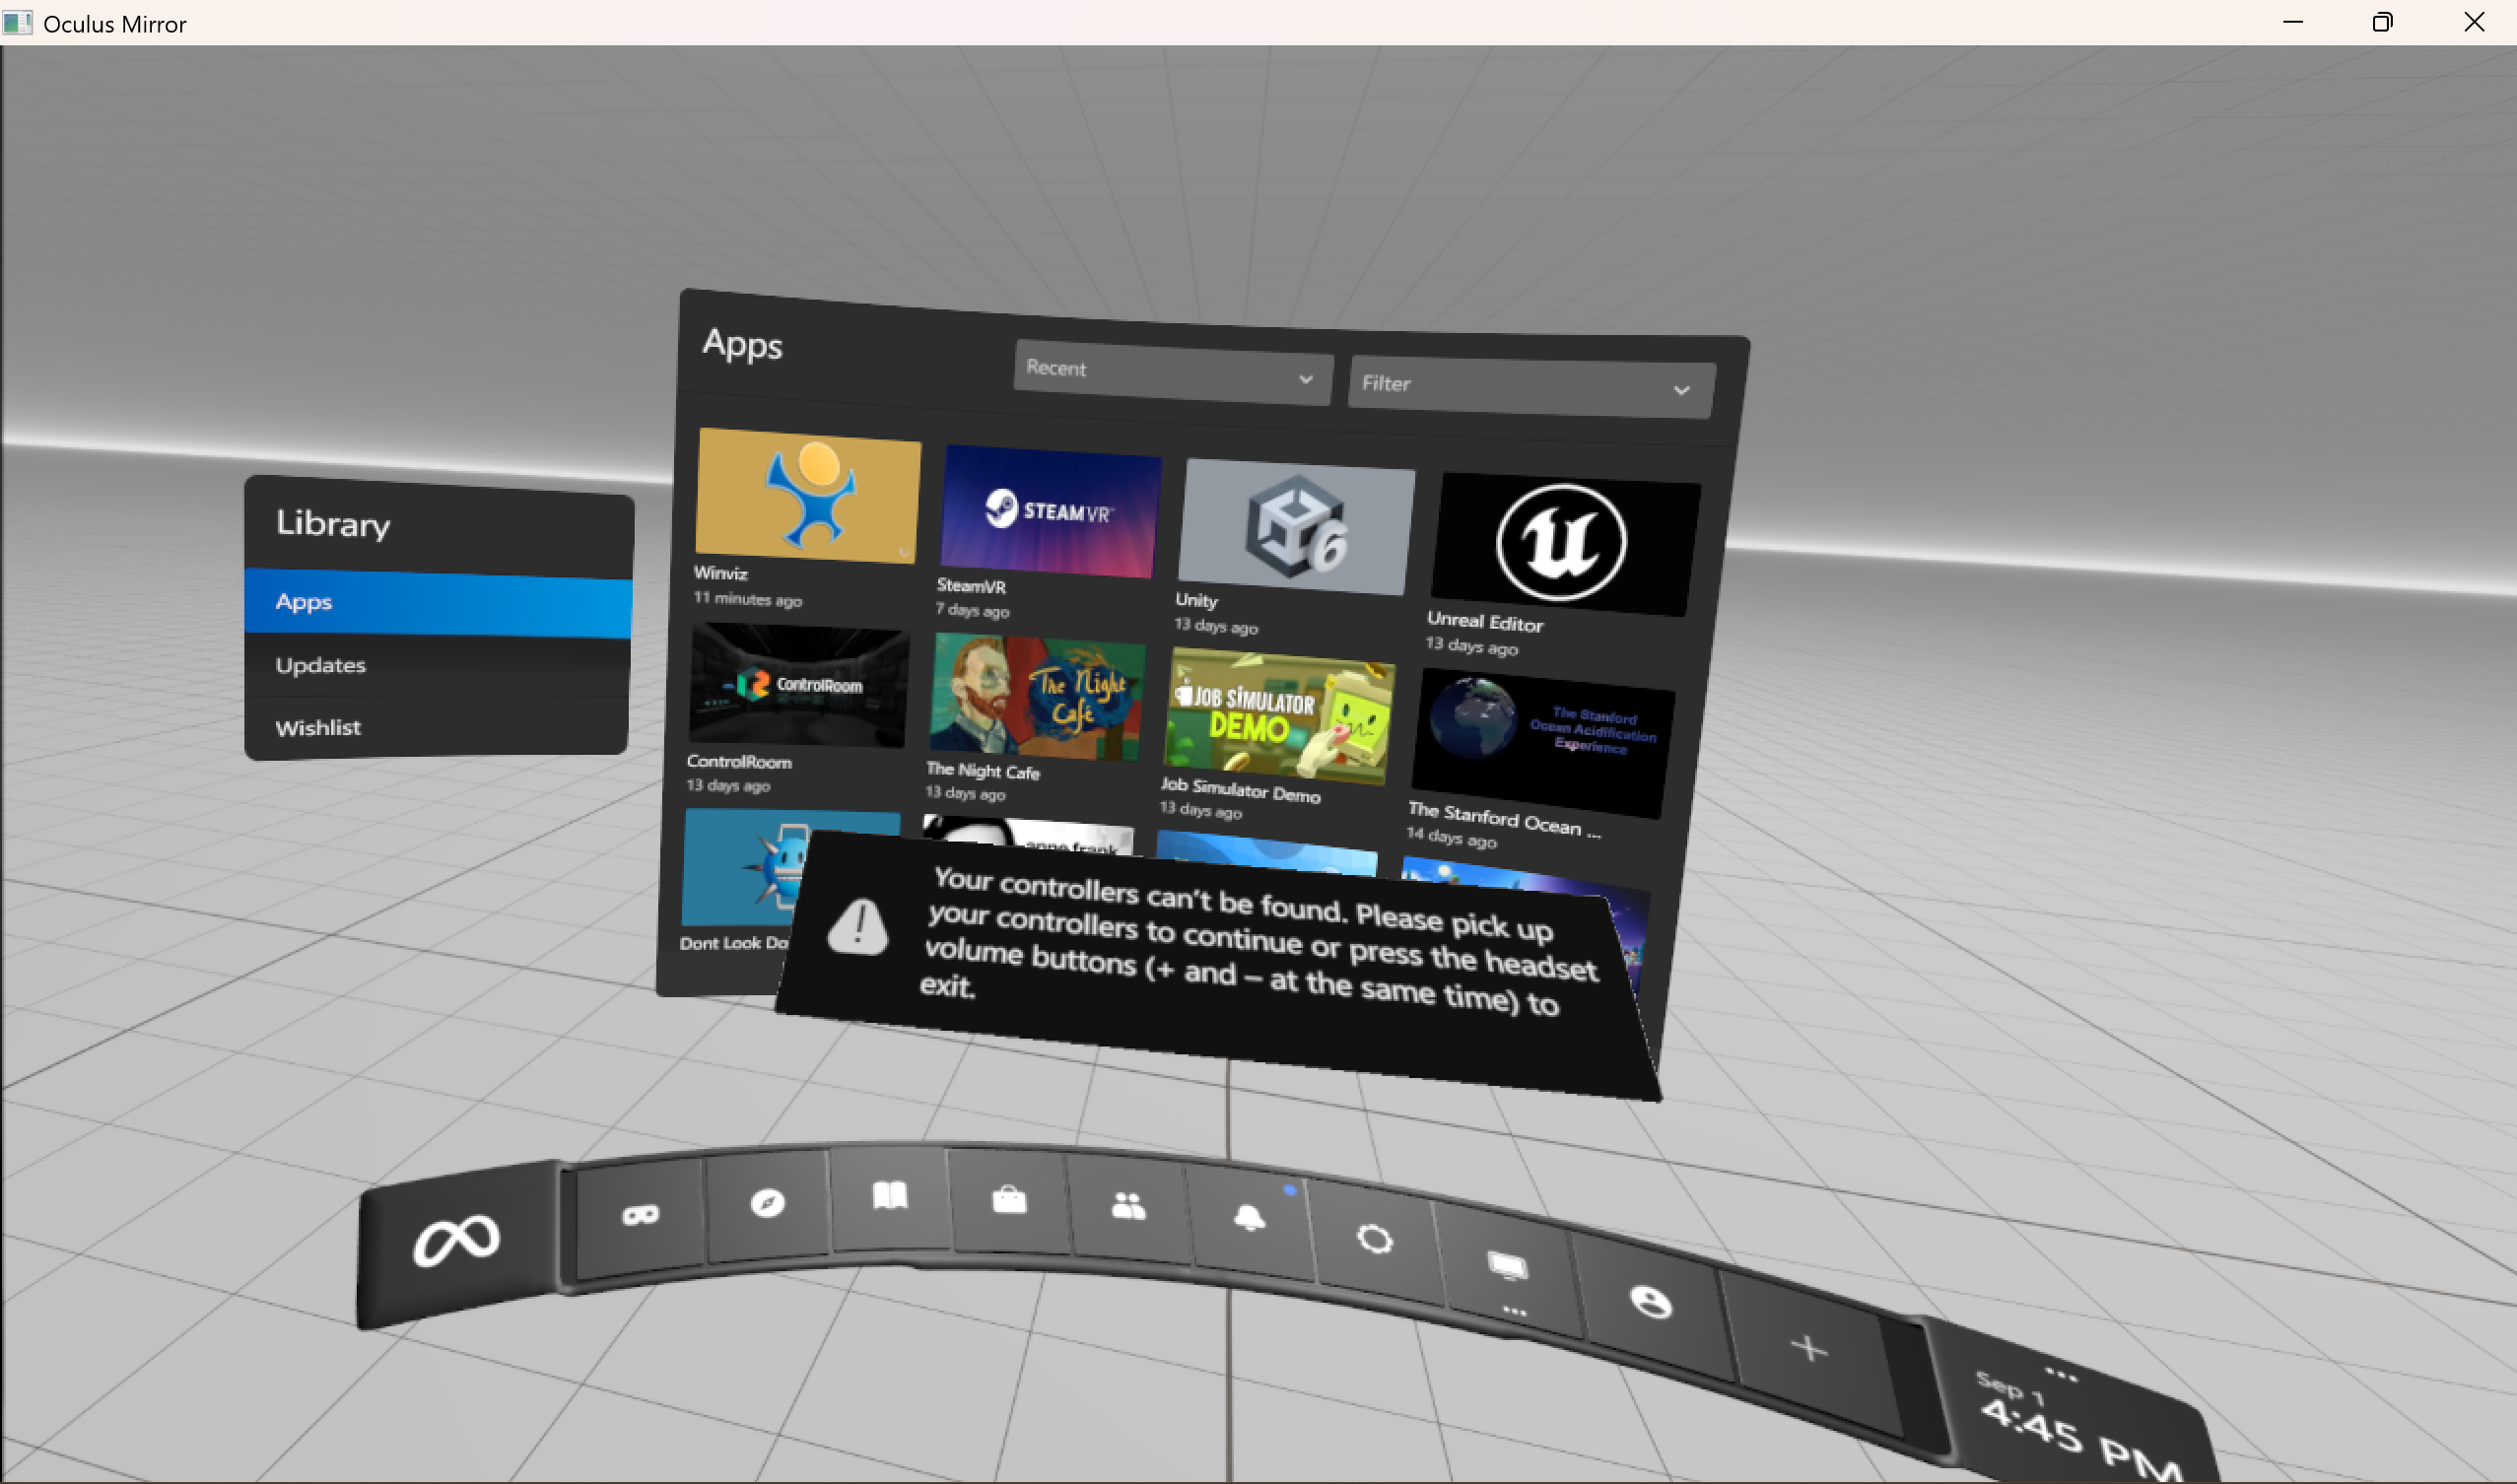
To open this mirror view, open the Oculus Mirror app, which is usually installed under C:\Program Files\Oculus\Support\oculus-diagnostics\OculusMirror.exe or C:\Program Files\Meta Horizon\Support\oculus-diagnostics\OculusMirror.exe .
Make sure to full screen the window.
Next, open the External Data Recorder script. You can open it through any of:
-
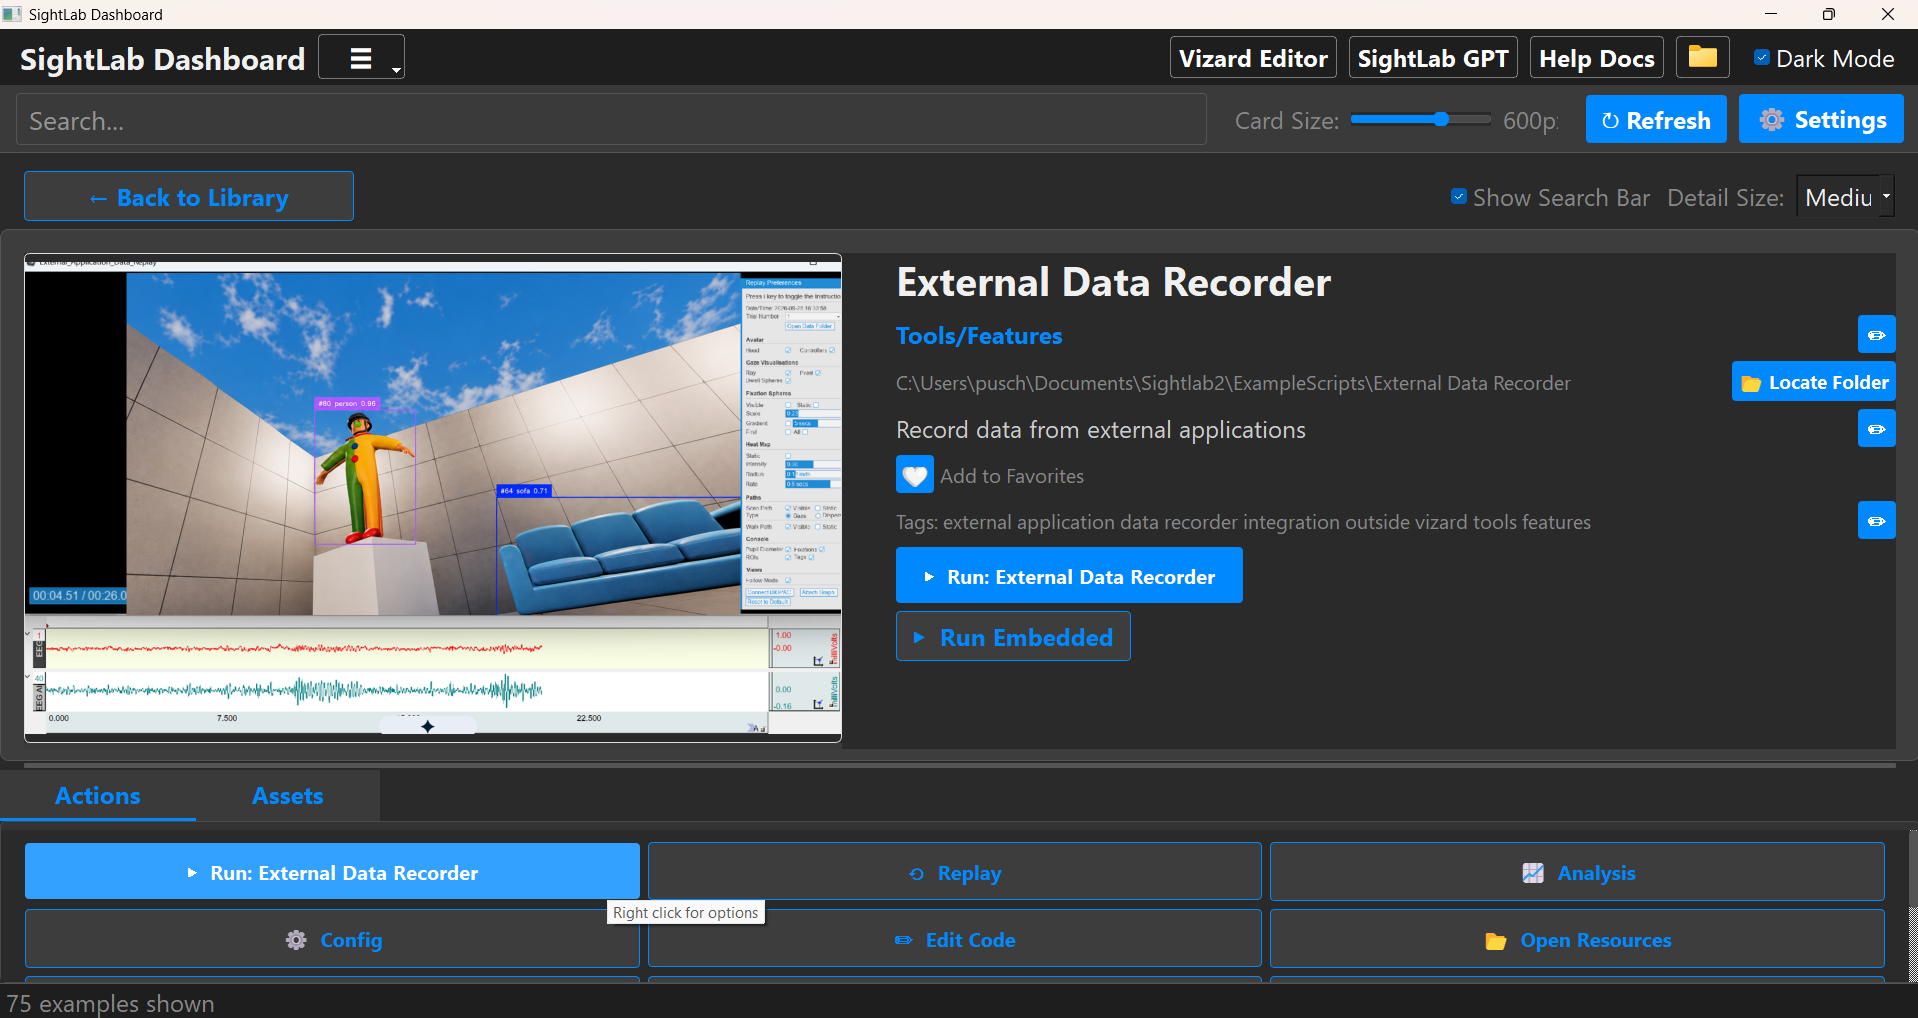
The SightLab Dashboard, at Tools/Features -> External Data Recorder
-
In the Vizard IDE, by clicking Edit Code in the External Data Recorder's Sightlab tab
-
Directly, by double clicking it in the file explorer at Sightlab2\ExampleScripts\External_Data_Recorder\External_Data_Recorder.py
Either way, the usage is the same.
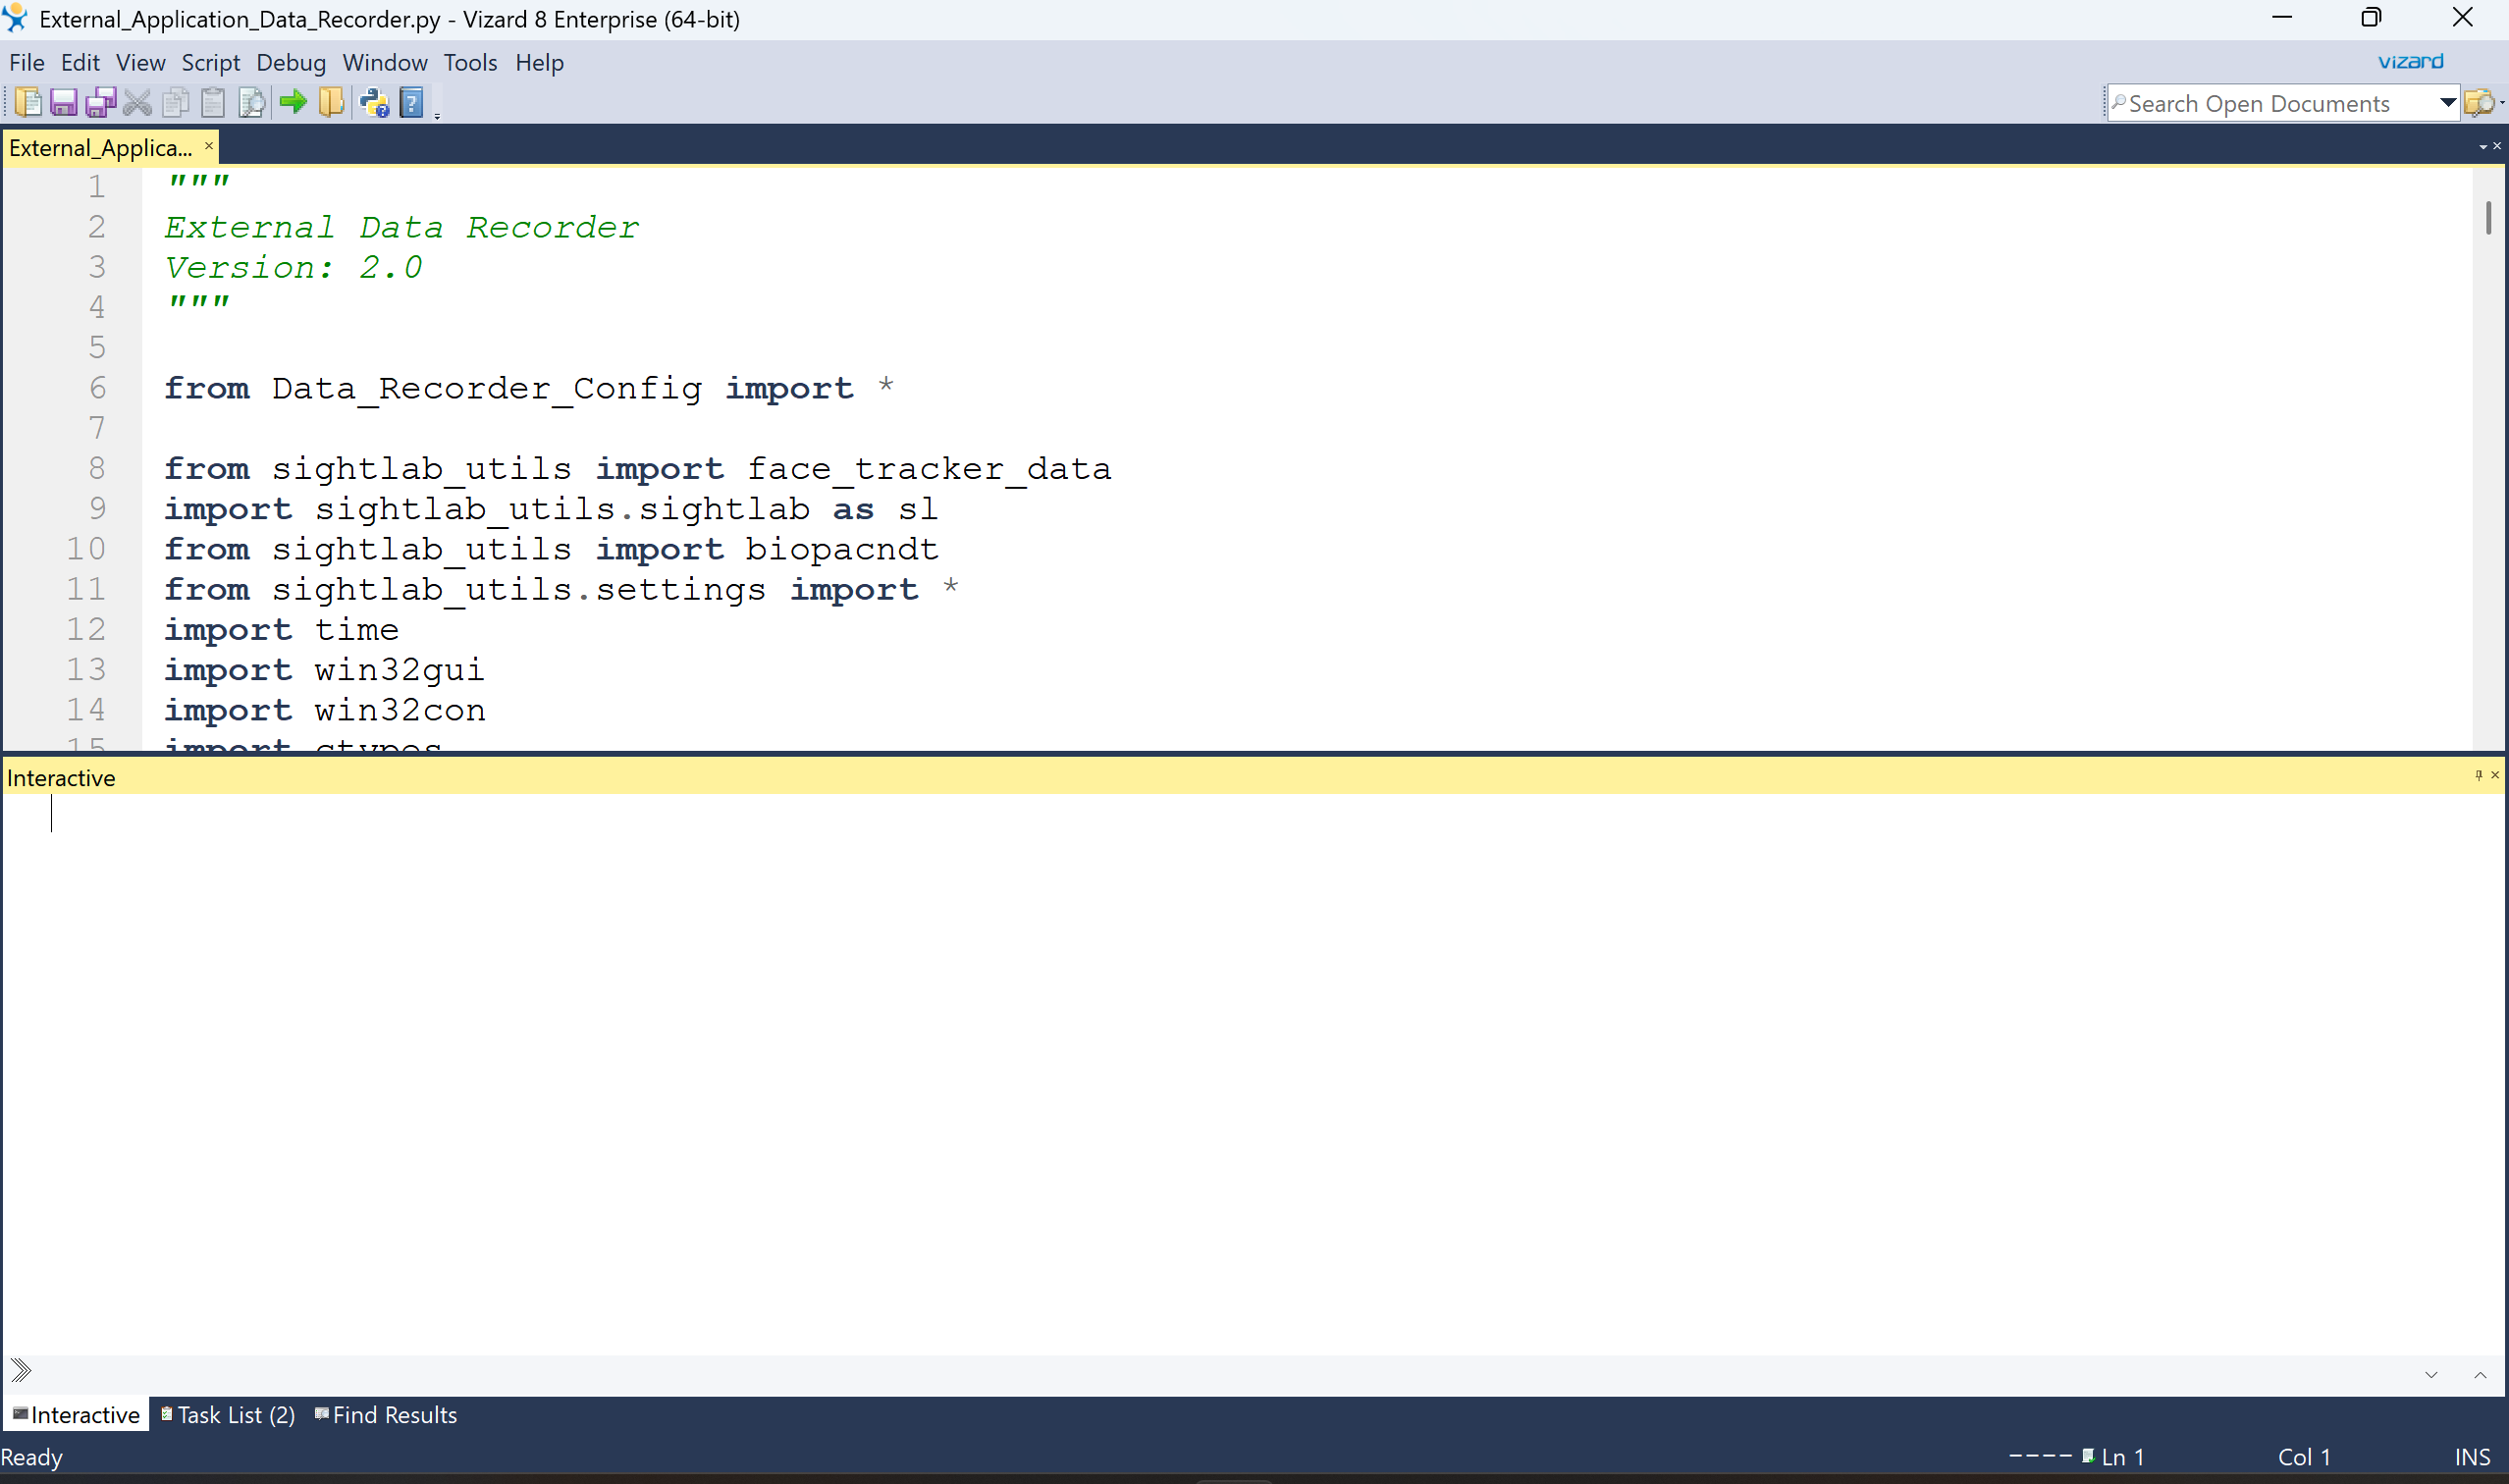
Click the green arrow in the utilities bar at the top to start the External Data Recorder. This is equivalent to clicking the Run: Exernal Data Recorder button in the Sightlab dashboard:
This will bring up a prompt asking you to choose which window to record:
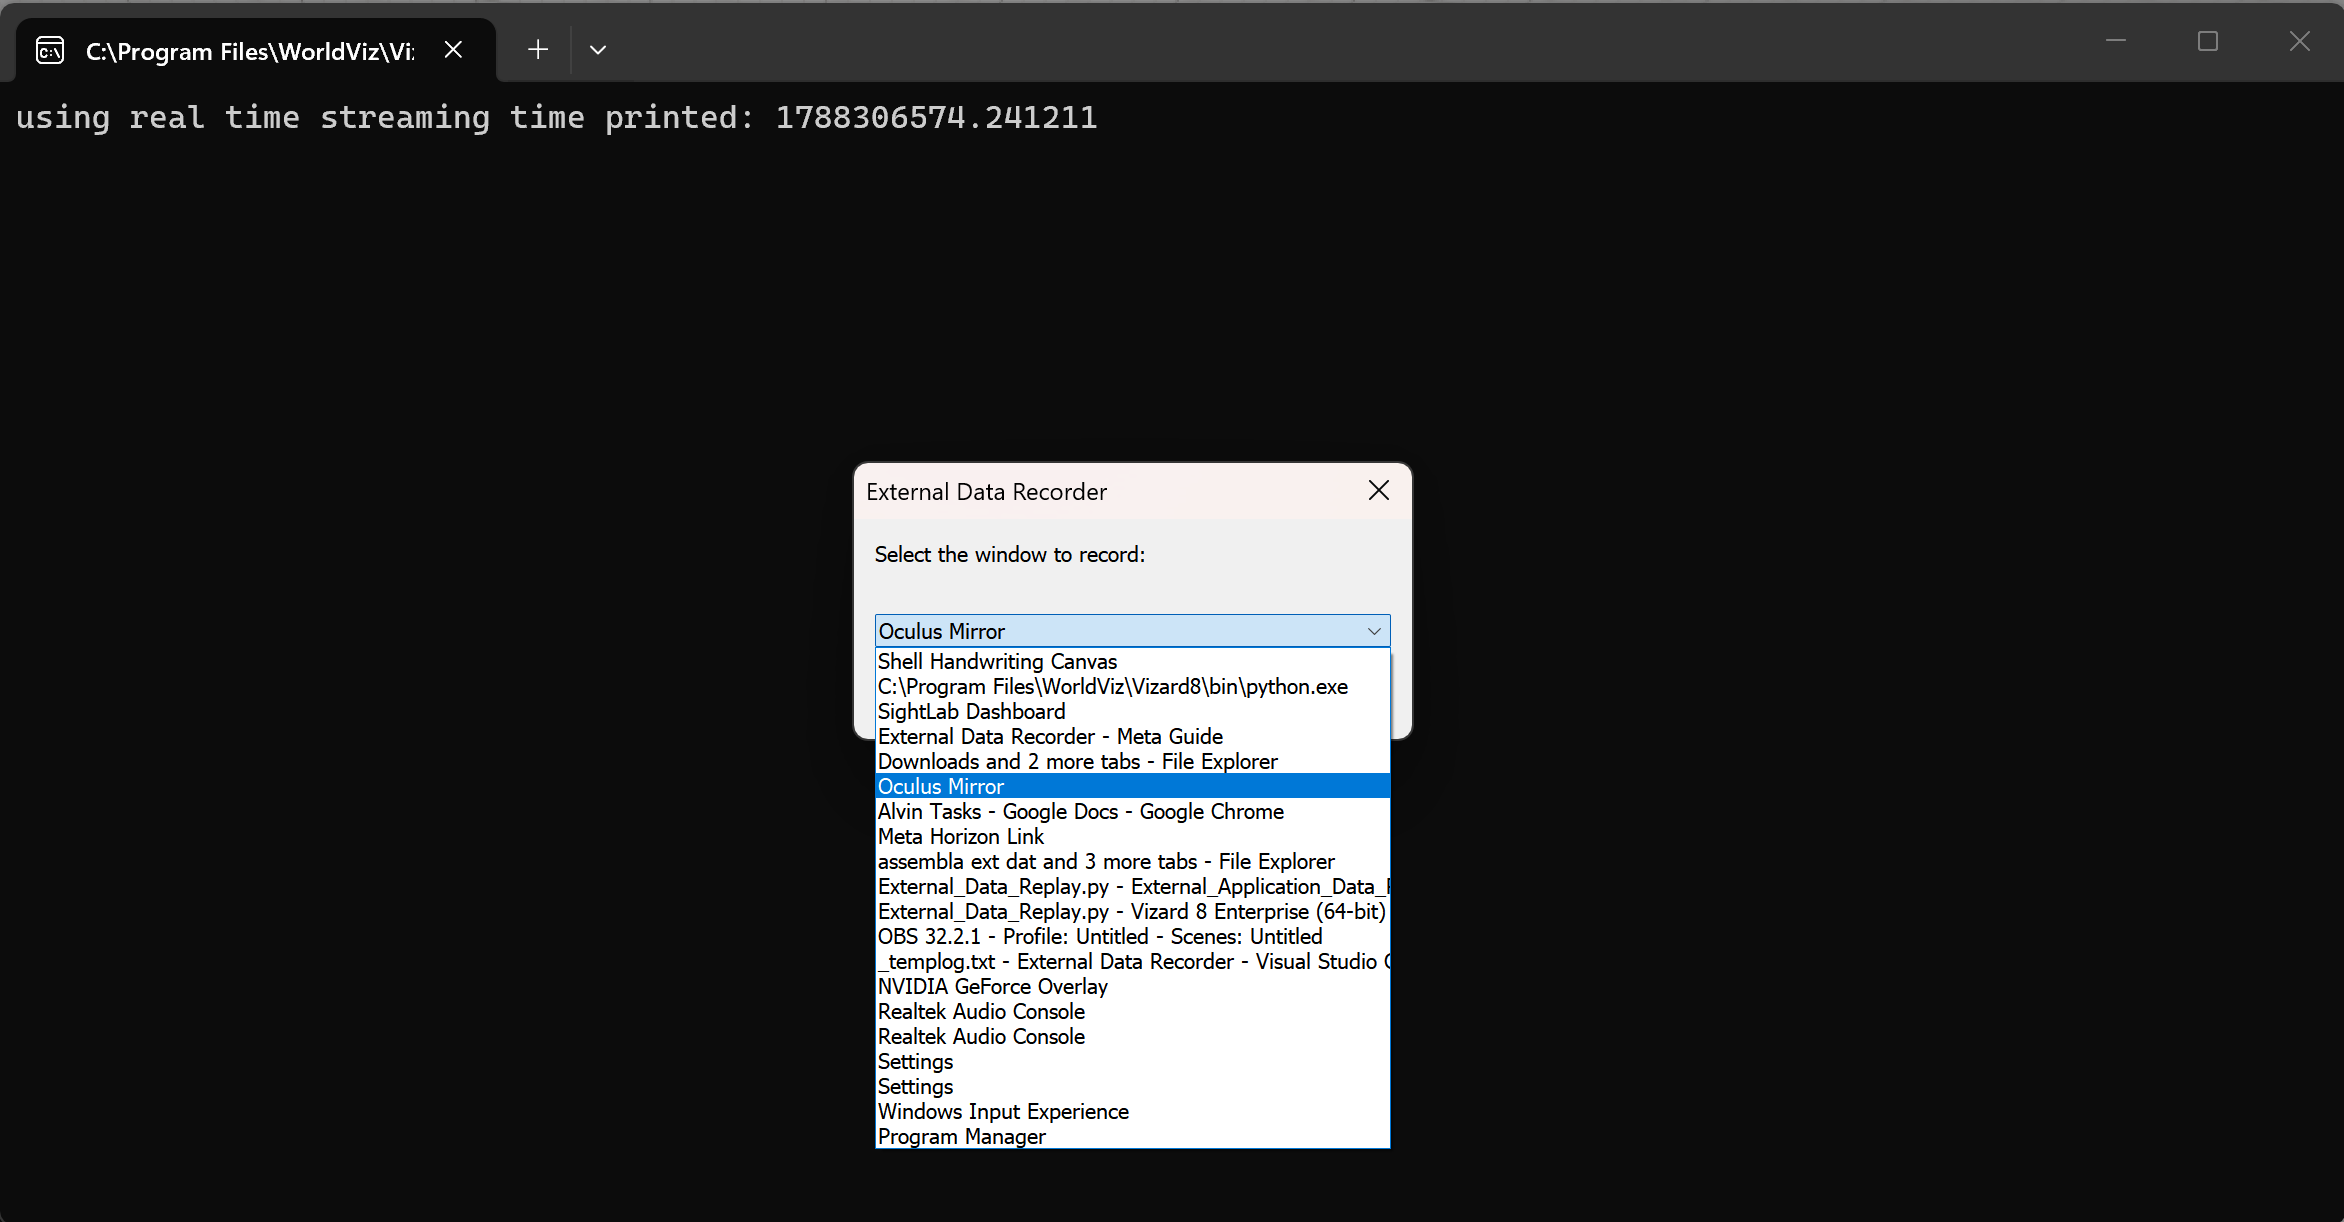
For Meta headsets, choose the Oculus Mirror window. You'll also see a console window (in the background of this screenshot) that displays console output from the External Data Recorder script.
You will see more messages if DEBUG = True in Data_Recorder_Config.py. Right now the only message shown is that we are using real time streaming, which will open a mirror window showing the live gaze point.
Next, pick your Meta headset as the hardware config:
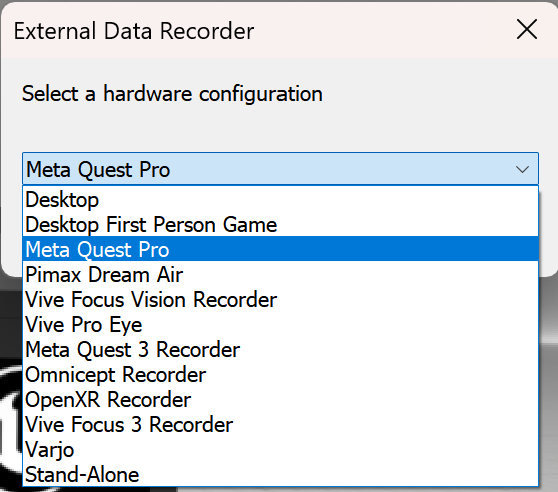
For this tutorial, we are using a Meta Quest Pro, but the usage flow is the same for the Meta Quest 3 as well, except that the Pro has a calibration stage and the 3 doesn't.
Once selected, a window titled External_Data_Recorder will open along with a prompt asking you to select an old calibration file for eye tracking, or to perform a new calibration. Select New, and this will open a new window titled Eye_Calibration:
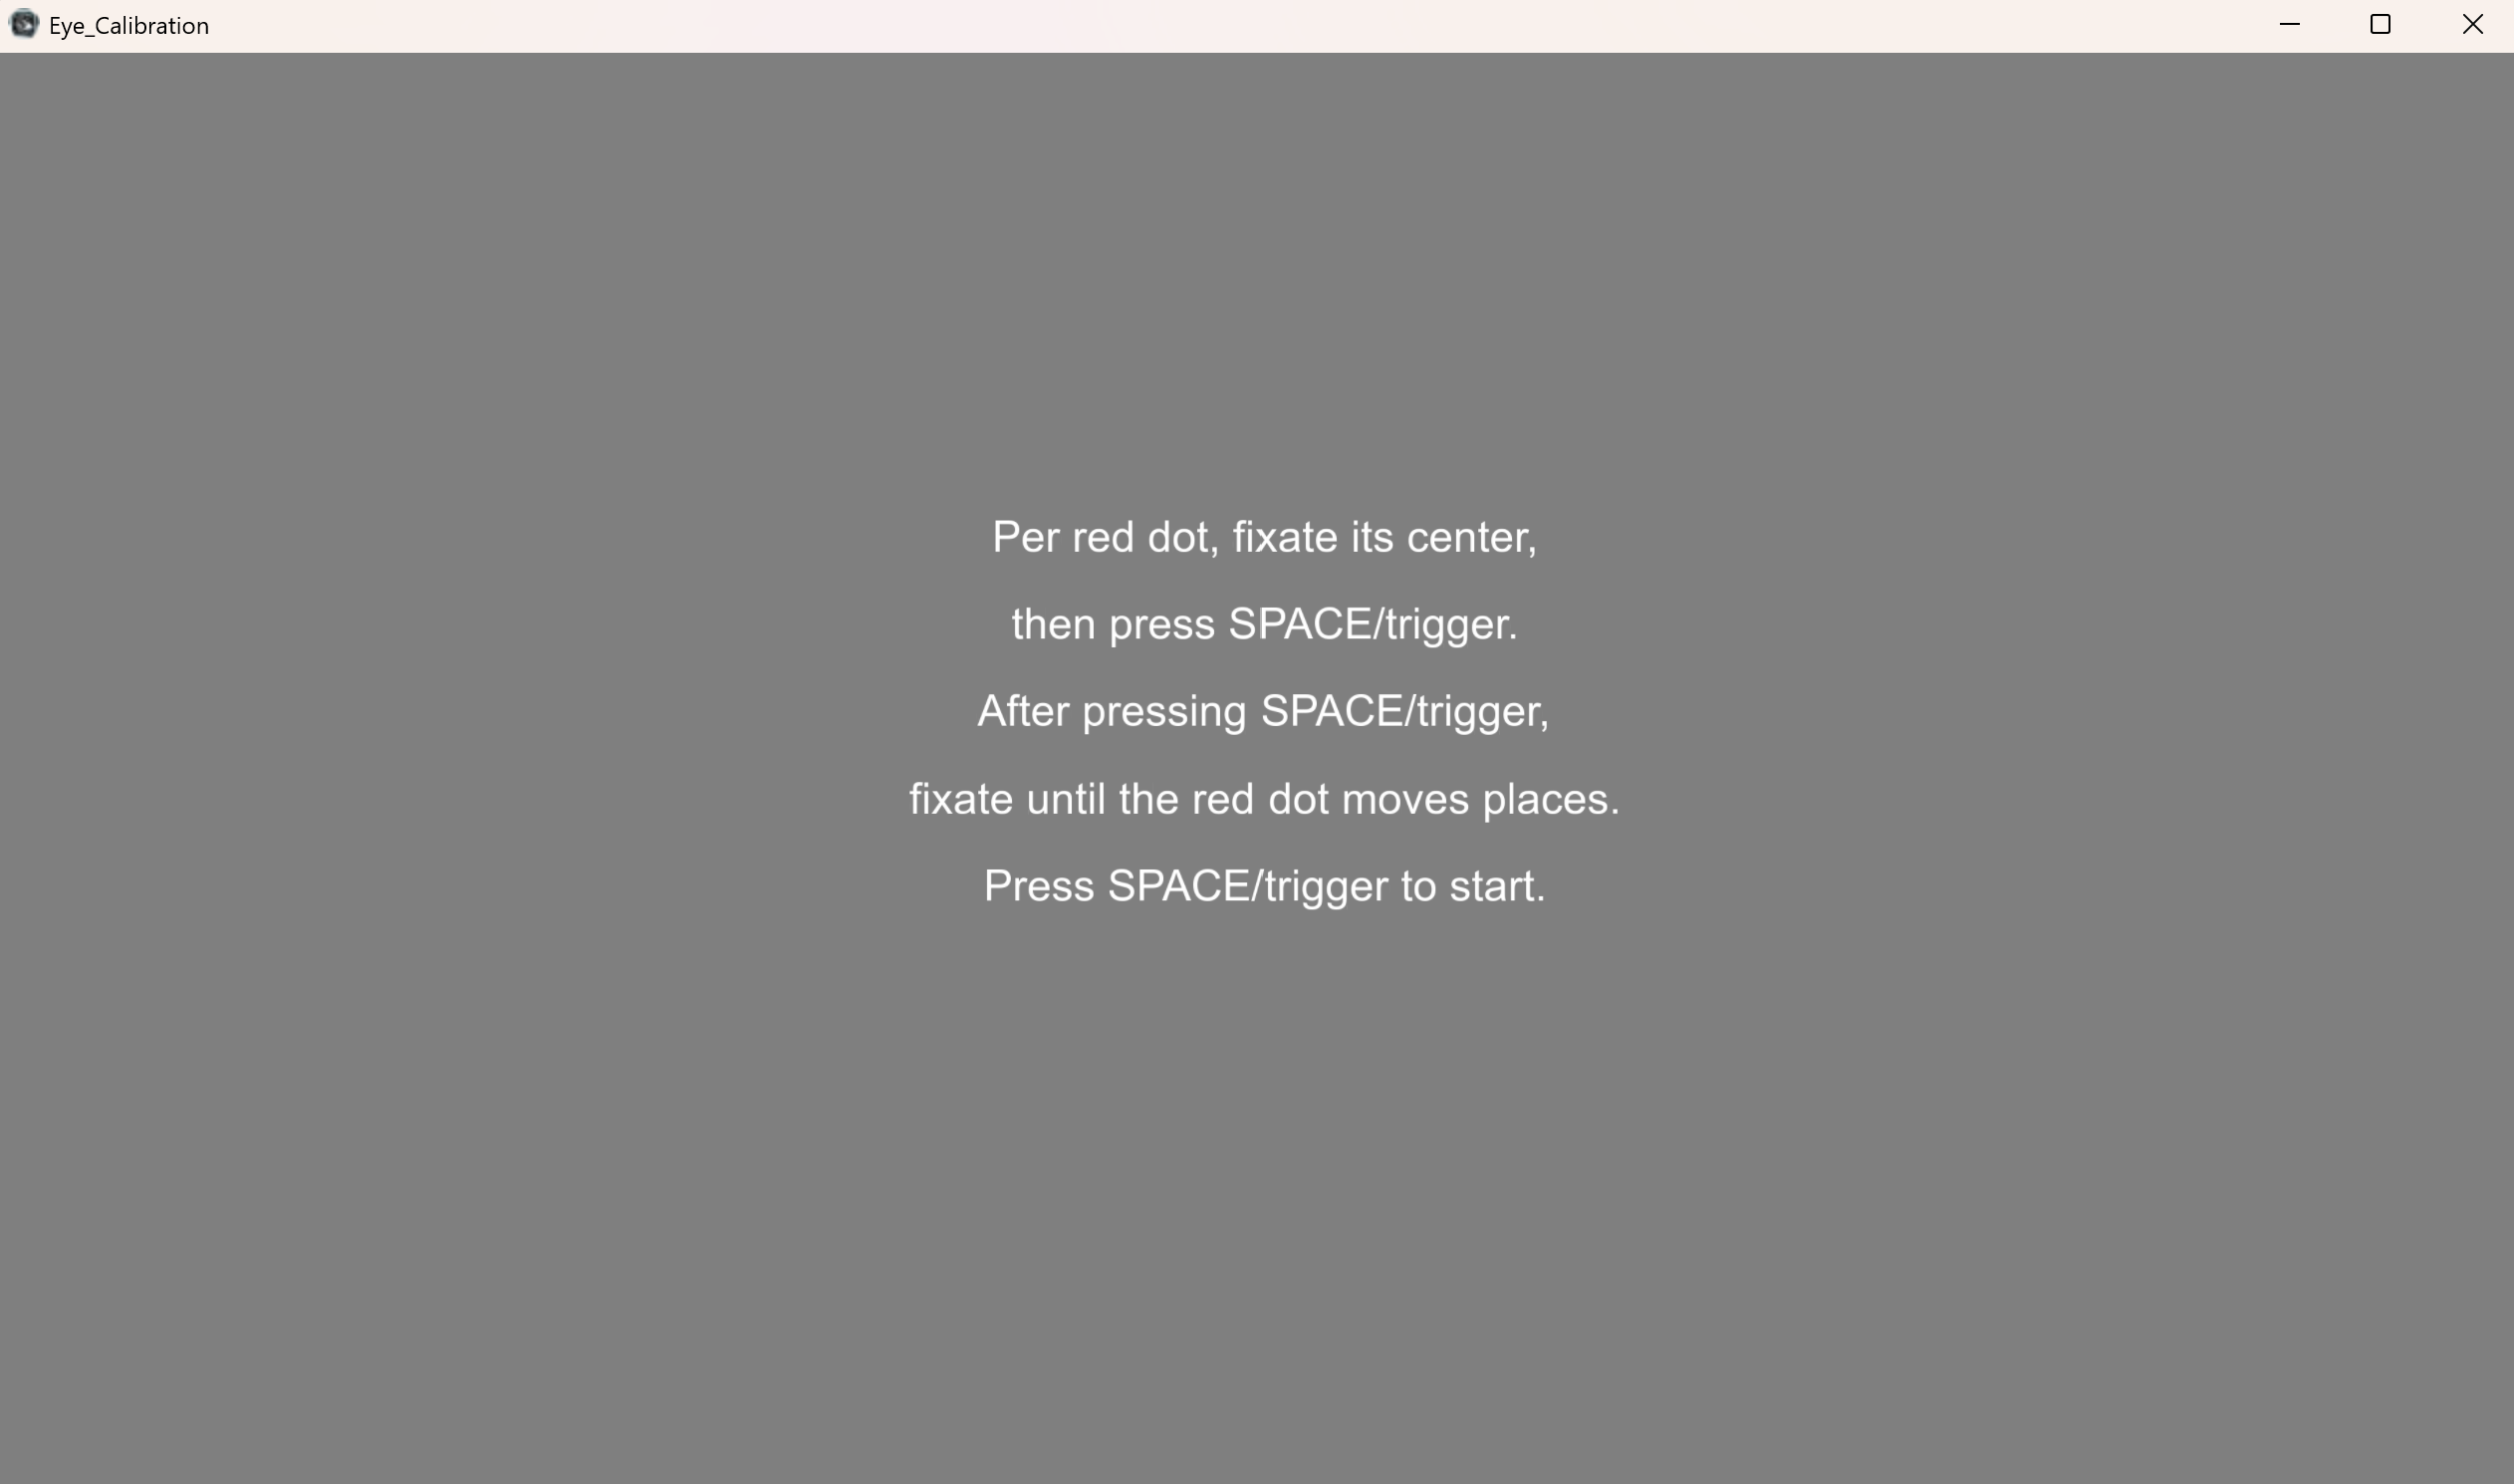
Press trigger on the controller or spacebar on the keyboard to start calibrating. This should bring up a red dot like this on the Oculus Mirror window:
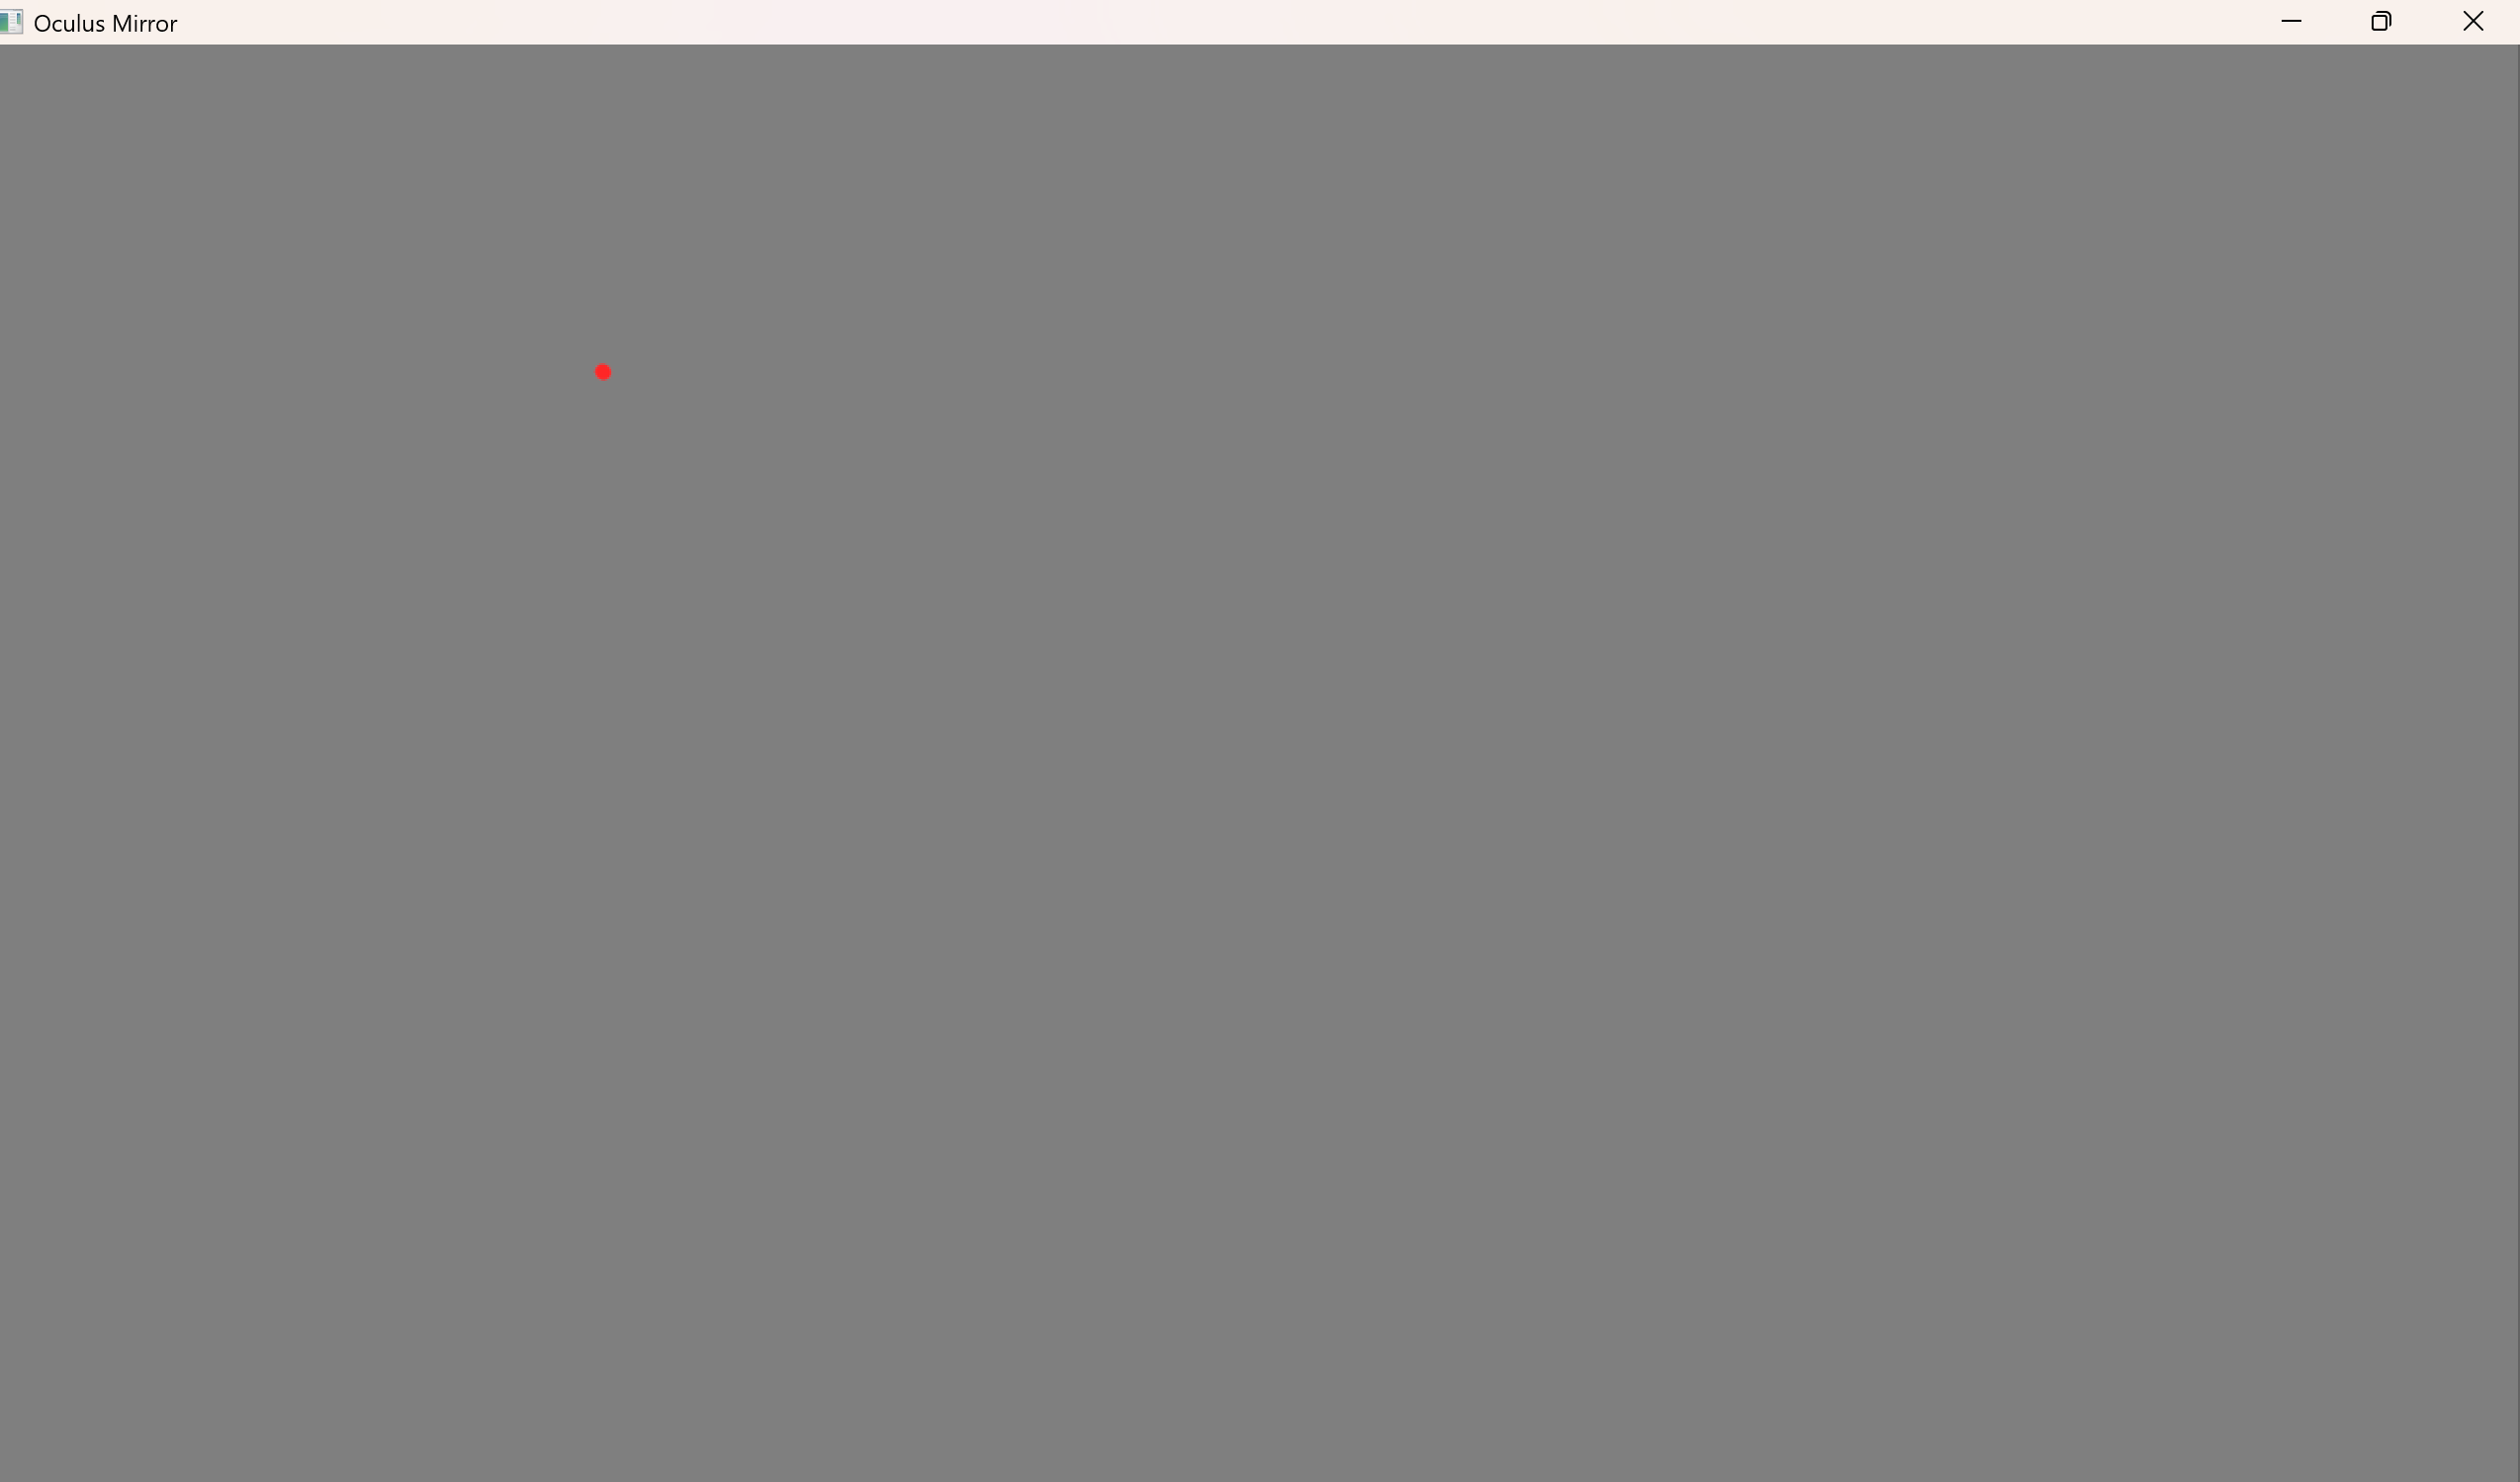
The script grabs calibration dot positions from the HMD mirror window (Pimax Mirror - Right) and not the Eye_Calibration window. However, the HMD mirrow window doesn't need to be in the foreground for data to be captured, since the script uses Windows Graphics Capture. This means the window only needs to not be minimized.
Following the instructions from the start screen, fixate each dot before pressing trigger/space and continue fixation until it moves to its next position. Repeat this for each dot.
If the Oculus Mirror window is minimized, you will see the following output in the console when you try to calibrate a dot:

The error will keep showing if you retry and the window is still minimized. The final line indicates that the first calibration dot was successfuly calibrated after un-minimizing the Oculus Mirror window.
After 9 dots of calibration, an additional 5 validation dots will appear. If the gaze produced for these validation dots exceeds an error threshold, you will see an error message in the console window:
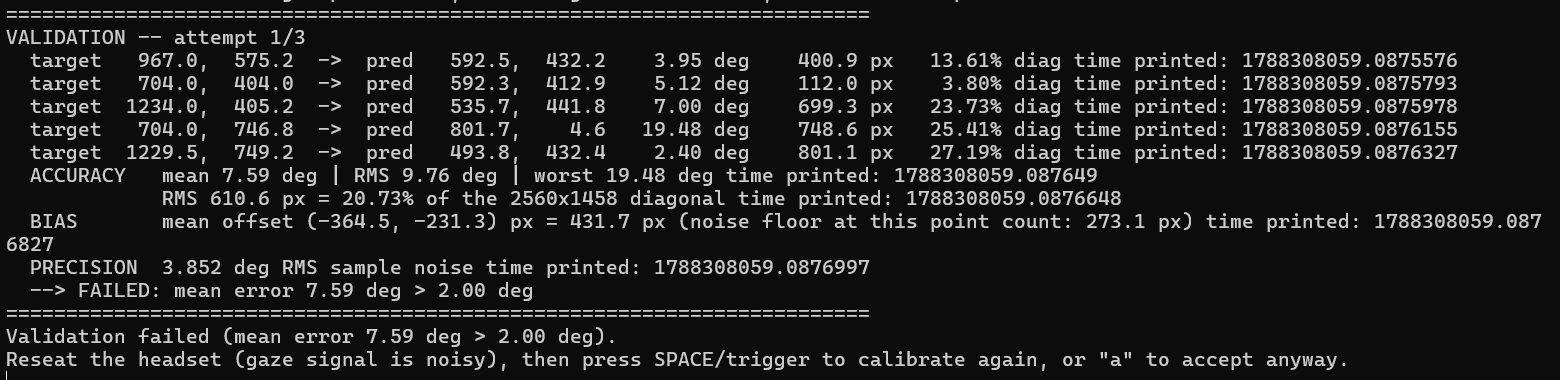
You may press the "a" key to accept a faulty calibration, or trigger/space to restart calibration. Note that the gaze mappings are likely to be inaccurate if you accept a faulty calibration. If all three rounds fail validation, the best in terms of mean angular error (degrees) will be kept.
After finishing Eye_Calibration.py, the External_Data_Recorder window will flash a message notifying that calibration has finished:
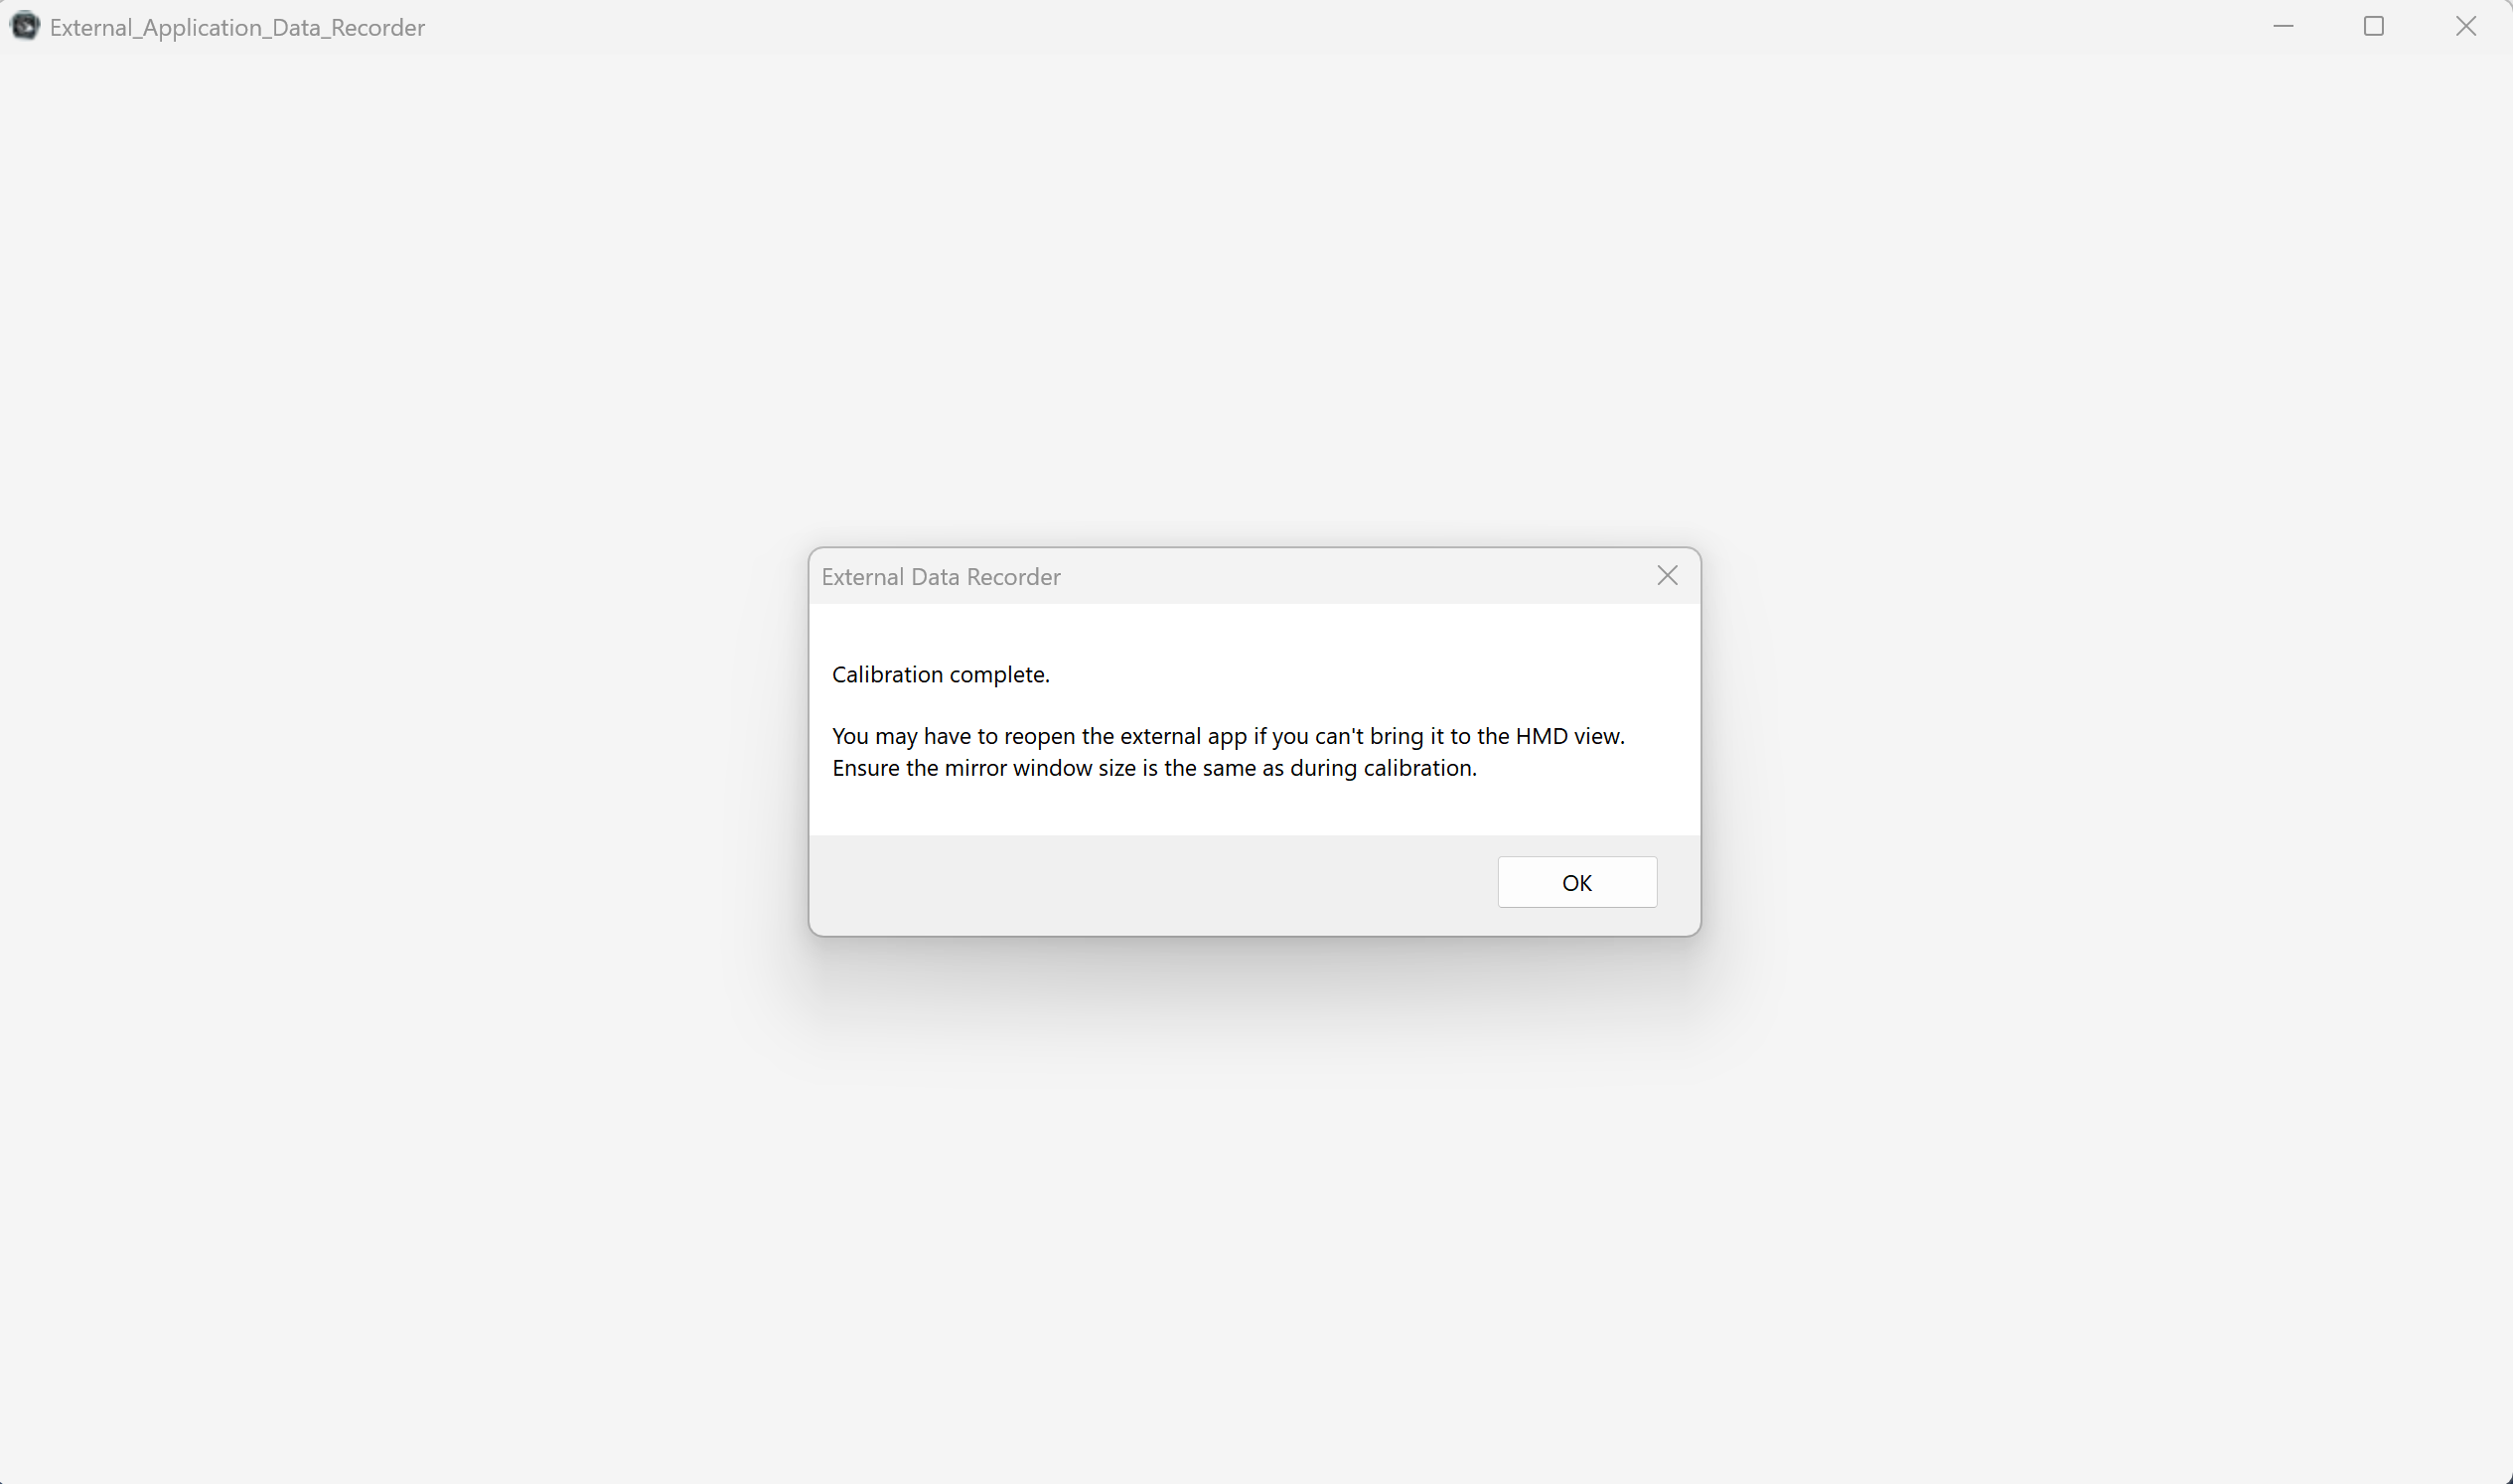
Now you can open the external application you want to record.
This tutorial will demo an Unreal Engine application. Before clicking OK, open your external application.
Note that the Meta Horizon Link runtime allows multiple OpenXR instances to be simultaneously open, so your external app can be open in the background during the eye calibration process, and you only need to switch focus on the desktop back to the external app to change it in the HMD.
After opening your external app, let's make sure it shows up in the Oculus Mirror window, and your HMD:
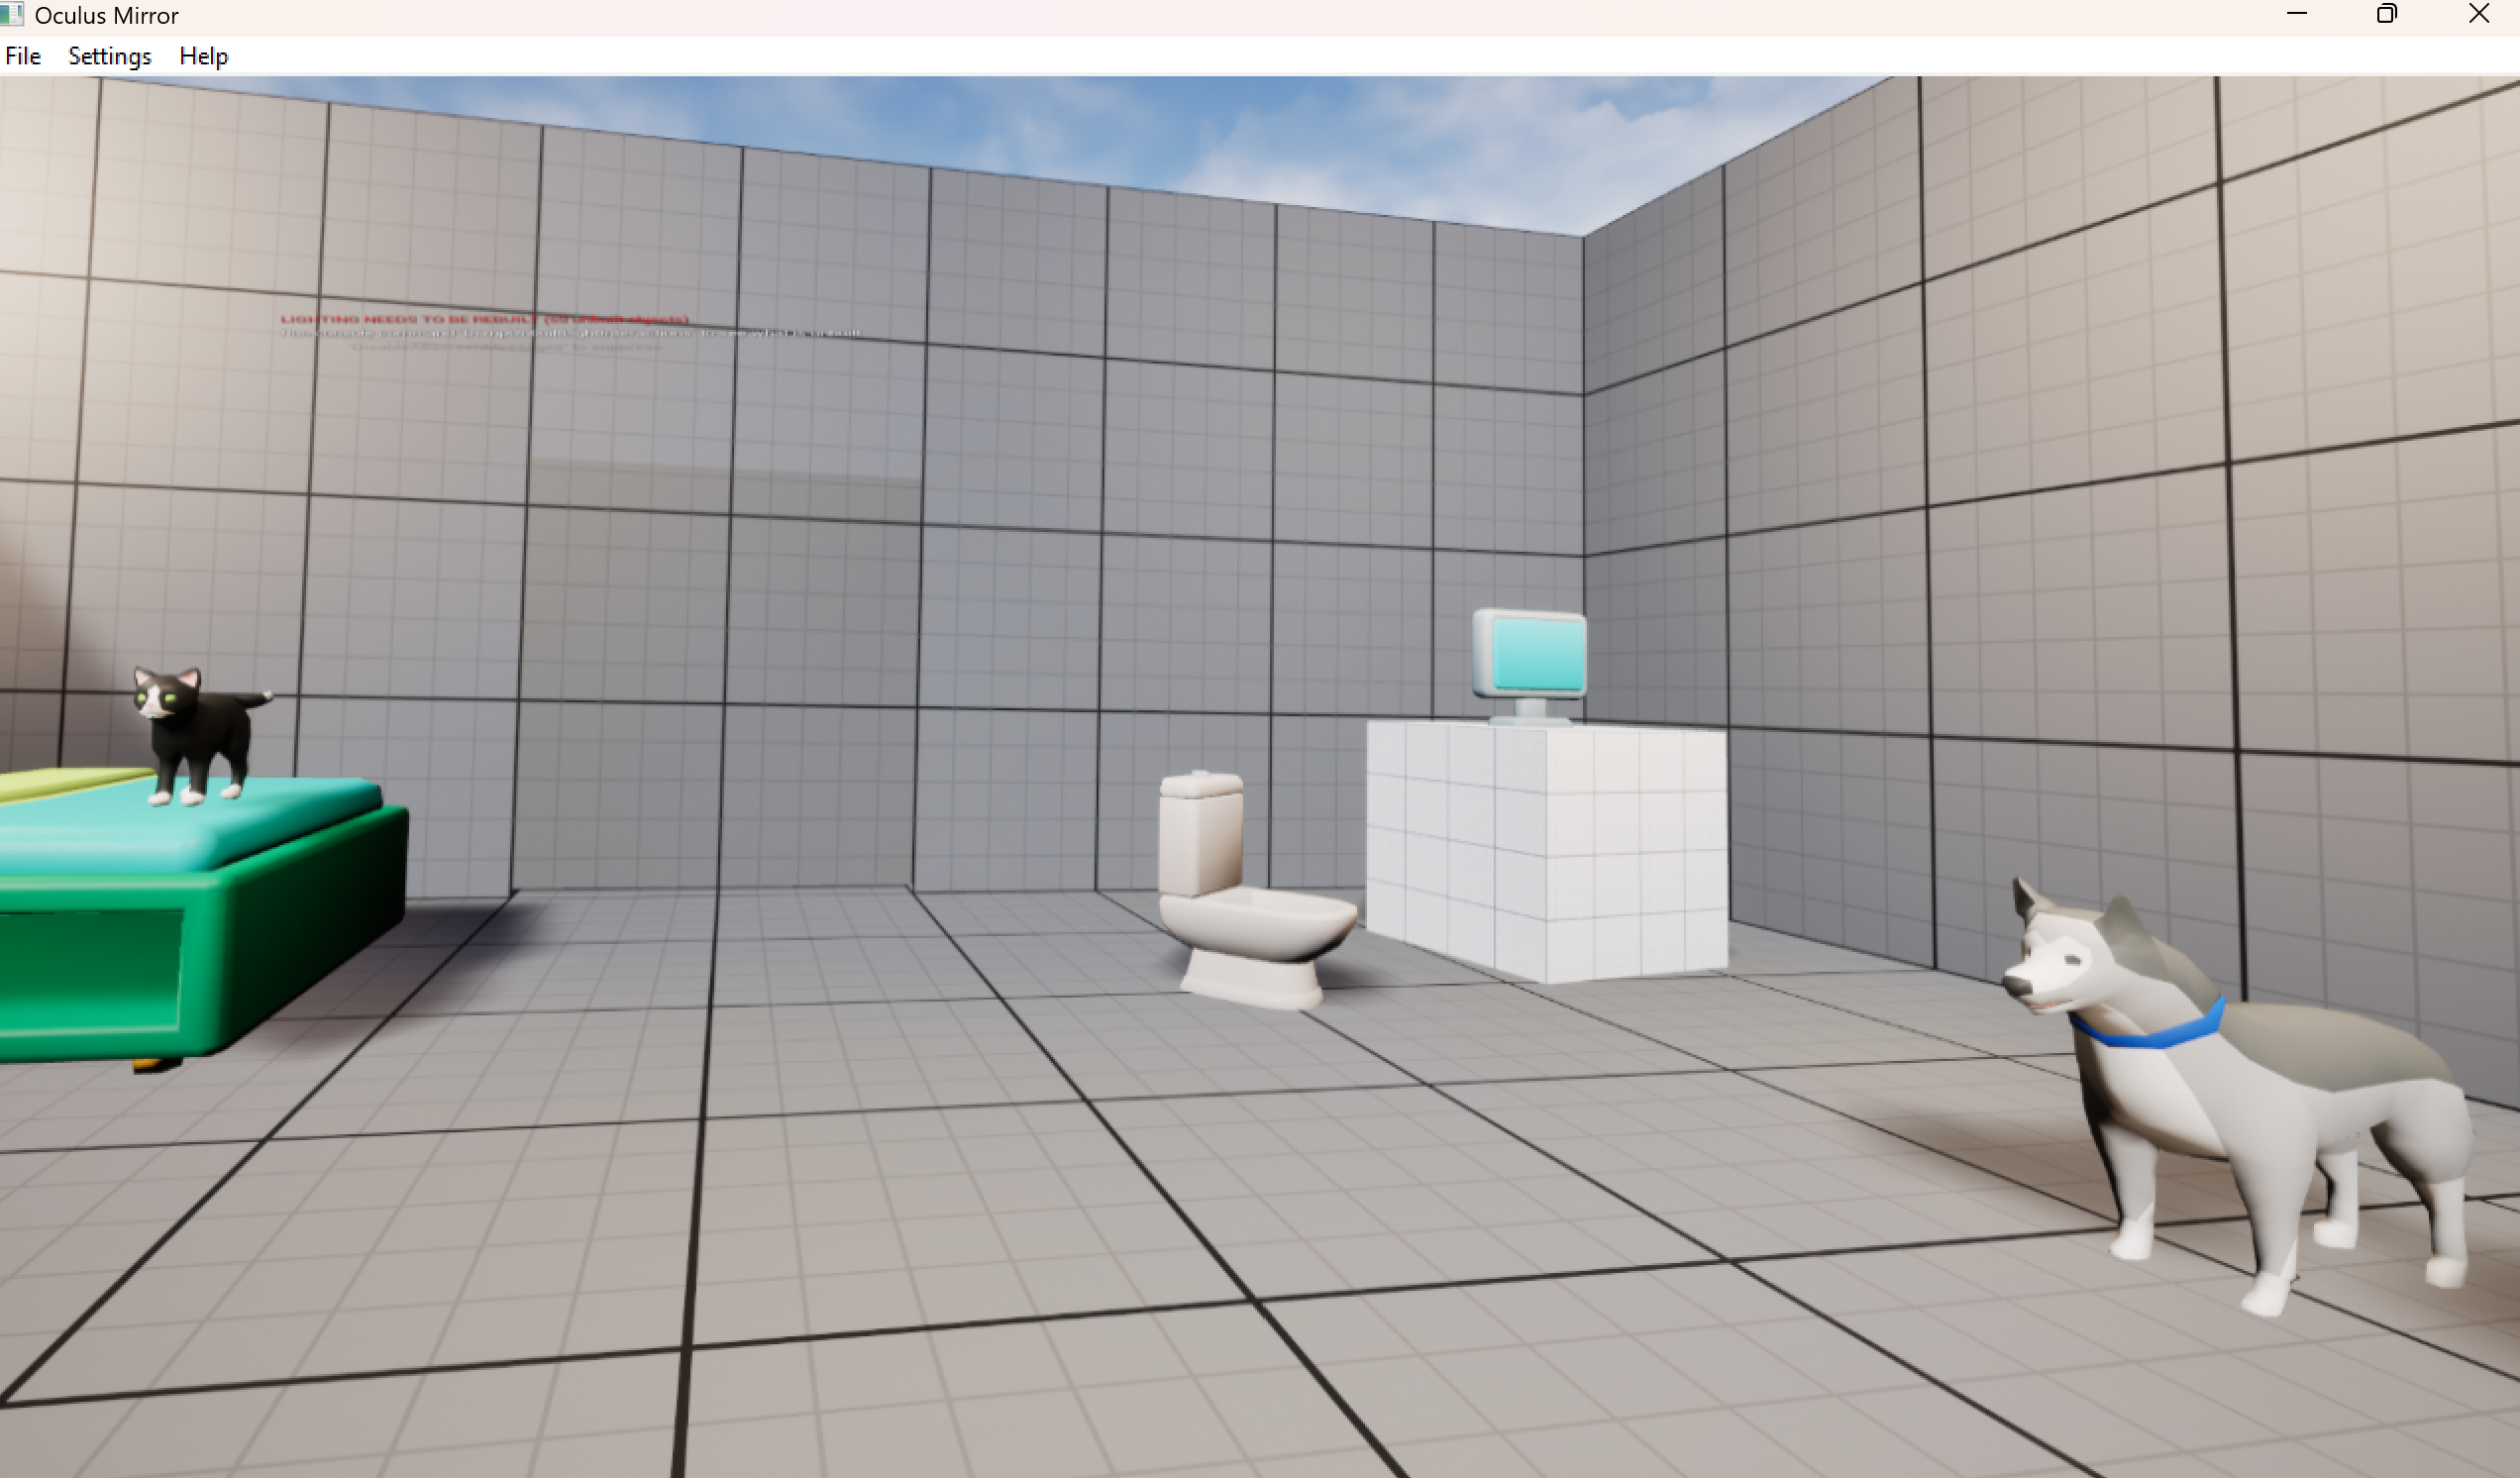
Looks good!
Now we can switch back to the External_Data_Recorder window.
Click OK on the message window.
You'll be prompted to enter a timer in seconds to record for, with default being 10. Enter whatever value you want and click OK.
Next, you'll be prompted for the actual external application you're recording through the HMD mirror (in our case, Oculus Mirror). Choose your external application and click OK. For this tutorial, we choose the Unreal Engine project:
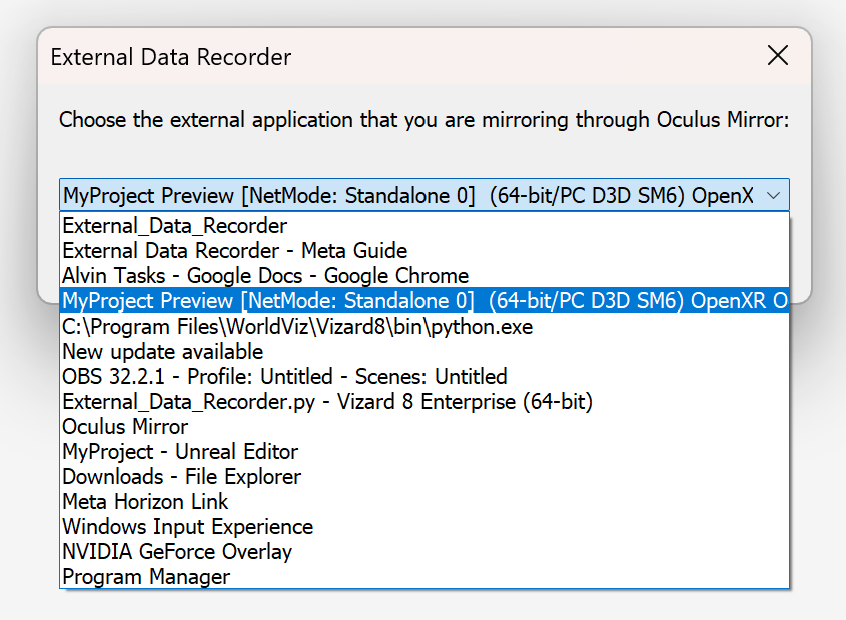
This will automatically switch desktop focus to your external application so it shows up in the Oculus Mirror window and your HMD, since the External Data Recorder briefly takes its place before the session starts.
Finally, you'll be prompted to enter Participant Information:
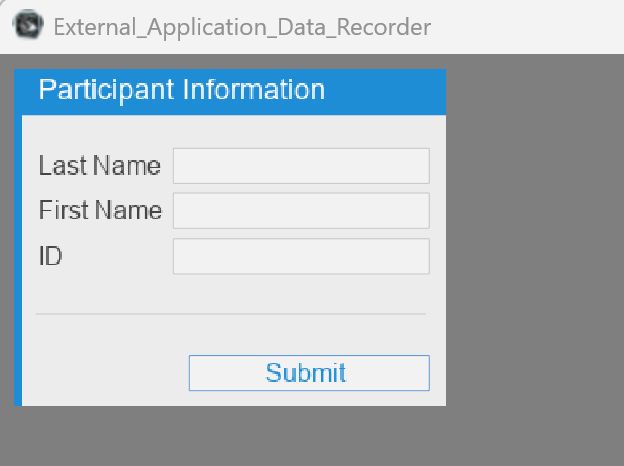 For an actual study, enter appropriate values. For testing, you can leave the fields blank and click Submit. This can be skipped in the config (see Overview).
Before starting the session, ensure the Oculus Mirror window is NOT minimized.
After this, you can start the session recording by pressing the spacebar. You should see a red dot appear next to the OBS icon in the task bar once you press spacebar, indicating that OBS is recording.
At the end of your session, a beep will play to signify that the trial has ended.
The OBS dot will disappear to indicate it has finished recording.
If you switch back to the External_Data_Recorder window, you should see a message saying the script is being postprocessed, which entails transcoding and overlaying the video with RT-DETR object detection and gaze information:
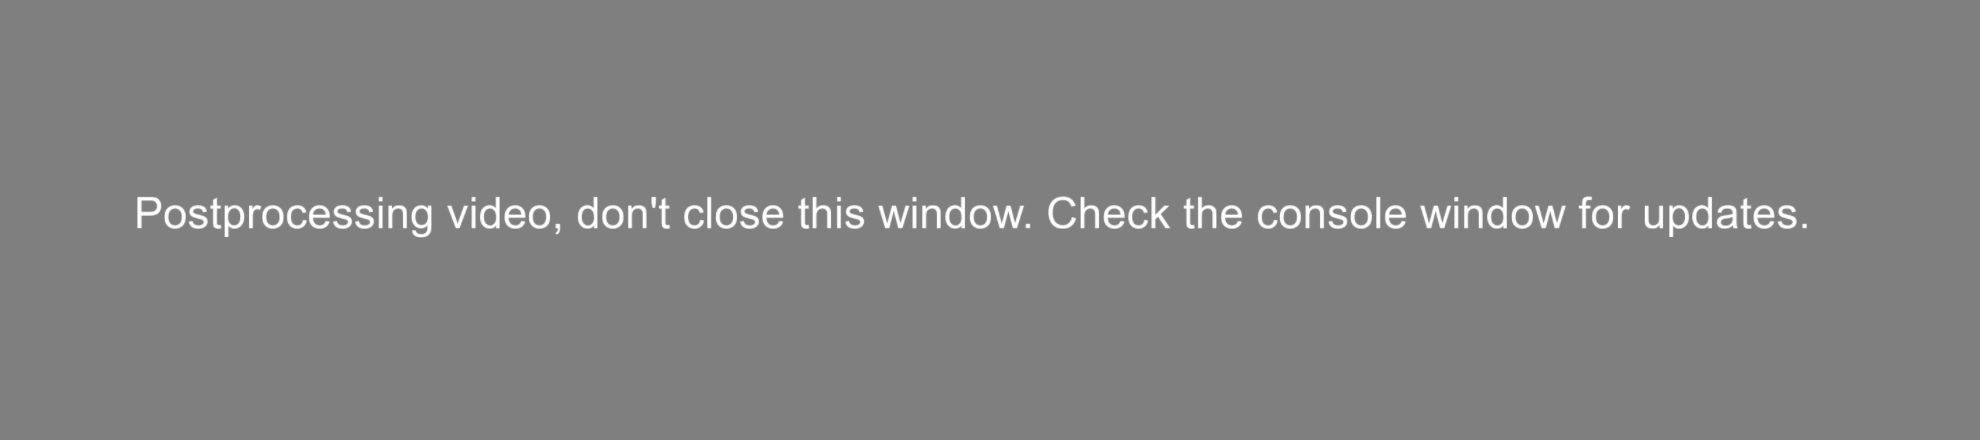
The console window provides postprocessing progress updates:
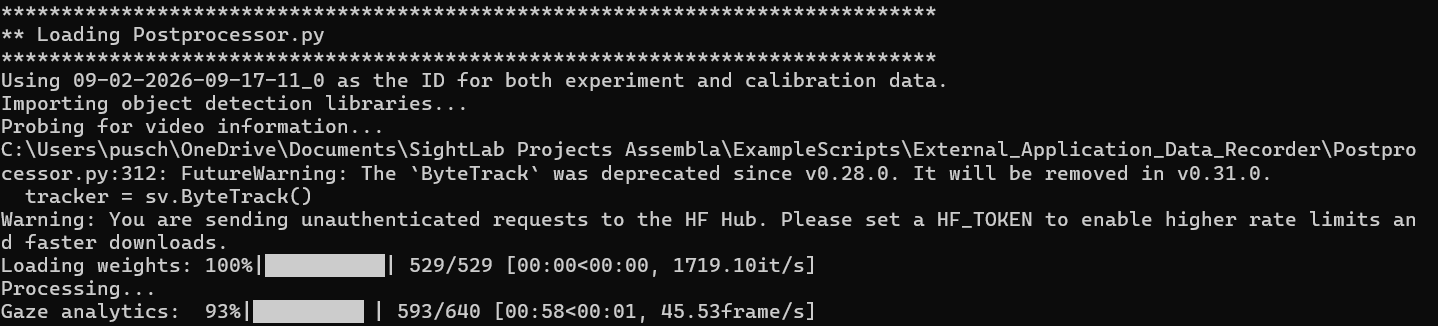
Note that closing VRAM/RAM heavy processes like Unreal Engine can drastically speed up postprocessing times (60+ FPS postprocessing speed). Monitoring expensive processes with Task Manager can help you identify RAM/VRAM heavy processes to close.
Once postprocessing is finished, the External_Data_Recorder window will let you know:

It is now safe to close the External_Data_Recorder window. This will save the console window outputs to a log file, listed in the message.
The recordings produced from this session (original, transcoded, and overlay) can be found in the recordings\ folder.
The csv files and other data files from this session can be found in the data\ folder inside an experiment_data folder corresponding to the datetime and participant id recorded during the session.
Console window content can be found in the logs\ folder.
Replay
To operate the replay, you can open it from the Vizard IDE, directly, or the External Data Recorder tab in the SightLab Dashboard:
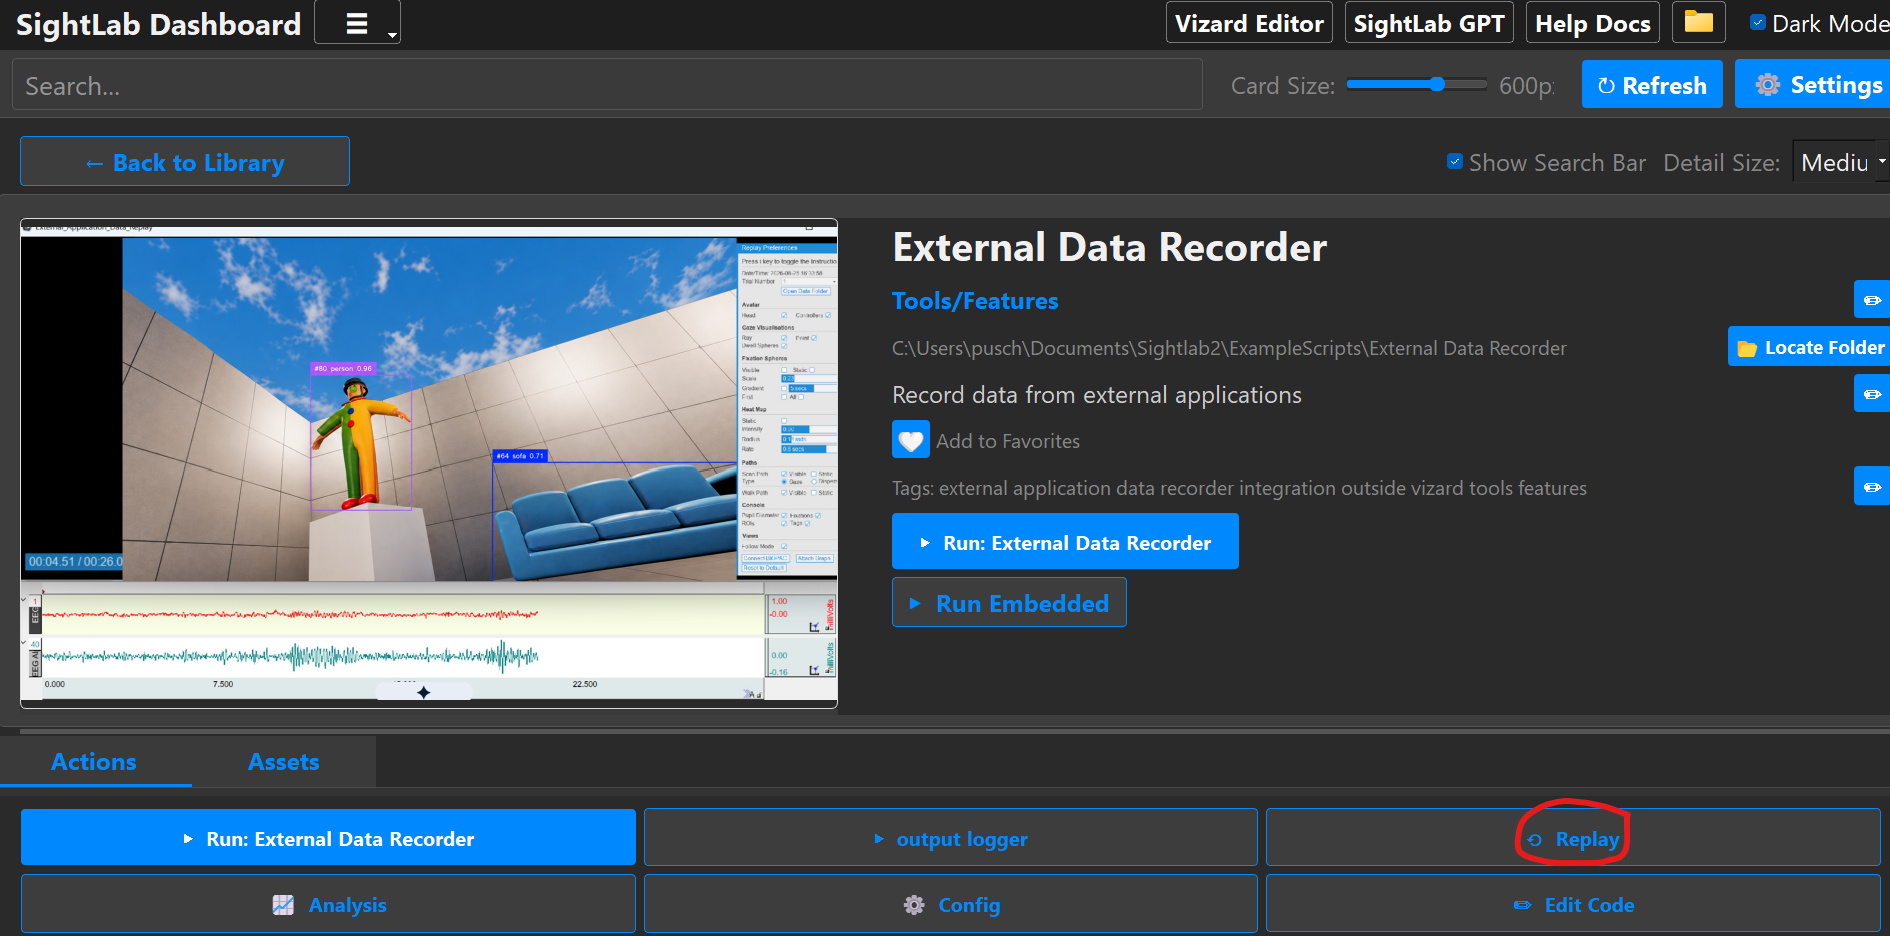
This will open a window named External_Data_Replay and prompt you to select a session. Sessions are named by the datetime they were recorded, and the participant id:
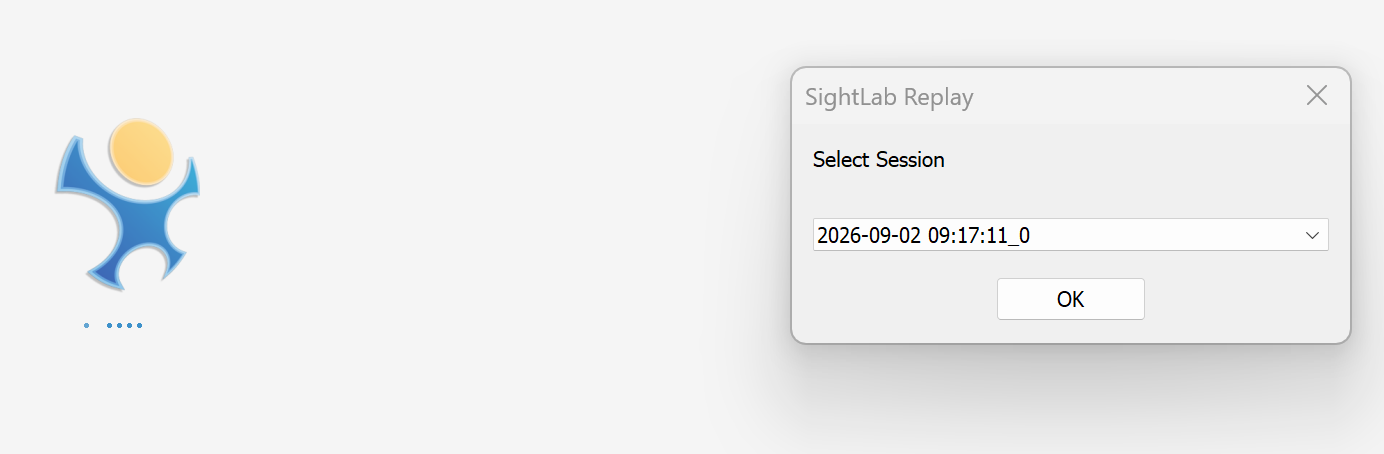
Next, it will ask you to select a calibration file to use with the selected session:
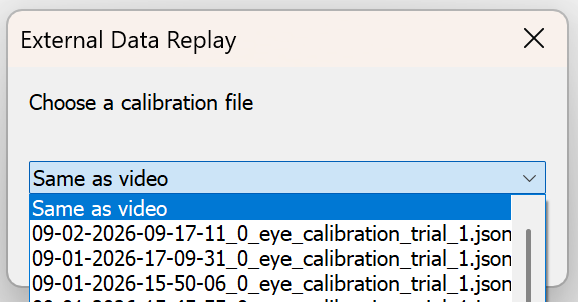
If you ran a calibration in the same session you ran the recording (the flow described in this guide), select Same as video. If you reused an old calibration from another session, you can search for it in the dropdown.
Next, select a video to use in the replay. You can choose from either the overlay video, which has the RT-DETR object detections overlaid on the video, or the transcoded video, which has no postprocessing overlays.
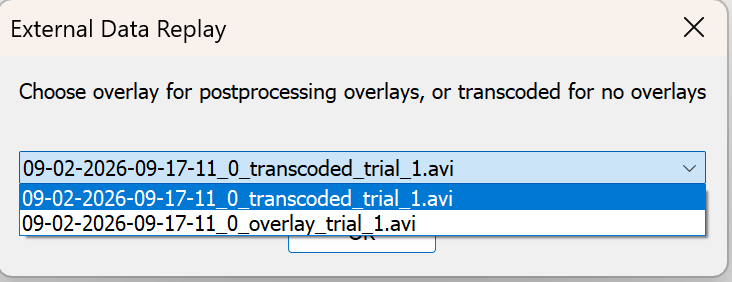
See Session Replay and the full Session Replay documentation for more instructions on how to use the replay. Make sure to full-screen the External_Data_Replay window.
Also note that RT-DETR object detection capabilities can be swapped out for the OVD OmDetTurbo model, which can be prompted to look for specific objects instead of being limited to the COCO dataset classes. See the Postprocessing Guide and AI Object Detection for more details.