External Data Recorder - Meta HMD Standalone App Guide
This guide details Meta HMD usage on standalone apps with the External Data Recorder and relevant implementation details. Please read the External Data Recorder - Overview documentation to complete setup and familiarize yourself with the External Data Recorder.
This guide uses standalone apps that run natively on Meta headsets. Eye tracking is not supported for standalone apps.
Step-by-step
Ensure your Meta HMD and desktop are connected to the same WiFi network. We will use the desktop to display the HMD view through horizon.meta.com/casting.
Also ensure that you are logged into the same account on both the HMD and the Meta website.
To begin casting, press the Oculus/Meta button on the controller to bring up the menu, and go to the Quick Controls menu. Then, click the Casting button, which looks like a mask with signals coming out of it. This wil bring up a Cast To window. Select the Web option, then go to horizon.meta.com/casting on your desktop. This should open a mirror of your current HMD view like this:
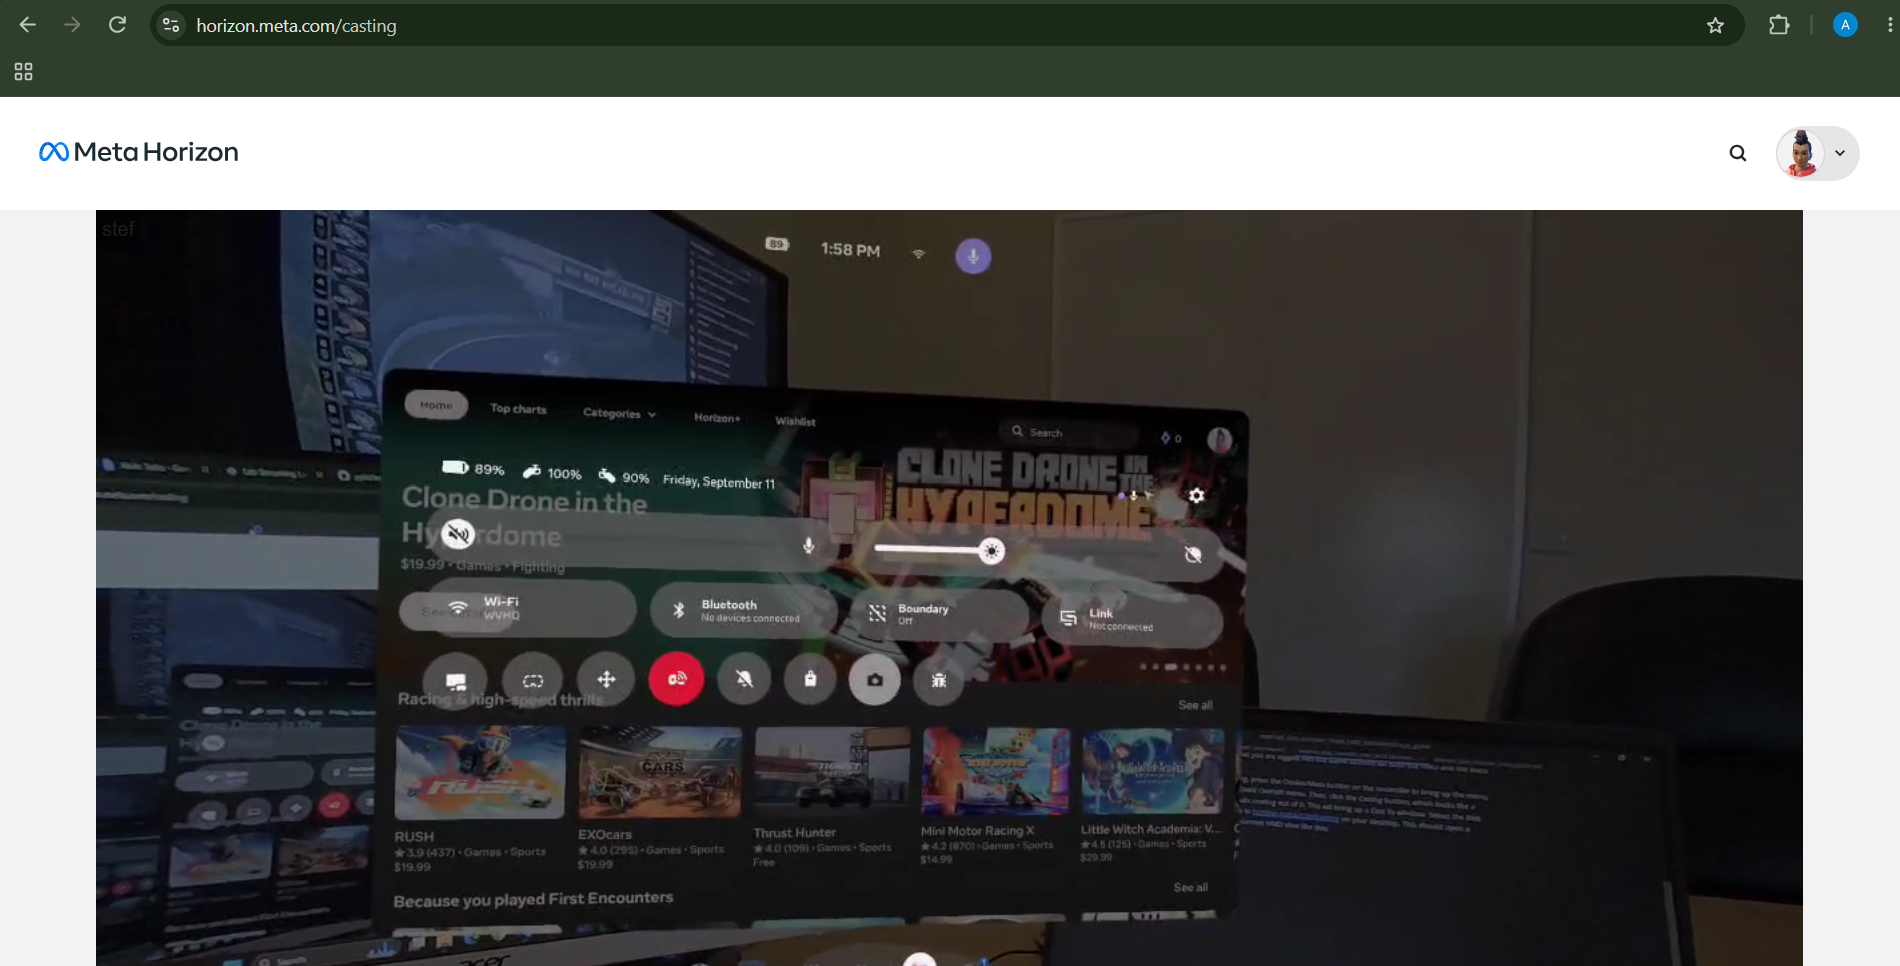
If you scroll down, there is the option to fullscreen. This is recommended to avoid the need to crop the content area out of the recording later on.
You can open the actual app you want to record (we'll do Beatsaber for this tutorial) at any time before you start recording the session.
Next, open the External Data Recorder script. You can open it through any of:
-
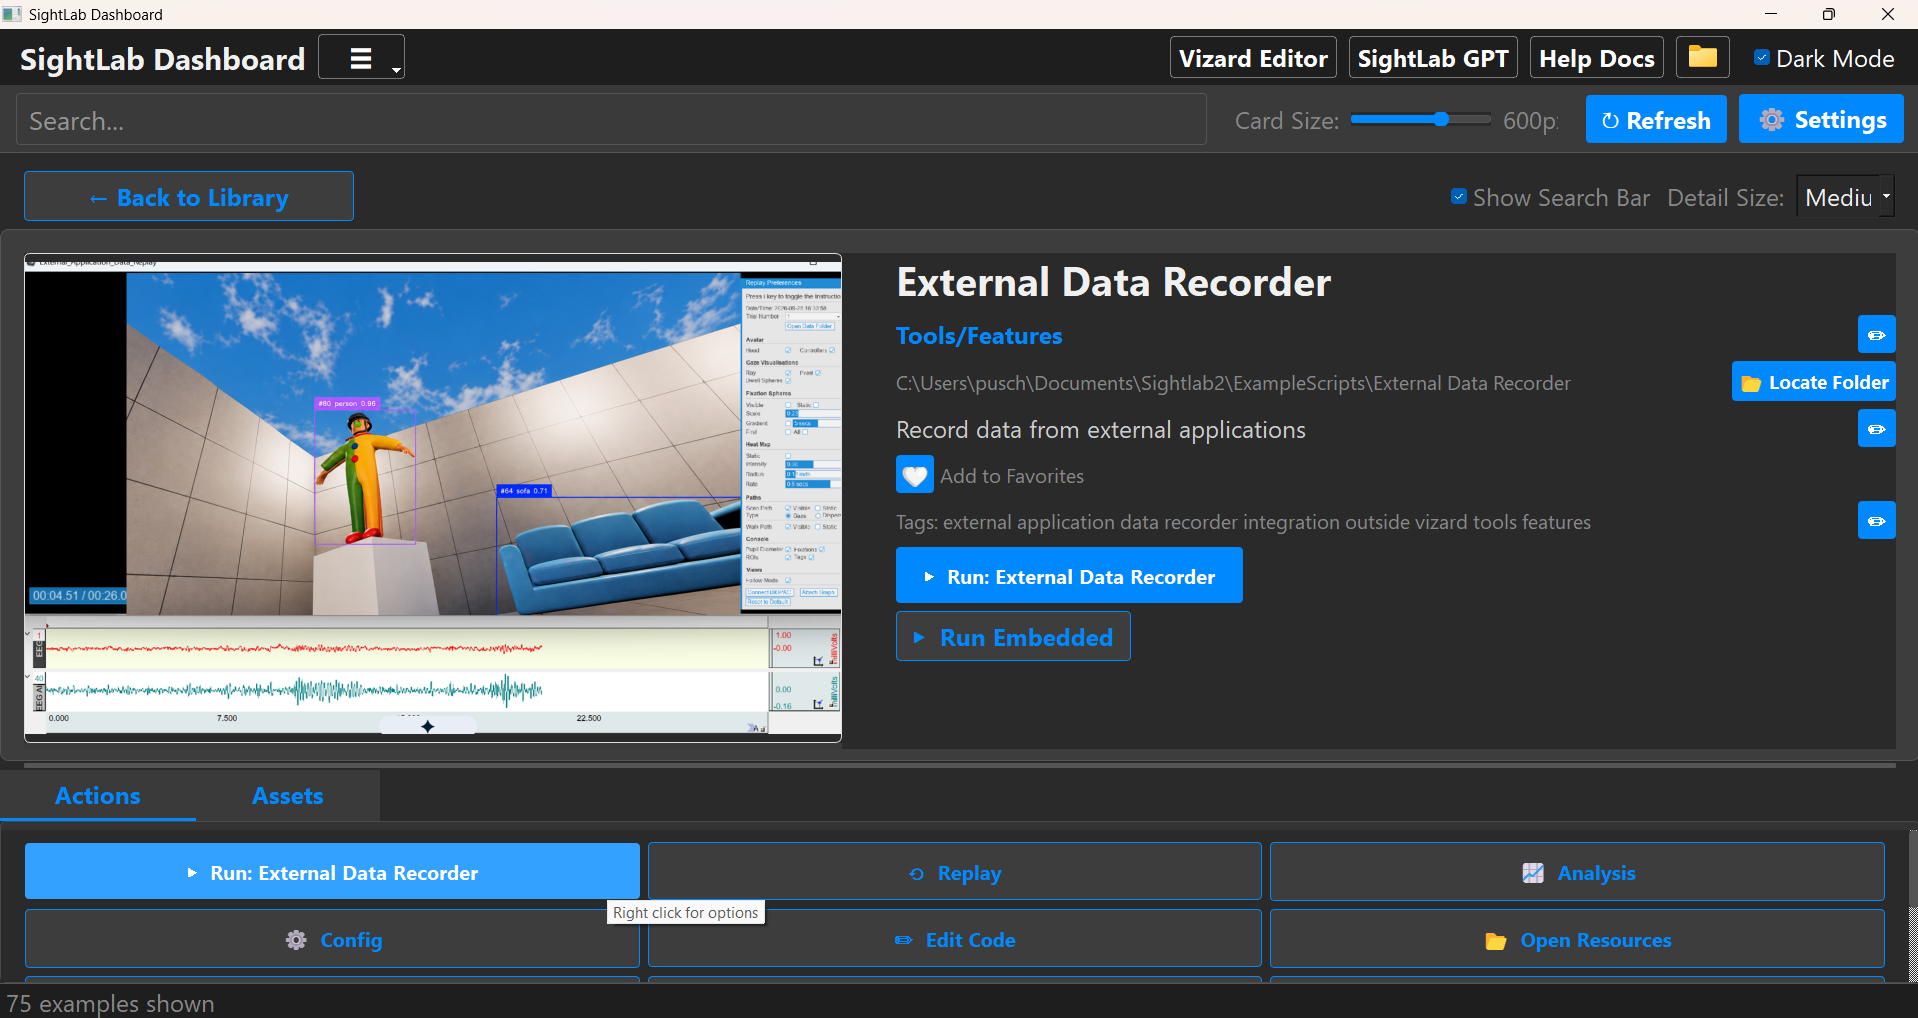
The SightLab Dashboard, at Tools/Features -> External Data Recorder
-
In the Vizard IDE, by clicking Edit Code in the External Data Recorder's Sightlab tab
-
Directly, by double clicking it in the file explorer at Sightlab2\ExampleScripts\External_Data_Recorder\External_Data_Recorder.py
Either way, the usage is the same.
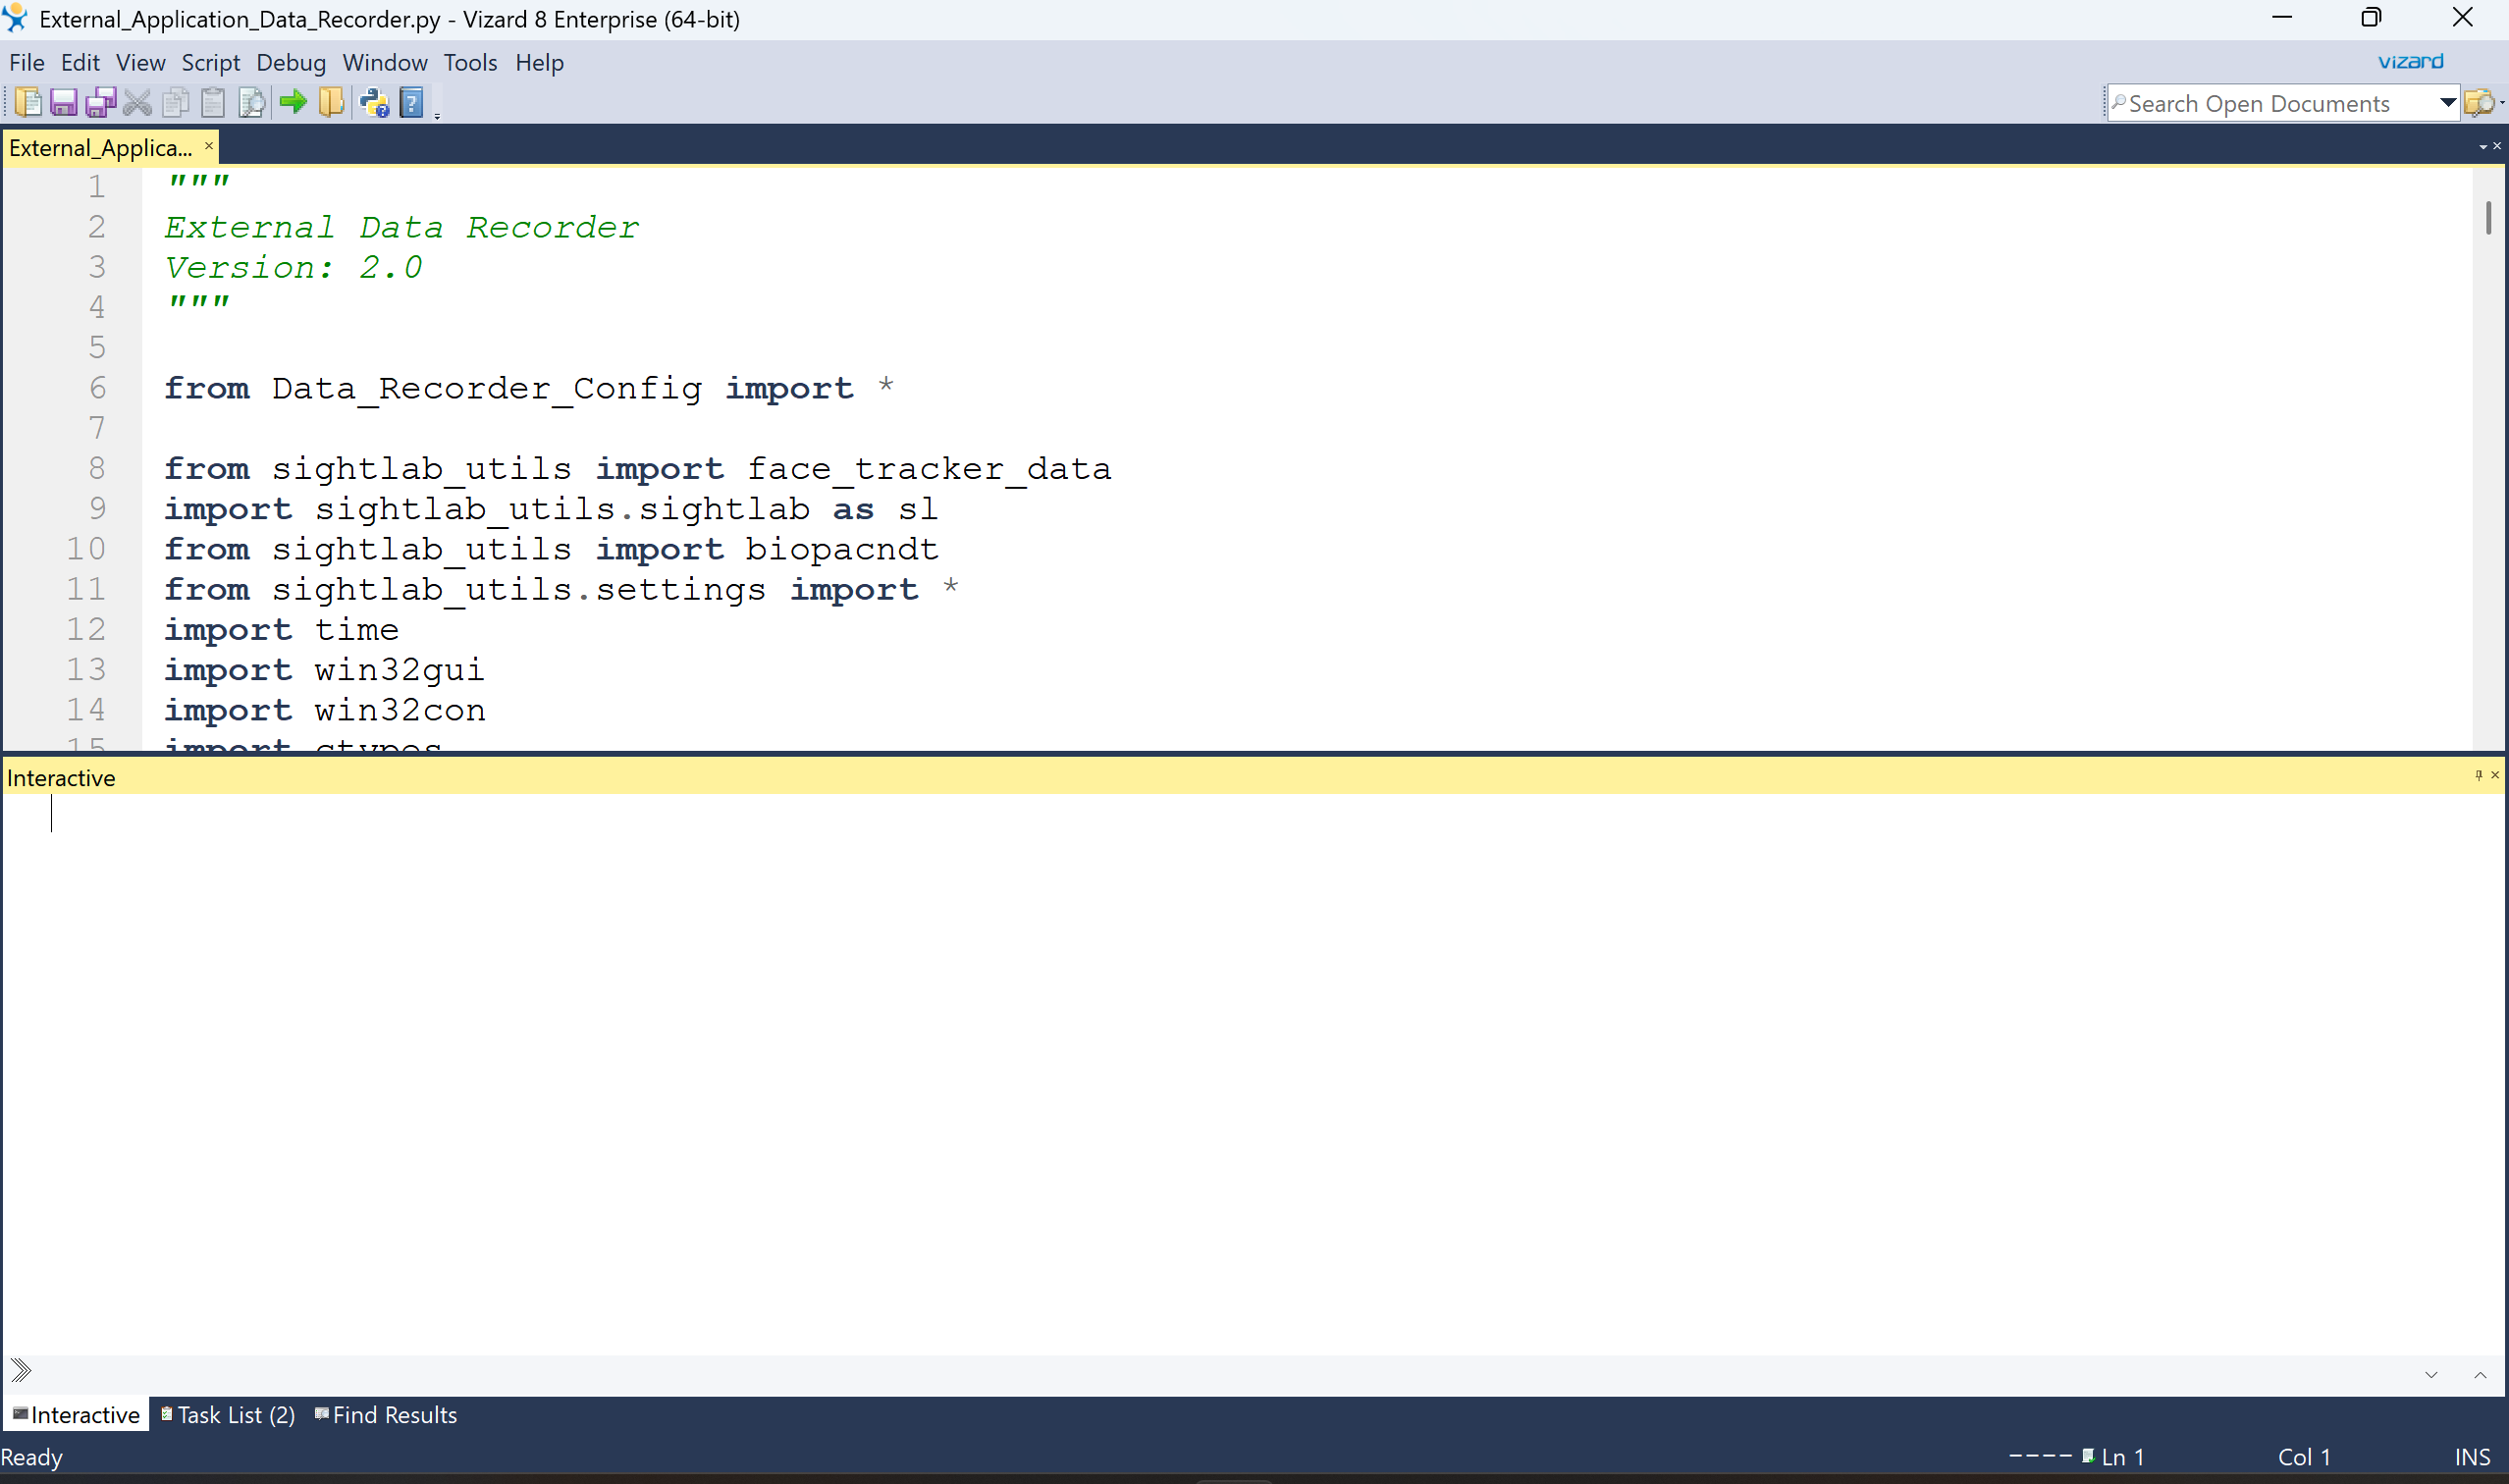
Click the green arrow in the utilities bar at the top to start the External Data Recorder. This is equivalent to clicking the Run: Exernal Data Recorder button in the Sightlab dashboard:
This will bring up a prompt asking you to choose which window to record:
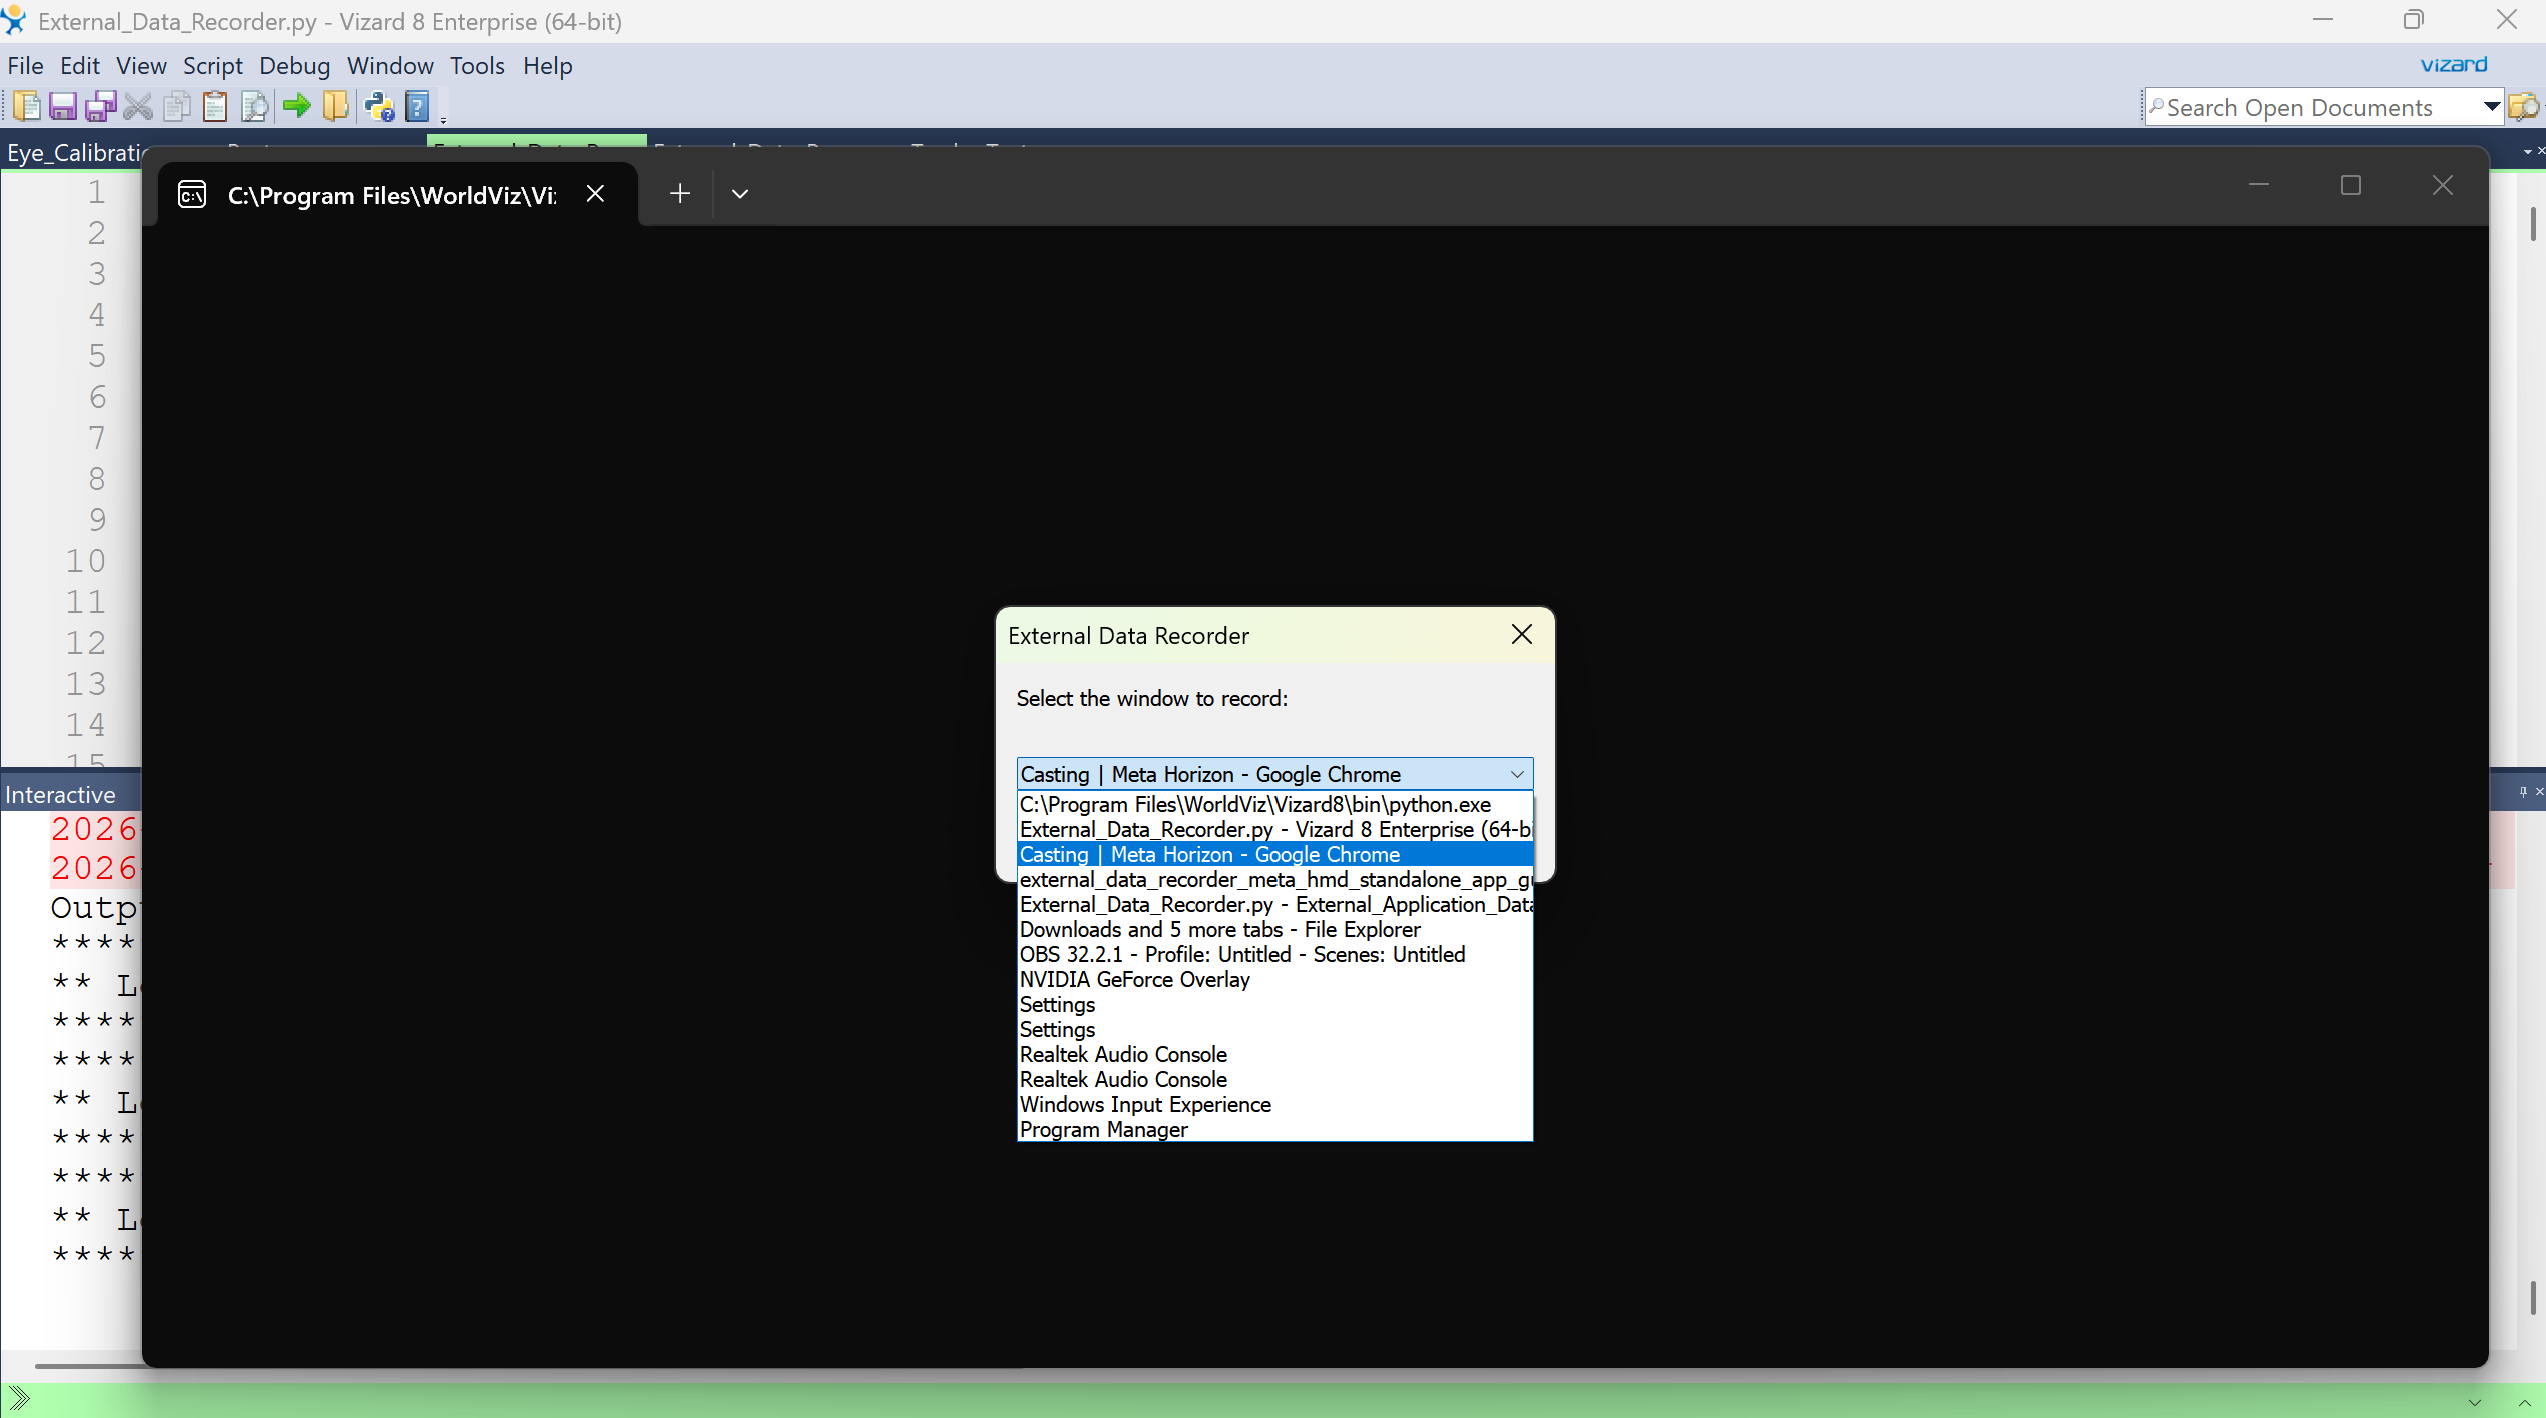
Choose the Casting window from your browser, for example, Casting | Meta Horizon - Google Chrome. You'll also see a console window (in the background of this screenshot) that displays console output from the External Data Recorder script.
You will see more messages if DEBUG = True in Data_Recorder_Config.py.
Next, pick your Meta headset as the hardware config. We are using the Meta Quest 3 for this tutorial:
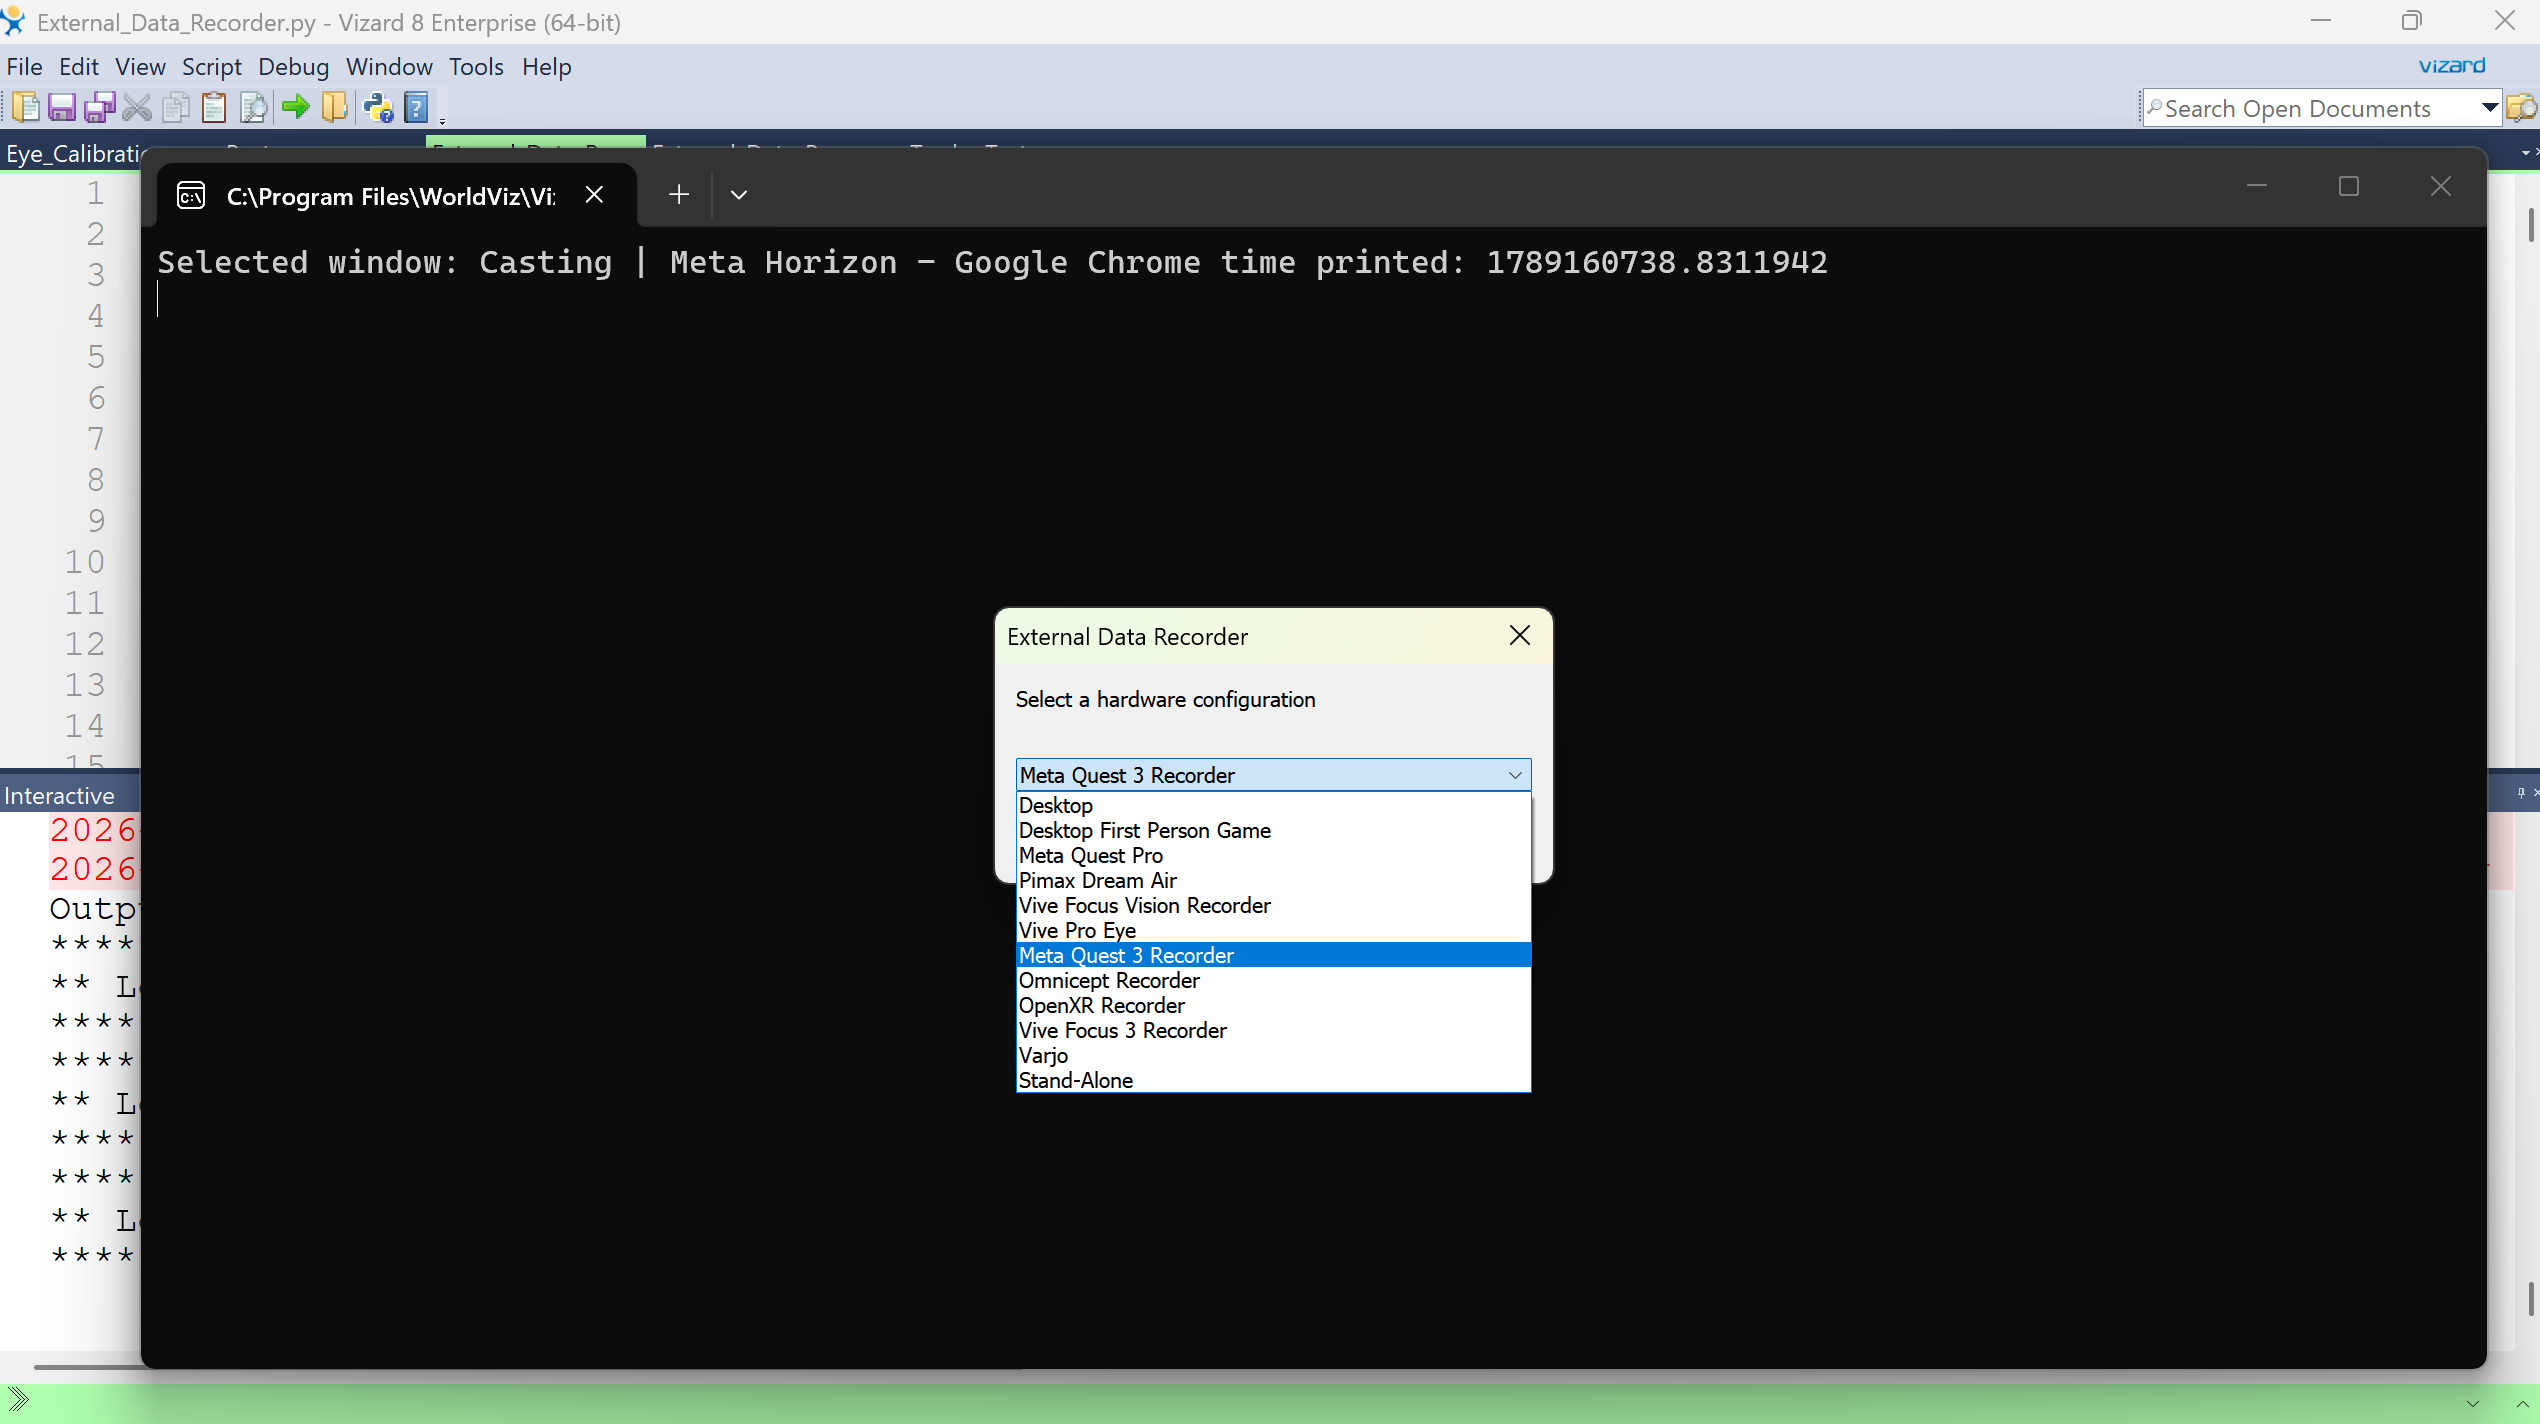
Note that if you are using the Meta Quest Pro, you will have to disable RUN_CALIBRATION since this requires running Meta PCLink, which can't be run at the same time as web casting on the Quest Pro.
Next, you'll be prompted to enter a timer in seconds to record for, with default being 10. Enter whatever value you want and click OK.
Finally, you'll be prompted to enter Participant Information:
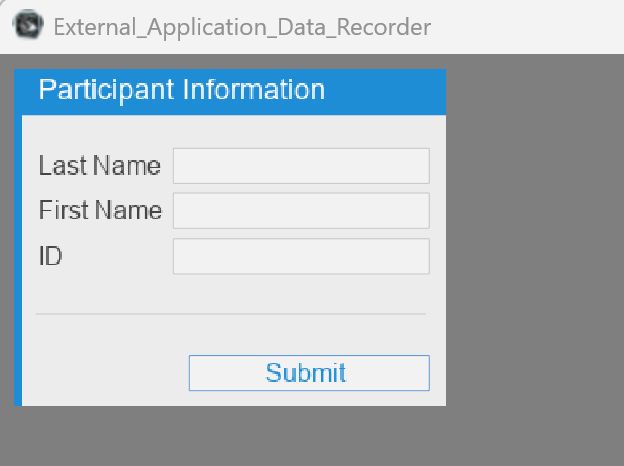 For an actual study, enter appropriate values. For testing, you can leave the fields blank and click Submit. This can be skipped in the config (see Overview).
Before starting the session, ensure the Casting | Meta Horizon - Google Chrome (or whatever your casting window is called) window is NOT minimized.
After this, you can start the session recording by pressing the spacebar. You should see a red dot appear next to the OBS icon in the task bar once you press spacebar, indicating that OBS is recording.
At the end of your session, a beep will play to signify that the trial has ended.
The OBS dot will disappear to indicate it has finished recording.
If you switch back to the External_Data_Recorder window, you should see a message saying the script is being postprocessed, which entails transcoding and overlaying the video with RT-DETR object detection and gaze information:
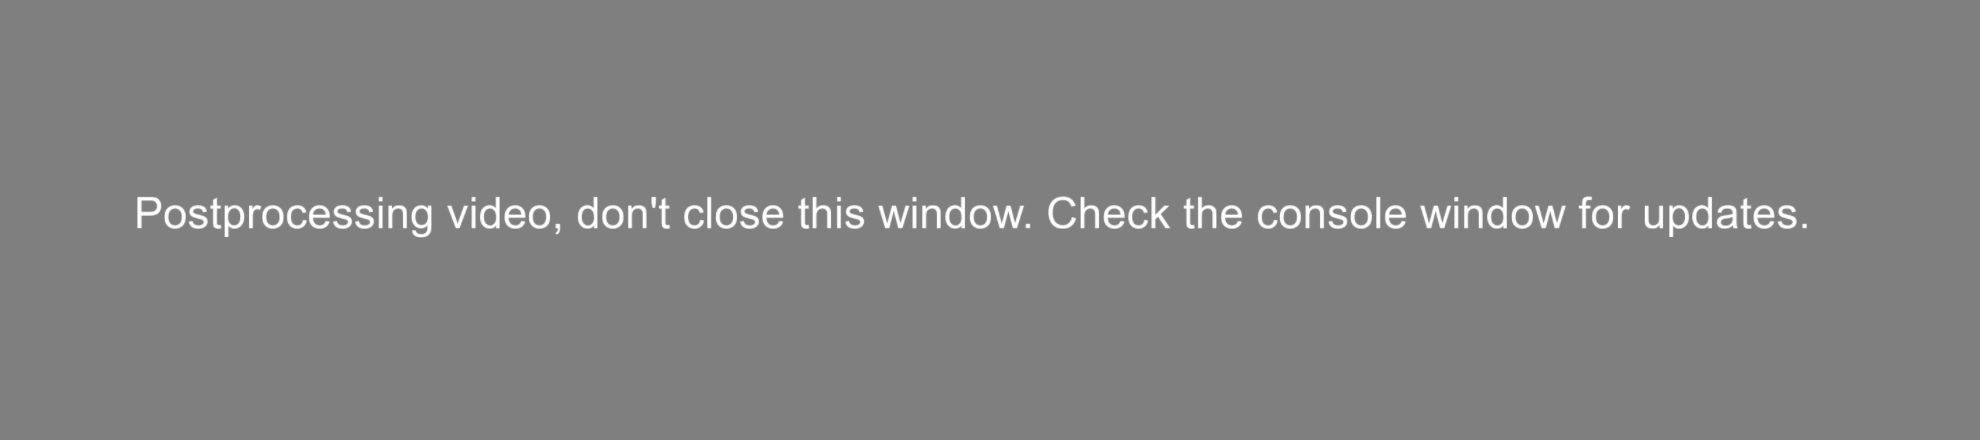
The console window provides postprocessing progress updates, and it will prompt you to crop the window region and adjust the centerpoint if you wish to. See the postprocessing guide for more instructions.
The console window provides progress updates on gaze analytics (object detection, intersections):

Once postprocessing is finished, the External_Data_Recorder window will let you know:
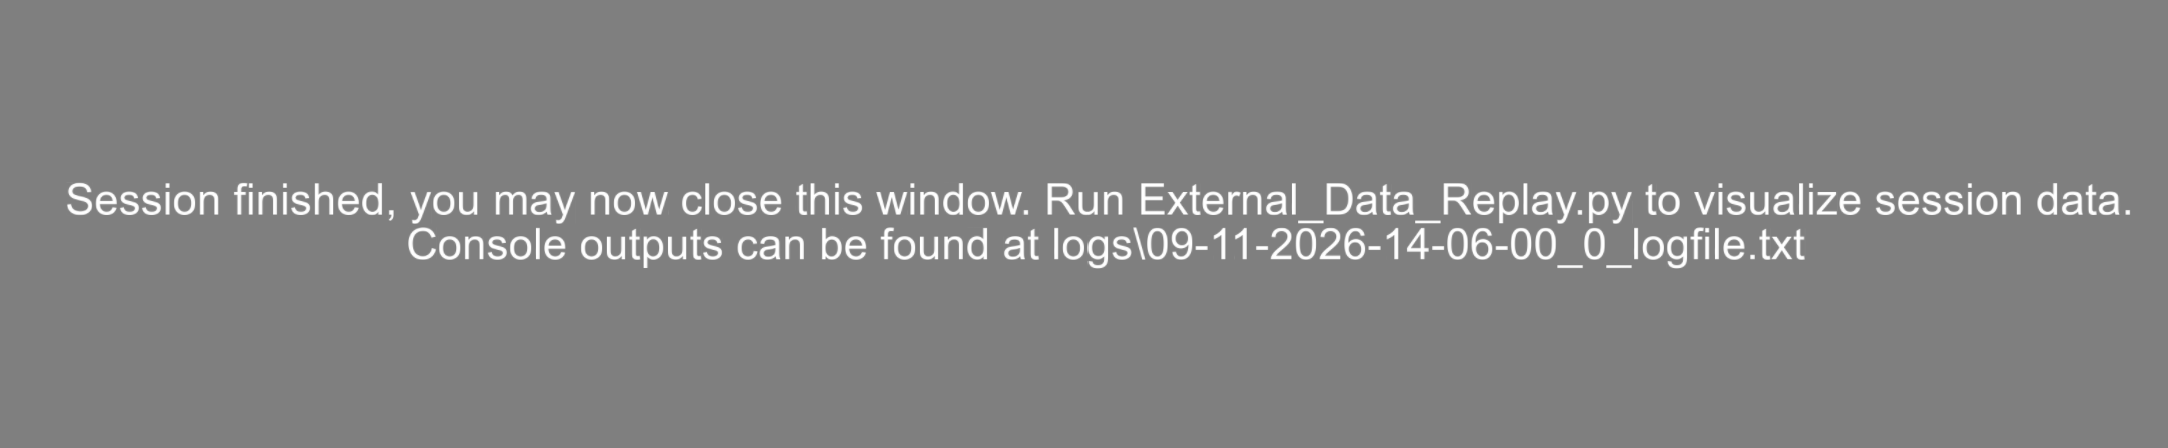
It is now safe to close the External_Data_Recorder window. This will save the console window outputs to a log file, listed in the message.
The recordings produced from this session (original, transcoded, and overlay) can be found in the recordings\ folder.
The csv files and other data files from this session can be found in the data\ folder inside an experiment_data folder corresponding to the datetime and participant id recorded during the session.
Console window content can be found in the logs\ folder.
Replay
To operate the replay, you can open it from the Vizard IDE, directly, or the External Data Recorder tab in the SightLab Dashboard:
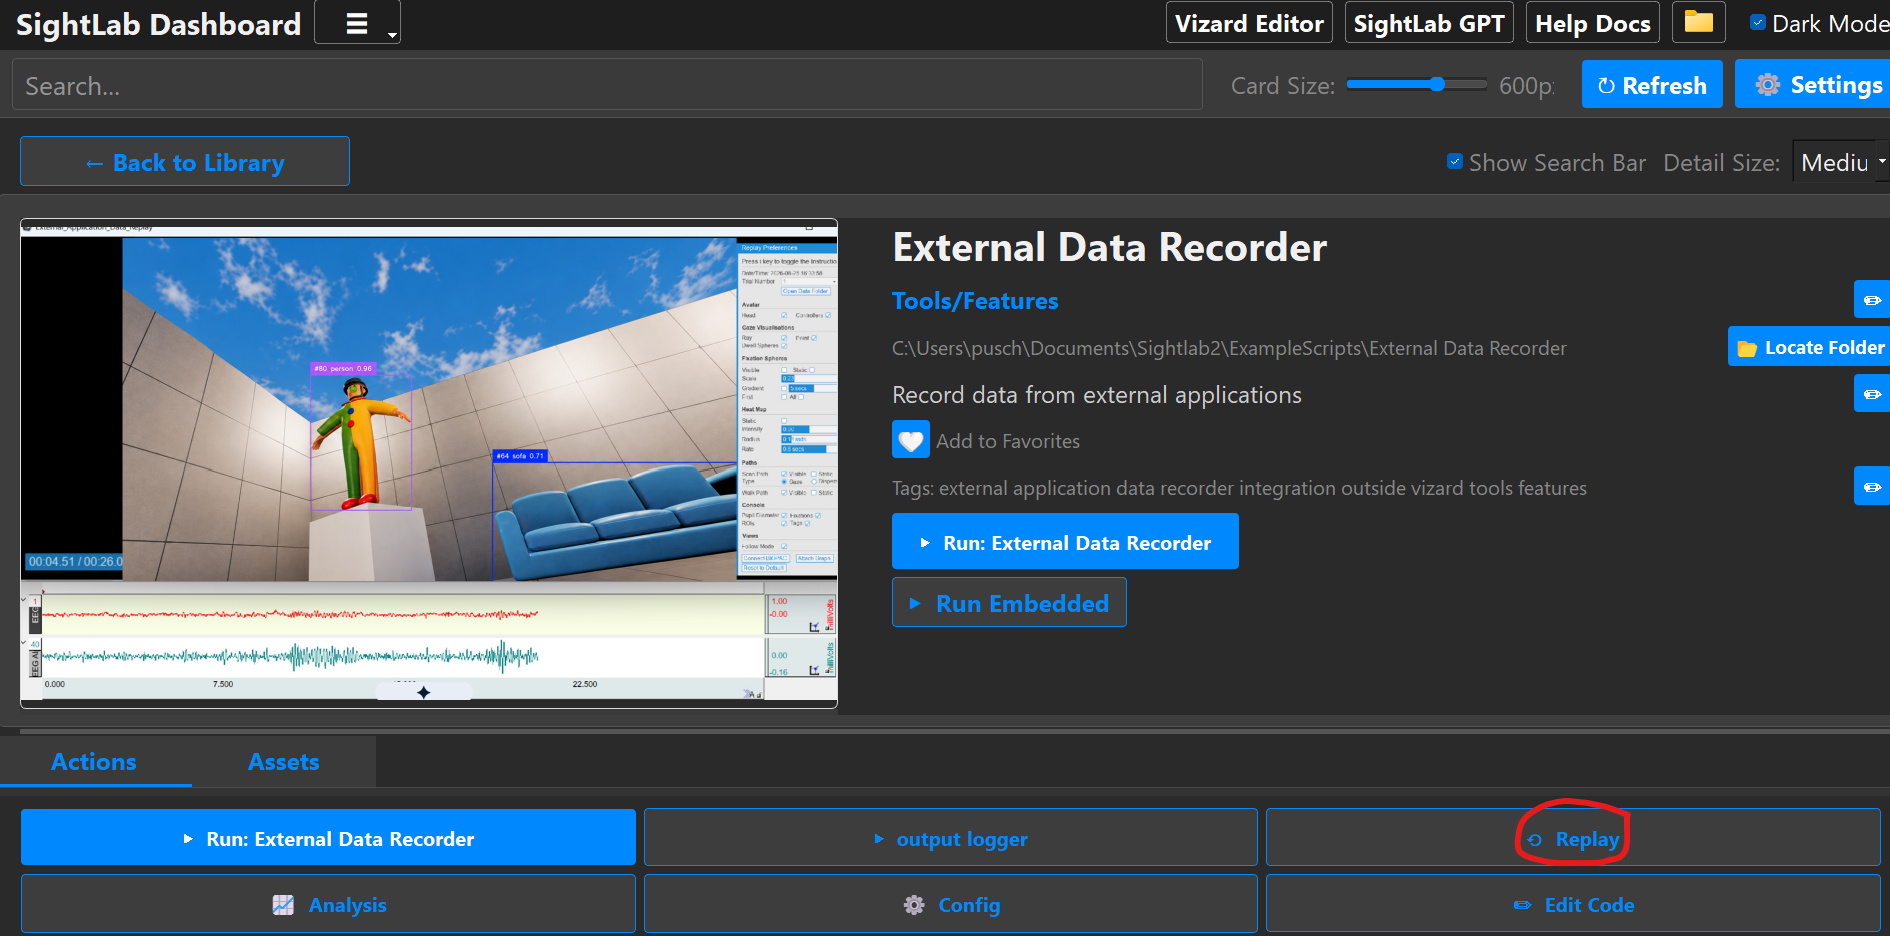
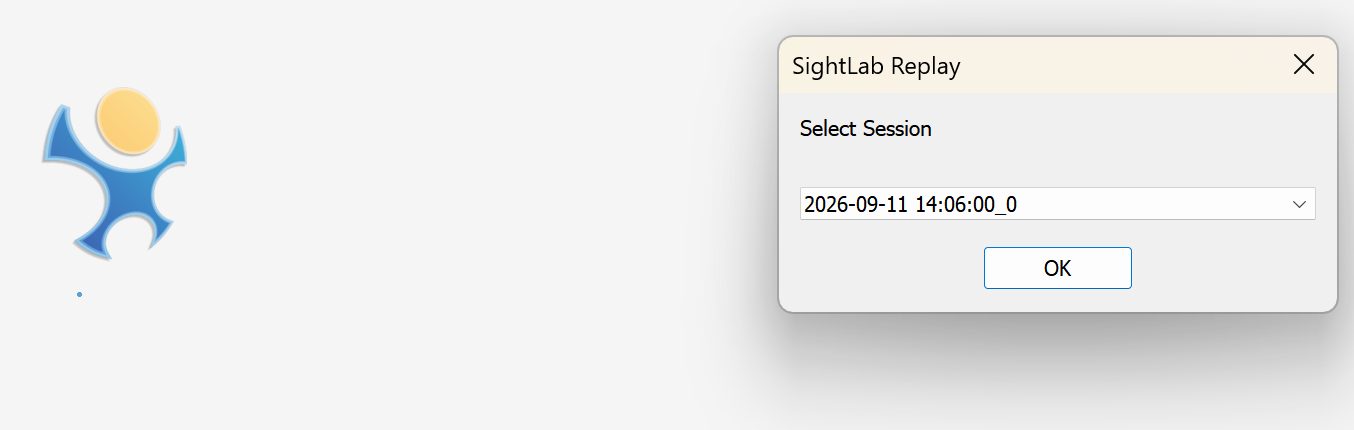
This will open a window named External_Data_Replay and prompt you to select a session. Sessions are named by the datetime they were recorded, and the participant id:
Next, it will ask you to select a calibration file to use with the selected session:
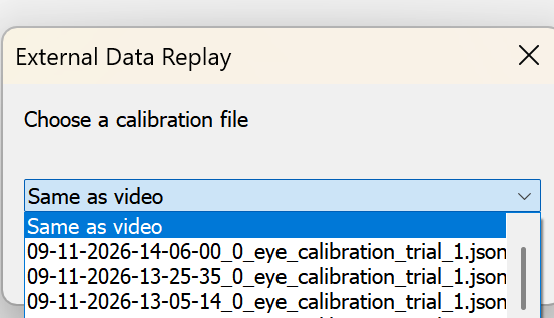
Make sure to choose Same as video since you didn't run a calibration. This uses a fake calibration that maps the gaze to the center.
Next, select a video to use in the replay. You can choose from either the overlay video, which has the RT-DETR object detections overlaid on the video, or the transcoded video, which has no postprocessing overlays.
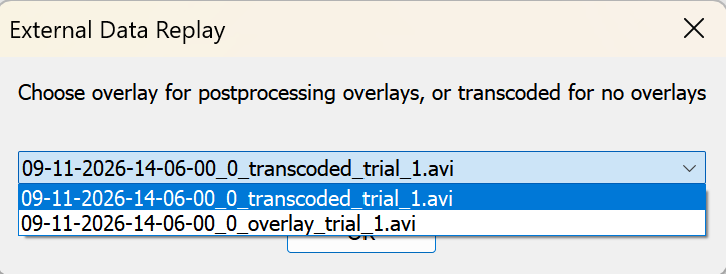
See Session Replay and the full Session Replay documentation for more instructions on how to use the replay. Make sure to full-screen the External_Data_Replay window.
Also note that RT-DETR object detection capabilities can be swapped out for the OVD OmDetTurbo model, which can be prompted to look for specific objects instead of being limited to the COCO dataset classes. See the Postprocessing Guide and AI Object Detection for more details.